Last updated November 17, 2026




Free written scope consultation - allowances, timeline, and change-order rules on paper before a single trade is scheduled
DIY vs Professional Windows & Doors: What’s Safe to Do Yourself
A window installed just 1/8 inch out of plumb will rack in its frame, break the weatherstripping seal, and quietly void the manufacturer’s warranty. It won’t leak the week you finish it. It won’t fog up the first month. It’ll look perfectly fine for about two years, and then one wet winter you’ll find a soft spot in the drywall under the sill and a stain spreading across the casing. By then the damage is already in the wall cavity. That’s the part most videos leave out. This guide covers exactly where amateur window and door installs go wrong, what the mistakes cost to fix, what’s genuinely safe to handle yourself, and why a 60-year-old stucco house in El Monte raises the stakes on all of it.
Quick Answer
Minor window and door work is safe and worthwhile as DIY: replacing weatherstripping, fixing screens, swapping hardware, refinishing interior casing. Full window or door replacement is not a good DIY project. It requires flashing integration, moisture barrier continuity, insulation around the frame, and rough opening prep, and in California the work legally requires a licensed contractor once it touches structural framing or permits. An out-of-plumb install voids the manufacturer warranty and, in El Monte’s stucco-heavy housing stock, turns the job into two trades (window work plus exterior stucco repair) instead of one.
Styles & brands we work with
- Kitchen remodeling
- Bathroom remodeling
- Home additions & ADU
- Roofing
- Windows & doors
- Driveway & pavers
- Fence
Table of Contents
- What “Installation” Actually Means (And Why Tutorials Skip the Hard Parts)
- California Licensing, Permits, and Your Insurance Coverage
- The Tasks That Are Genuinely Safe and Cost-Effective as DIY
- The Stucco Factor: Why El Monte Replacement Is a Two-Trade Problem
- The Honest Cost Math: Professional Labor vs a DIY Redo
- How a Professional Install Actually Goes: Step by Step
- Common Mistakes to Avoid
- When to Call a Professional
What “Installation” Actually Means (And Why Tutorials Skip the Hard Parts)
Most how-to videos show you the easy 60 percent: pull the old unit, set the new one in the opening, shim it, screw it down, caulk the edges. What they leave out is the part that determines whether the window works for the next 25 years. Installation is less about the window and more about everything around it. The unit itself arrives square from the factory. Keeping it square while you fasten it into a rough opening that was framed by hand decades ago is the actual job.
Here’s what a real install encompasses that the average tutorial skips entirely:
- Flashing integration. The sill pan and head flashing need to shed water the way a roof sheds water, in layers, so water always travels downhill and outward. Every layer laps over the one below it. Get the order wrong and you’ve built a funnel into your wall.
- Moisture barrier continuity. The house wrap or building paper around the opening has to tie back into the new window without a break. A gap of a half inch is enough to wick water behind the sheathing.
- Insulation around the frame. The gap between window frame and rough opening needs low-expansion foam or backer rod and sealant, applied in a way that doesn’t bow the frame or leave voids. Too much foam can deform the frame and jam the sash.
- Rough opening prep. Old openings are rarely flat, square, or the right size. Prep means checking the opening is level, plumb, and square, and fixing what isn’t before the new unit goes in. This is where an 1/8 inch mistake becomes a racked frame that never seals right.
- Interior and exterior finish transitions. A window isn’t finished until the drywall, casing, trim, sill, and exterior cladding all come back together cleanly. On El Monte’s older homes, that often means repairing lath and plaster, not just hanging new trim.
The window itself is a commodity. The install is the craft. That distinction is the entire reason manufacturer warranties read the way they do.
California Licensing, Permits, and Your Insurance Coverage
California is one of the more regulated states for construction work, and window and door replacement falls squarely into that. Here’s the practical breakdown for El Monte homeowners:
- Licensing. Any contractor performing window or door replacement for hire in California must hold a current license from the Contractors State License Board and be in good standing. A general handyman can’t legally take on a job over the state’s handyman exemption threshold, which for combined labor and materials is a low ceiling. Window and door replacement blows past it almost every time.
- Permits. Replacement windows that don’t alter the opening (same size, same location) often fall under a like-for-like exemption, but new openings, changed sizes, and egress windows for bedrooms do require permits and inspection. Doors that affect egress, structural load, or fire separation are permit territory as well. When in doubt, the answer is “pull the permit.”
- Insurance exposure. This is the part most homeowners miss. If unlicensed work later causes water damage, a cracked frame that leaks, or a window that fails and lets water into the wall, your homeowner’s policy may deny the resulting claim on the basis that the underlying work was improperly performed. Not always, but often enough that it’s a real risk. Insurance carriers have language about “faulty workmanship” and “unlicensed contractor,” and both clauses exist to protect them, not you.
What that means in plain language: saving $1,500 on a DIY install and losing a $20,000 water damage claim to an insurance exclusion is a losing trade. It’s the math that matters most, and it doesn’t appear on any cost comparison chart.
The Tasks That Are Genuinely Safe and Cost-Effective as DIY
Plenty of window and door work is well within reach of a careful homeowner. These are the projects we recommend you take on yourself, because they save real money, don’t touch the building envelope, and don’t cross licensing lines:
- Weatherstripping replacement. A $15 roll of weatherstripping and a putty knife solves most draft problems on older doors and windows. This is the highest-return DIY item on the list, especially in El Monte where older homes often have gaps at the bottom of doors and around sashes that have been weathered decades.
- Screen repair and re-screening. Spline, screen material, and a roller cost under $20. You can re-screen a window or door in under an hour with no special tools.
- Hardware swaps. Door knobs, deadbolts, hinges, window locks, and sash lifts are simple replacements. The only real skill required is matching the backset on locksets and not stripping the screws.
- Interior casing finish work. Sanding, caulking, and painting trim around windows and doors is genuinely a DIY project. It’s cosmetic, reversible, and forgiving. If you’ve just had a window replaced, doing your own interior paint and caulk work afterward can trim a few hundred dollars off the job.
- Sealing small gaps. Exterior caulk at trim joints and interior caulk at casing-to-drywall lines are fine to handle yourself, as long as you know where the real flashing is behind the trim and don’t disturb it.
- Glass cleaning and glazing putty repair. Minor glazing work on old single-pane windows can be a DIY job if you’re careful with the putty knife and follow the manufacturer’s cure time.
What’s not on this list: replacing a window, replacing a door, cutting a new opening, repairing rot in the framing around an opening, and just about anything that involves prying off exterior trim to expose flashing. Those are the jobs where a small misstep turns into a multi-thousand-dollar repair.
The Stucco Factor: Why El Monte Replacement Is a Two-Trade Problem
Walk through residential streets in El Monte and you’ll see the same thing on most of the housing stock: stucco exteriors, often over original wood lath and plaster, sometimes with decades of paint and patching layered on top. Stucco is a fine cladding. It’s also the single biggest reason window replacement in El Monte is harder than the videos make it look.
Here’s the sequence. To replace a window on a stucco wall, you have to cut back the stucco around the opening. That cut reveals the building paper, the lath, and the sheathing behind it. The flashing has to integrate with the paper and sheathing. Then the new window goes in. Then you have to rebuild the stucco around the opening: scratch coat, brown coat, finish coat, with a proper bond break and color match.
That last part is a separate trade. Stucco work requires a different set of tools (a hawk and trowel, a mortar mixer, sometimes a stucco pump), a different skill set (getting the finish texture to match the surrounding wall), and a different timeline (stucco cures over days, and finish coats go on after the previous coat has set). A window installer who’s good at flashing may not be good at stucco. A stucco contractor who’s good at stucco may not be good at flashing. The job only really works when both skills are coordinated on the same schedule by the same team.
We see this pattern constantly in El Monte, especially on homes in the older residential blocks where stucco has been patched and repatched over the years. A homeowner who tackles a DIY window swap in that situation ends up calling a window installer to finish the flashing and then a stucco contractor to close the wall back up. Two trades, two schedules, two invoices, and no single party on the hook when water gets in. That’s the two-trade problem, and it’s what makes DIY window replacement in El Monte a genuinely different calculation than in a part of the country where homes are sided with vinyl or wood clapboard.
The same dynamic shows up in other exterior projects around the property. Our team writes about it in guides like Driveway & Pavers in El Monte and Fence Installation in El Monte, where the exterior finish often determines how much coordination a project really needs. It’s a pattern: on older El Monte homes, exterior work is rarely just one trade.
The Honest Cost Math: Professional Labor vs a DIY Redo
Let’s put real numbers on this. The ranges below are typical for the El Monte market as of this writing, and they reflect what we see on our own project estimates. Your exact numbers will depend on the window size, glazing type, and condition of the surrounding wall.
Typical cost breakdown
- Replacement window, standard double-hung or slider, mid-range: $450 to $850 per unit for the window itself
- Professional labor per window: $150 to $350, including rough opening prep, flashing, insulation, and interior trim
- Stucco repair around a window opening (El Monte homes): $300 to $700 per opening, sometimes higher if the cut reveals damaged lath or framing
- Exterior door replacement, standard pre-hung unit: $800 to $1,600 for the door, $400 to $900 for professional installation labor
- Interior trim and paint, done by the homeowner after installation: $0 labor, $50 to $150 in materials
- Permit fee, when required: typically a few hundred dollars depending on scope
What a DIY redo actually costs
When a DIY window install fails, the cost isn’t just the original money spent. It’s the removal, the disposal, the repair of what got damaged, the replacement of the window if the frame is compromised, and the finish work to close it all back up. A typical redo looks like this:
- Diagnosis: $100 to $300 (someone has to figure out why it’s leaking)
- Window removal and disposal: $150 to $250
- Rough opening repair, drywall and framing: $250 to $600
- Weather barrier and flashing correction: $200 to $400
- New window: $450 to $850 (you buy it twice)
- Stucco repair: $300 to $700
- Interior repair and paint: $150 to $350
That’s $1,600 to $3,450, on top of what you already spent on the first attempt. Meanwhile, the professional install you skipped would have cost $600 to $1,050 in labor. The math is not subtle. The DIY route only makes sense on the work that doesn’t touch the building envelope.
The other piece of math that doesn’t show up in spreadsheets: coverage. When a licensed contractor performs the work, you get a written workmanship guarantee on it. When you do it yourself and something goes wrong, you get nothing but the receipt for the materials. That’s why every full-scope install we perform at Groundwork Construction Co. of El Monte carries our 730-Day Done Right Promise. If a window we installed fails within that window because of how it was installed, we go back and make it right. That protection has a dollar value, and it’s the reason professional labor on window and door work is a fair trade.
How a Professional Install Actually Goes: Step by Step
If you’ve decided to hand off the installation to a contractor, here’s what a well-run job should look like. If a contractor’s process skips any of these steps, that’s your signal to ask questions.
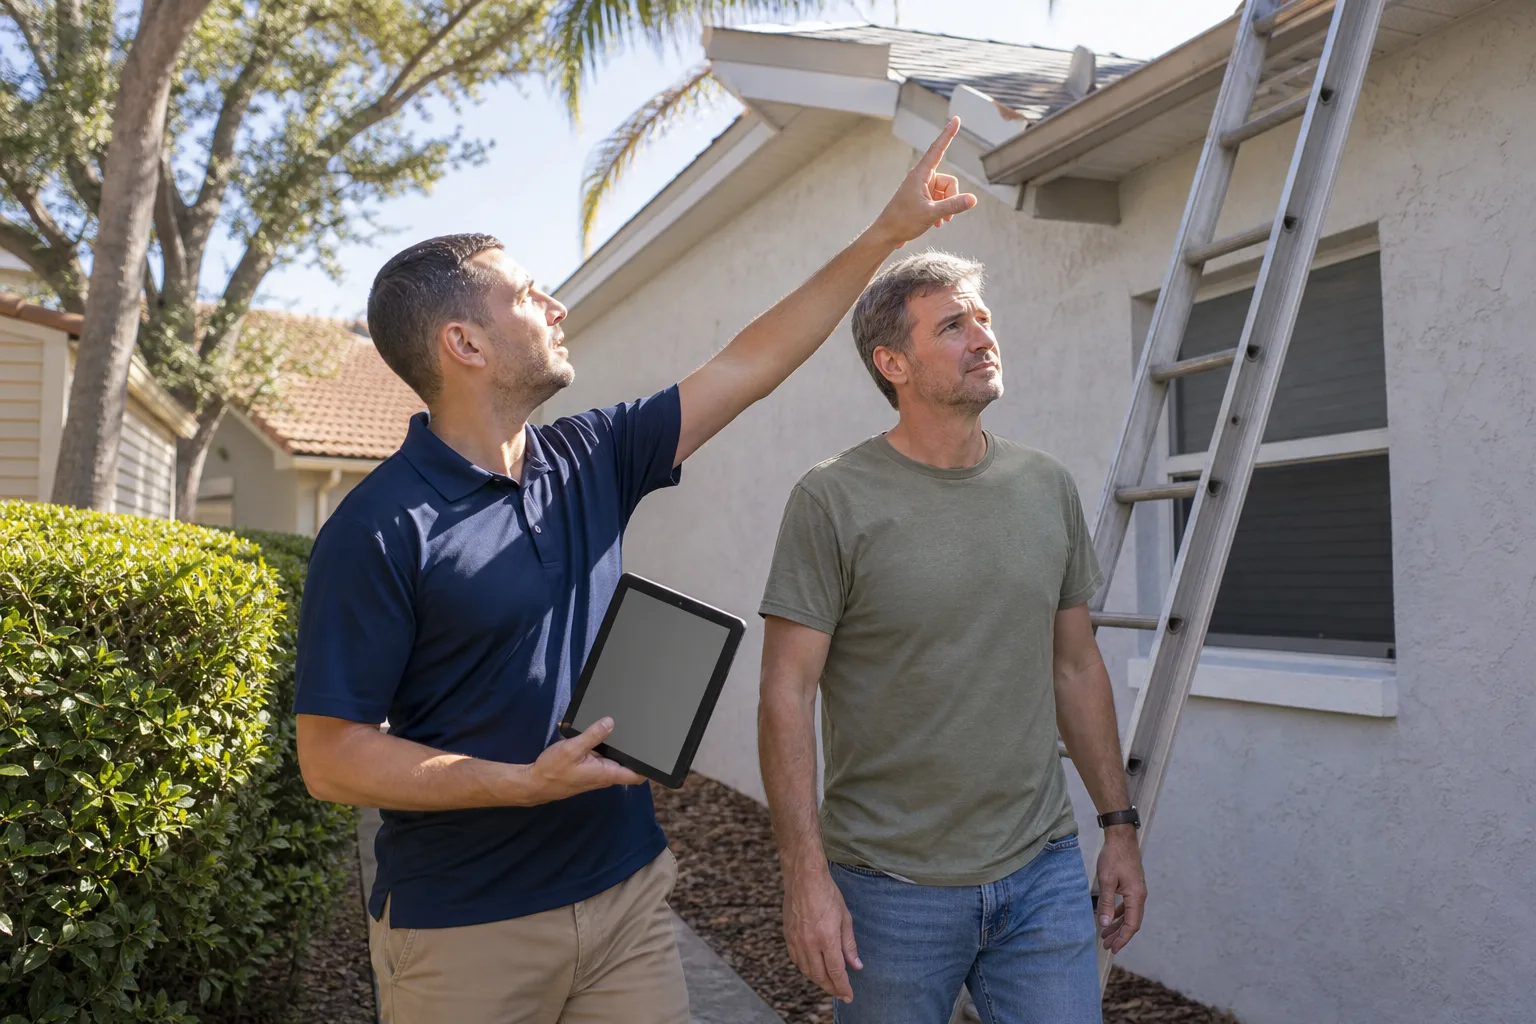
- Site assessment. Measure the opening, verify the wall assembly type (stucco, siding, brick, block), check the framing condition, and identify any rot, moisture damage, or lath issues that will need addressing during the install.
- Product specification. Confirm exact window model, glazing type, U-factor, and finish. On projects where we’re working with brand partners, this is where brands like Andersen or Marvin get specified so the homeowner knows exactly what’s going into the wall.
- Permitting. Pull the permit if required. In El Monte, the building department has its own review process and timeline; local knowledge matters here because inspecting procedures and turnaround differ across jurisdictions.
- Protect and demo. Move furniture, cover floors, remove the old window, cut back the stucco or siding around the opening, and inspect what’s behind it.
- Rough opening prep. Check level, plumb, and square. Repair damaged framing. Verify the moisture barrier is intact. Prep the sill with the appropriate pan or slope.
- Install and flash. Set the window, shim it square, fasten per the manufacturer’s instructions, and integrate flashing in layers so water always sheds outward and down.
- Insulate and seal. Insulate the gap around the frame, seal interior and exterior, and check that no sealant is bridging the drainage path behind the flashing.
- Finish. Rebuild the exterior cladding (stucco, siding, trim), then install interior trim and prep for paint.
- Inspection and walkthrough. Verify the window operates correctly, check for air infiltration, and pass the municipal inspection if required. Walk the homeowner through the finished product and the guarantee.
A lot of that sequence is invisible once the job is done. Which is precisely the problem with DIY window replacement: you can’t see what you did wrong, and neither can anyone else, until water finds the gap.
Common Mistakes to Avoid
Here’s what we see go wrong most often on window and door projects, both DIY and contractor-performed, with the El Monte-specific angles that make these mistakes more expensive than they look on paper.
- Assuming the existing opening is square. Older El Monte homes were often framed without the precision that modern construction demands, and after decades of settling, what looked square in 1965 isn’t square today. Measure the diagonals before you remove the old window. If they don’t match within a quarter inch, the opening needs prep before a new unit goes in.
- Skipping the sill pan. The sill pan is the single most important waterproofing element on the entire install, and it’s the first thing DIYers skip because you can’t see it once the window is in. Without it, water that gets behind the window sits on the sill framing, which is where rot starts.
- Over-foaming the gap. Expanding foam is convenient and easy to overdo. Too much pressure bows the frame, causing the sash to rack. On a replacement window this can make the unit inoperable. Use low-expansion window-and-door foam, and don’t fill more than a third of the gap in one pass.
- Cutting stucco without planning the repair. On El Monte stucco walls, the demo phase is where a window replacement becomes a stucco repair project. Plan both phases and the sequencing before you cut. Homes in El Monte where the original stucco has been patched repeatedly over decades can be especially tricky to color-match, and once a wall is opened, it can take weeks to source a matching finish.
- Forgetting the moisture barrier continuity. If the flashing overlaps the wrong way, water can get in behind the house wrap. The building code and manufacturer’s instructions are specific about the overlap order. There’s no room to improvise here.
- Installing a window without checking egress requirements in bedrooms. El Monte bedroom windows have minimum opening requirements for emergency escape. A window that’s the same size as the old one may still not meet current egress code if the original was a non-compliant size. Confirm the required clear opening before ordering.
- Skipping the permit because “it’s just a replacement.” Not every replacement requires a permit, but the ones that do and get skipped create two problems: an inspection that can’t be passed later when you go to sell, and an insurance claim that could be denied. Check with the El Monte building department before you assume. The time savings from skipping the permit is measured in days; the cost of being wrong is measured in years.
If you’re also thinking about exterior improvements beyond windows, the same principle of sequencing and moisture-management planning applies to Home Additions & ADU in El Monte, where openings, flashing, and cladding all have to integrate. It’s worth reading to understand how exterior work coordinates across trades on a bigger project.
When to Call a Professional
The line is clearer than most guides make it. Call a professional for any of these:
Full window or door replacement, especially if the exterior is stucco, siding over a moisture-managed wall, or brick. Any opening that needs the rough opening adjusted, the framing repaired, or the flashing redone. Any project that touches an exterior wall’s structural elements. Any door or window that’s part of an egress requirement. Any install where you can’t confidently verify the moisture barrier and flashing detail before you close the wall back up. Any job that requires a permit and inspection. Any project over the state handyman exemption threshold, which is most replacement projects.
Groundwork Construction Co. of El Monte offers free estimates in El Monte. Call (888) 271-7872 to schedule yours. Our technicians have up to 12 years of experience, we’re licensed and insured, and every project we complete is covered by our 730-Day Done Right Promise. If it’s not done right, we make it right. We also offer upfront pricing so the number you see is the number you pay, and every estimate comes with 0% financing for 18 months plus $1,000 off on projects over $10,000. From foundation to finish line, we handle the whole scope, including the stucco work that a window-only installer leaves behind. Learn more at the Groundwork Construction Co. of El Monte home page.
See the difference
 Before
 After
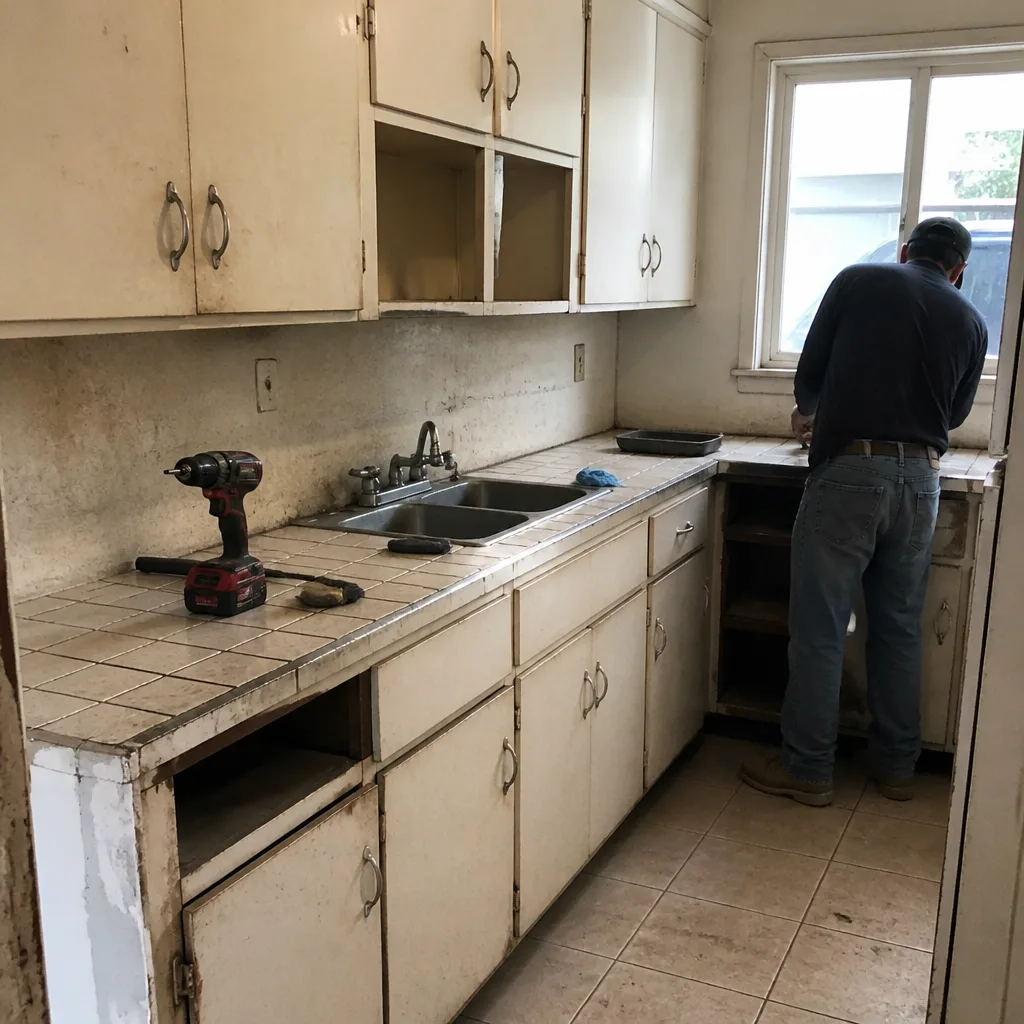 Before
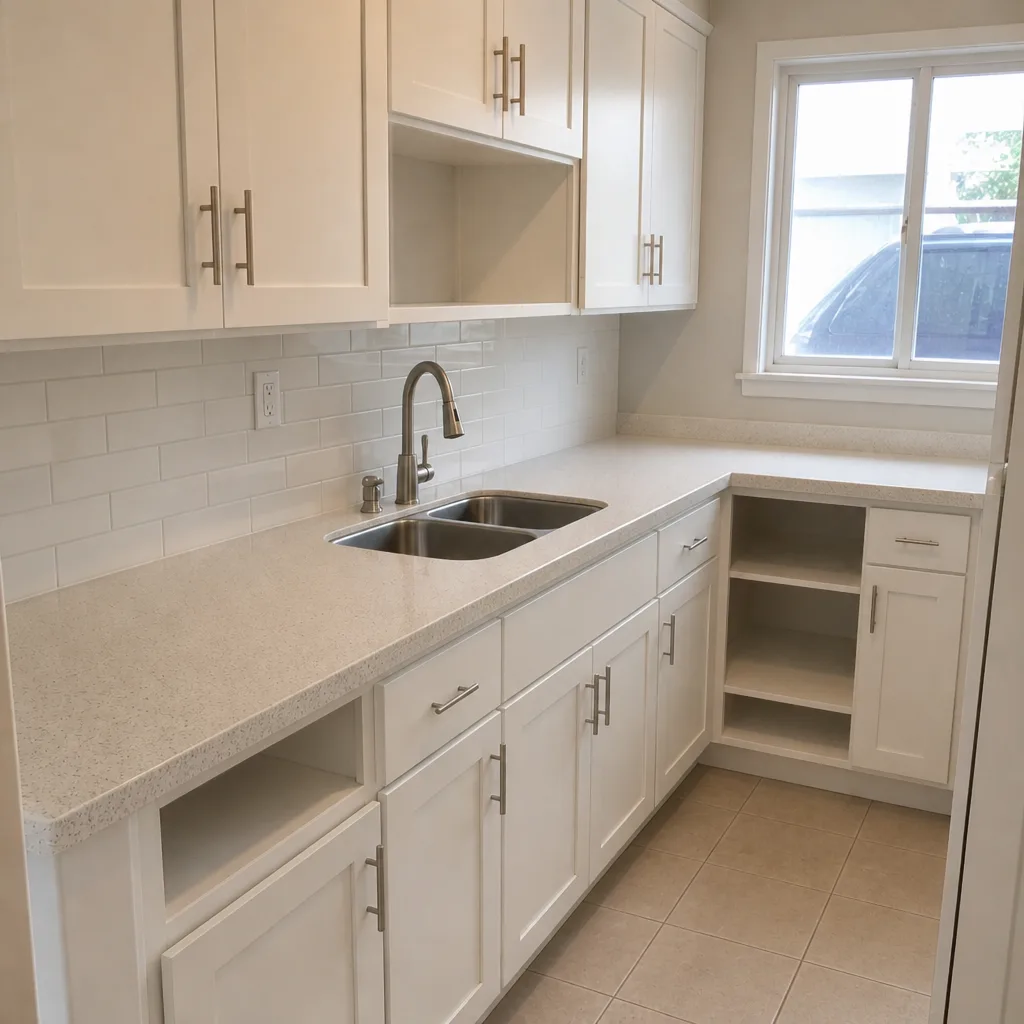 After
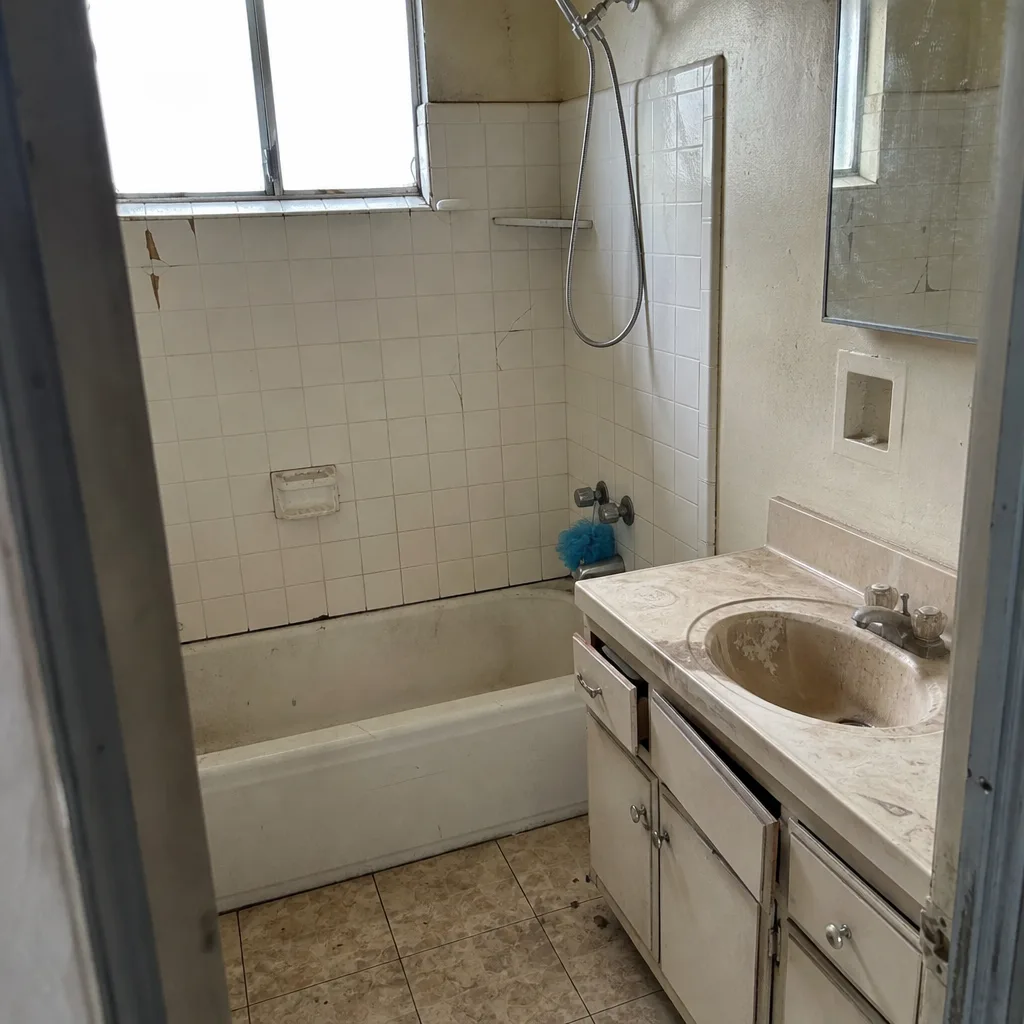 Before
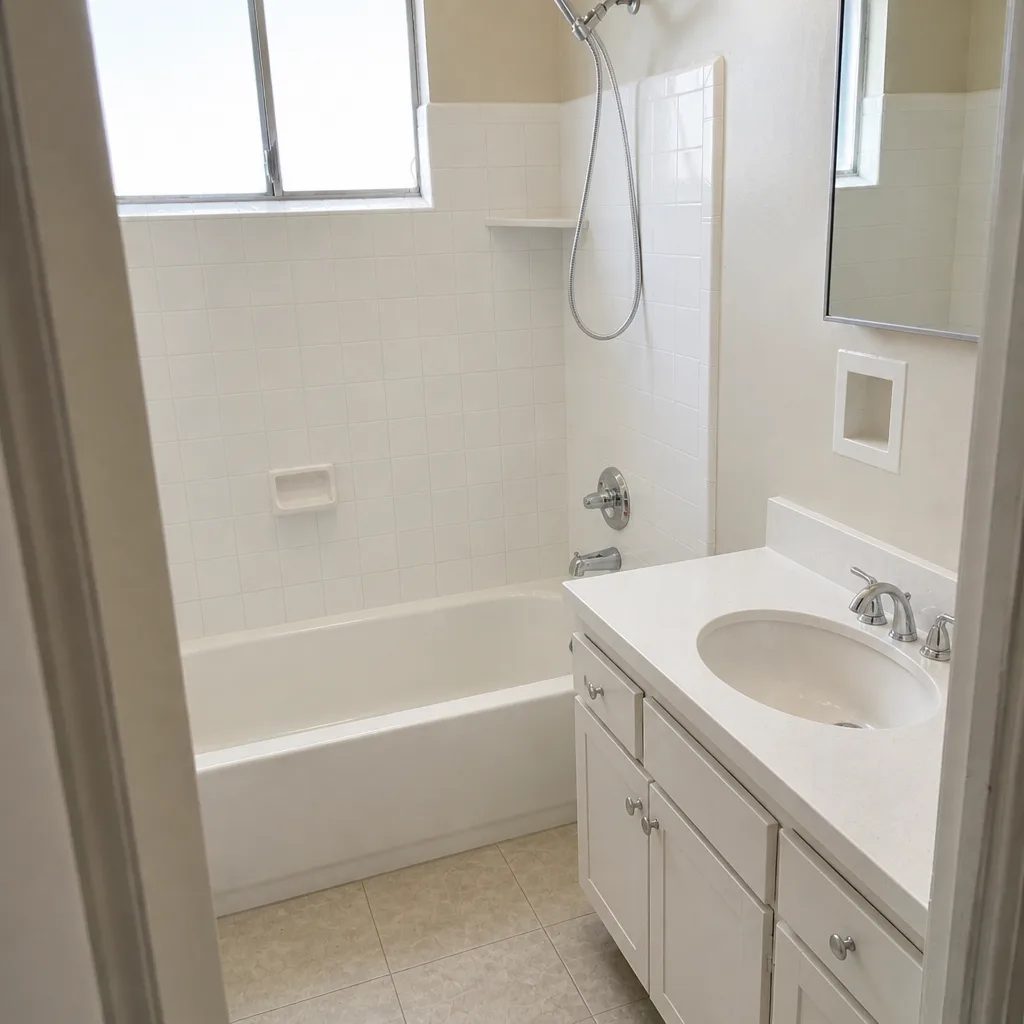 After
Frequently Asked Questions

Replacement window projects in El Monte typically run between $600 and $1,200 per window installed, depending on window size, glazing, and the amount of stucco repair the opening needs. Budget range for a whole-house project on a typical El Monte home is $7,000 to $15,000 for six to eight windows. Call (888) 271-7872 for an exact quote on your home. Estimates are free, and we give you a written line-item estimate so you can see exactly what each window costs.
You can legally replace a window yourself on your own home in California, but you need to pull whatever permits the local jurisdiction requires and you’ll be responsible for meeting current code on flashing, egress for bedrooms, and installation per manufacturer instructions. The bigger risks are insurance-related (unlicensed DIY work can complicate a future claim) and warranty-related (a DIY install voids most manufacturer warranties). On stucco homes in El Monte, the two-trade problem of window work plus stucco repair is the reason most homeowners hand it off.
Yes. Nearly every window manufacturer’s warranty requires the window to be installed level, plumb, and square, in accordance with their published installation instructions. If the frame is racked, most manufacturer warranties exclude cracking, failure of the seal, and glazing defects on the basis that the install was out of tolerance. The failure often doesn’t show up for two years, which is exactly long enough for the homeowner to feel confident the install was fine.
Level means horizontal: parallel to the ground. Plumb means vertical: straight up and down. In a window install, you’re checking both, plus square (the diagonals of the opening matching). A window can be level along the sill and out of plumb on the side jambs. It’s the side jamb plumb that most often gets missed, and it’s the one that causes the sash to rack and the weatherstripping to fail to seal.
Like-for-like replacements in the same opening with the same size and location sometimes don’t require a permit, but new openings, changed sizes, egress windows, and any project affecting structural framing do. The safest move is to call the El Monte building department and ask before you start. A licensed contractor will handle permitting as part of the job, which is why permits are already included in the project price rather than an add-on later.
El Monte’s housing stock is predominantly stucco over wood lath. When you cut a stucco wall to replace a window, you have to repair the exterior with a new scratch coat, brown coat, and finish coat, matched to the surrounding texture and color. That’s a separate trade from window installation. Many window contractors won’t touch the stucco, and many stucco contractors don’t touch the flashing. Choosing a full-scope contractor that handles both trades on the same schedule is the difference between one project and two.
The Bottom Line
Window and door replacement is a job that looks simple, gets complicated fast, and often fails silently. The parts that matter most, flashing integration and moisture barrier continuity, are the parts you can’t see after the install is done. On El Monte’s stucco-heavy homes, that complexity compounds because window work and stucco repair are two trades that need to coordinate. Do the safe, high-return DIY work yourself: weatherstripping, screens, hardware, interior paint, and caulk. Hand off anything that touches the building envelope, requires a permit, or crosses a licensing line. The cost math favors professionals by a wide margin once you factor in redo costs, insurance exposure, and warranty protection.
If you’re ready to price a window or door project, call Groundwork Construction Co. of El Monte at (888) 271-7872 to schedule your free estimate and design consult. We answer our phones with a live person, 24/7, no voicemail, no waiting until Monday morning. Our estimates are written line-item and upfront, our technicians are background-checked and arrive in uniform, and every project we complete is covered by our 730-Day Done Right Promise. Built to last, backed in writing.
Written by the team at Groundwork Construction Co. of El Monte.