Last updated November 17, 2026




Free written scope consultation - allowances, timeline, and change-order rules on paper before a single trade is scheduled
Driveway & Pavers Troubleshooting: Common Problems and How to Fix Them
A single sunken paver isn’t a paver problem. It’s a base problem. Patching the top without addressing what’s underneath is the most expensive mistake in residential hardscape. We’ve watched homeowners spend $400 on a cosmetic resand-and-seal job for a driveway that was already failing eight inches below grade, then spend $6,000 the next spring to tear it out. In El Monte, where clay-heavy soils swell with winter rain and bake hard in August, settlement shows up faster than most of Southern California. This guide teaches you to read the difference between normal movement and a structural warning before you spend a dollar on a surface fix.
Quick Answer
Most driveway and paver problems come down to four root causes: inadequate base compaction, failed edge restraint, water that has nowhere to drain, and soil movement under the field. Sinking and spreading pavers are almost always base or edge failures, not paver defects. Hairline cracks that follow a straight line across the slab are usually thermal or control joints; irregular cracking, heaving, or a paver field that walks out of pattern points to something structural underneath. Fix the cause and the surface stays put. Cover the symptom and it returns within one rainy season.
Styles & brands we work with
- Kitchen remodeling
- Bathroom remodeling
- Home additions & ADU
- Roofing
- Windows & doors
- Driveway & pavers
- Fence
Table of Contents
- Settlement vs. Subsidence: How to Tell the Difference
- Reading Crack Patterns: Base Failure, Thermal Expansion, and Tree Roots
- Efflorescence: Why White Staining Appears and the Sealing Mistake That Makes It Permanent
- Edge Restraint Failure: The Overlooked Culprit Behind Spreading Pavers
- Drainage and Standing Water Problems
- When a Troubleshooting Fix Is a Valid DIY Job vs. When to Stop
- El Monte Soil, Climate, and Permit Realities
- What Repairs Actually Cost
Settlement vs. Subsidence: How to Tell the Difference
Settlement is normal. Subsidence is urgent. They look similar from standing height, and that’s why so many homeowners misread them.
Settlement is the gradual compression of the base material under a paver field or slab. It happens over months to years, spreads slowly, and usually shows up as a shallow dip of a quarter-inch to half-inch across a few square feet. It’s the sand and gravel base doing its job: consolidating under load.
Subsidence is the ground beneath the base moving. In El Monte, that’s typically expansive clay soil shifting with moisture, a leaking irrigation line washing out fines, or a poorly compacted trench from an old utility repair. Subsidence shows up as a distinct bowl or step, often two or more inches deep, sometimes with adjacent pavers lifting like a seesaw.
Here’s the test we use on every call:
- The straightedge test. Lay a 4-foot level or straight board across the suspect area. If the gap under the middle is a quarter-inch or less and the slope is smooth, you’re likely looking at settlement. If the board rocks and there’s a sharp step of half an inch or more at one edge, assume subsidence until proven otherwise.
- The 48-hour observation. Mark the low spots with chalk or a soapstone line. Water the area thoroughly, wait 48 hours, and mark again. If the dip deepens or a new one appears, water is moving soil under the surface. Stop. Call a professional.
- The tap test. Tap pavers with a rubber mallet. A hollow, ringing tone means the paver has lost bedding contact – base failure. A dull thud is a paver still sitting on sand.
In El Monte, we see settlement dip most often at the apron where the driveway meets the street, because that’s where the base was thinnest and street runoff does its work. For a full picture of how driveway and paver installation is done right in this city, see our Driveway & Pavers in El Monte service page.
Reading Crack Patterns: Base Failure, Thermal Expansion, and Tree Roots
Cracks are a language. Once you know what each pattern means, you can usually tell what’s failing before anyone lifts a paver.
Straight-line cracks with even spacing
These are thermal expansion cracks, usually on concrete driveways. They follow control joints the installer cut on purpose or should have cut. If the crack is a hairline that hasn’t widened or shifted vertically in five years, it’s cosmetic. Clean it, fill it with a flexible polyurethane sealant, and move on.
Irregular, spidering cracks that radiate from a point
That’s a point-load failure. Something concentrated weight on a spot where the concrete was too thin or the base was void. Old driveway sections poured over uncompacted fill will do this. So will a crack that opens wider each year near where you park a heavy truck. These don’t heal.
Long cracks parallel to the driveway edge, five to ten inches in from the curb
This is the crack pattern that screams edge restraint failure on interlocking pavers. The field is spreading laterally and the crack is the paver edge losing its seat. More on that below.
Cracks that follow a curve away from the driveway
Tree root intrusion. El Monte has plenty of mature ficus and liquidambar along residential streets, and both send roots under a driveway with enthusiasm. Roots don’t crack pavers – they lift them. You’ll see one or two pavers raised in an arc that echoes the root’s path. Cutting the root may kill the tree or destabilize it, so this is not a homeowner fix. An arborist and a hardscape contractor need to weigh in on whether to reroute the pavement or remove the tree.
Cracks that step vertically, more than an eighth of an inch
This is base failure, and it’s the one crack pattern that justifies opening the driveway. A vertical step means the sub-base has failed under one side but not the other. Surface sealants won’t stop it. Re-sanding the joints won’t stop it. The base has to be rebuilt.
The takeaway is simple: horizontal crack, usually thermal – vertical step, usually base failure. If you’re not sure which you’re looking at, get a professional out to look before you spend on a surface repair.
Efflorescence: Why White Staining Appears and the Sealing Mistake That Makes It Permanent
Efflorescence is that powdery white haze on the face of concrete pavers or the surface of a concrete slab. It looks like a stain and gets worse after rain. It’s actually salt.
Here’s what’s happening. Portland cement contains soluble salts. When moisture moves through the paver and evaporates at the surface, it carries those salts with it and leaves them behind as a white deposit. The process is normal, it’s not a defect in the paver, and it usually fades on its own within a year or two if the paver can dry out from both sides.
Where it becomes permanent is when the paver can’t dry out. And that’s almost always caused by one specific mistake: sealing too early.
If you seal a paver field with a film-forming acrylic sealer while residual moisture is still trapped inside the paver, you lock that moisture in. The salts keep migrating to the surface but now have no way to escape. The white staining gets worse under the sealed surface and can’t be cleaned off because it’s trapped in the top millimeter of the paver. We’ve seen this happen on El Monte driveways sealed within 30 days of installation during a wet spring. The homeowner spent $800 on a sealer that turned a cosmetic issue into a permanent one.
How to handle efflorescence properly:
- Wait. Fresh pavers need 60 to 90 days of dry weather before any film-forming sealer. Longer if installed in winter or during a wet season. In El Monte’s climate, wait until you’ve had at least six weeks of dry days.
- Use the right product on the surface. Efflorescence remover – a mild acidic cleaner designed for masonry – dissolves the salt deposit. Never use straight muriatic acid undiluted; it etches the paver face.
- Consider a breathable sealer. Penetrating siloxane sealers let moisture vapor out while blocking liquid water. They don’t produce the glossy look film-forming acrylics do, but they can’t trap efflorescence.
- Fix the water source. If efflorescence keeps coming back, moisture is entering the paver from underneath. That’s a drainage problem, not a paver problem.
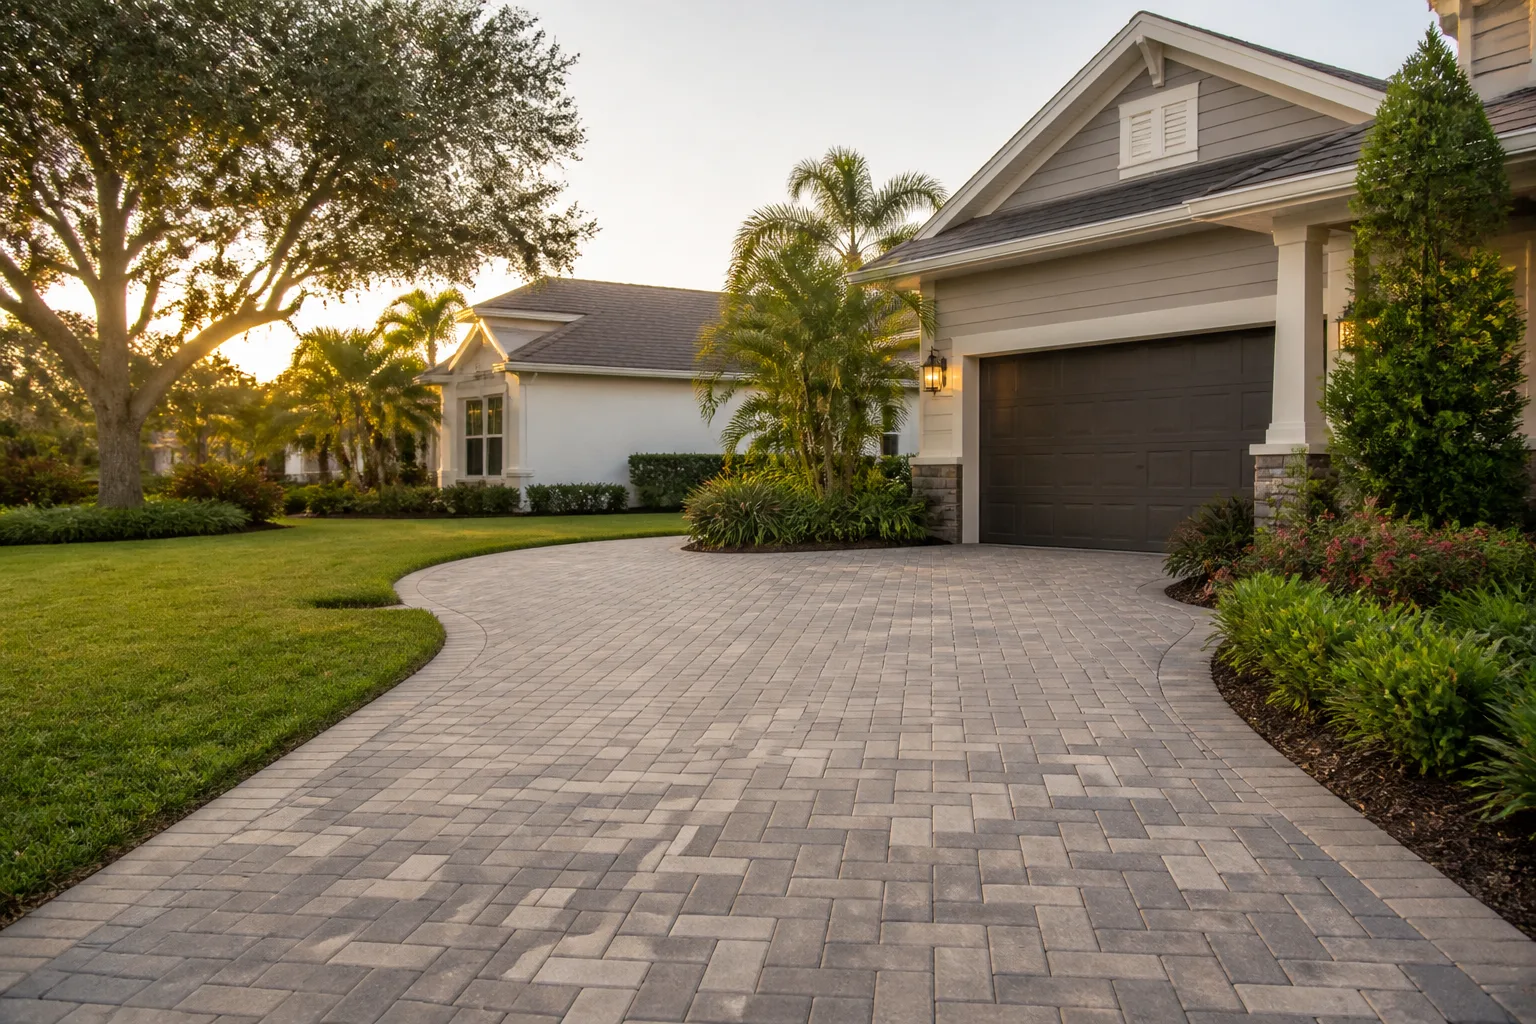
Efflorescence is the cosmetic issue that most often points to a real problem underneath: water where water shouldn’t be. When we install driveway pavers in El Monte, the base is graded to move water out from under the field before a single paver goes down. That’s the fix.
Edge Restraint Failure: The Overlooked Culprit Behind Spreading Pavers
If your paver driveway has started opening at the joints near the curb or along the side edge, and the whole field seems to be walking outward, the pavers are fine. The edge restraint has failed.
Every paver field needs a rigid edge to hold it in place. On a properly built driveway, that edge is a concrete curb or a spiked aluminum or plastic edge restraint set into a bed of concrete. Interlocking pavers transfer load to each other through their joints, but only if the perimeter holds. Remove the perimeter and the field spreads under traffic, then the joint sand washes out, then the pavers rock, then the base under the spreading zone fails.
On a driveway in El Monte that’s 15 to 30 years old, edge restraint commonly fails in three ways:
- Aluminum edge restraint rots out. Aluminum edge restraint was common in the 1990s and 2000s. Under regular moisture and Southern California’s alkaline soil, it eventually corrodes and pulls free of the spikes.
- Concrete curb cracks and separates. The curb is only as strong as the soil under it. If the soil settles, the curb drops and the pavers behind it lose their stop.
- No edge restraint at all. Some cheap installations rely on a row of pavers set on their side. That works only until traffic hits the edge and the row tips.
The repair is not cosmetic. It requires pulling the perimeter rows, replacing the edge restraint with a properly spiked, concrete-set system, re-compacting the base behind the new restraint, and re-installing the field. On a typical El Monte driveway, that’s a half-day to full-day job on a 200 to 400 square foot perimeter zone.
The good news is that edge restraint failure is fixable without tearing up the entire driveway – as long as you catch it before the field has spread more than two or three inches out of pattern. If the spread is bigger, the whole field has to come up to reset the base.
Drainage and Standing Water Problems
Standing water is the most reliable predictor of future paver failure. If water pools on your driveway more than an hour after rain stops, or if you find a low spot under a downspout, the driveway is doing the opposite of what it was designed to do.
The minimum slope for a residential driveway is typically a 1% grade – about one inch of fall for every eight feet. For an El Monte driveway running from the garage to the street, that’s not negotiable. If the slope was built flatter, or if the base has settled after the fact, water sits.
What sitting water does to a paver field:
- Washes joint sand out. The sand between pavers is the interlock. Water walking across the surface pulls that sand out slowly, and the pavers start to rock.
- Softens the base. Aggregate base under a paver field is strong only when it’s compacted and dry. Water saturated base loses strength fast, which is why water pooling in the same spot for a season becomes a dip the next.
- Lifts pavers in winter. El Monte gets occasional frosty nights in January, and wet pavers near the edge of a poorly drained field will lift – not much, but enough to break joint sand and start the cycle.
Fixing drainage is not always about re-sloping the driveway. Sometimes adding a channel drain along the low edge, or redirecting a downspout, solves the problem. On jobs where we’ve had to address pooling, the fix has cost as little as $400 for a downspout reroute and as much as several thousand for a base re-grade. If you’re seeing standing water routinely, this is worth a professional assessment before a $600 paver resand job turns into a $6,000 base rebuild.
When a Troubleshooting Fix Is a Valid DIY Job vs. When to Stop
Some driveway problems are honestly yours to solve. Some will void your contractor’s warranty the moment you touch them – or worse, hide a problem that gets exponentially more expensive. Here’s how we draw the line.
Reasonable DIY troubleshooting
- Refilling joint sand. Joint sand washes out over time. Re-sanding with a proper polymeric or stabilized joint sand is a normal seasonal maintenance task and does not void a warranty.
- Weed removal from joints. Pull them or use a joint-safe herbicide. Not a warranty issue.
- Efflorescence cleaning. A consumer-grade efflorescence remover and a stiff brush is fine. Just follow the label dilution.
- Sealing a mature field. If the driveway is at least a year old and dry, applying a breathable penetrating sealer is a fair DIY project. Skip the film-forming acrylics unless you’re certain no moisture is trapped.
- Cleaning and filling a hairline thermal crack. Flexible polyurethane crack filler, properly applied, is a fine homeowner job on a concrete driveway.
Stop and call a professional
- Lifting or pulling pavers to inspect the base. This is the one that voids warranties. Many installation warranties are valid only while the field is intact. If you pull pavers to look underneath and find a base problem, the contractor who installed it can disclaim the warranty on the grounds that the failure was discovered post-disturbance. On a compromised field, pulling pavers to “check” can turn a covered repair into a full replacement at your cost.
- Any repair over a suspected utility line. Gas, water, sewer, and irrigation lines under a driveway are common in El Monte. Digging into the base near one of these without knowing exactly where it runs is dangerous, and in some cases illegal without a permit.
- Cutting tree roots. This can kill a mature tree or destabilize it. Not a homeowner decision.
- Any vertical step over an eighth of an inch, any crack that’s still opening, any paver field that’s spreading. These indicate structural failure. Cosmetic fixes will hide the problem for one season and make it worse.
- Replacing edge restraint. This is real concrete work and requires resetting the perimeter of the field. Not a weekend project.
- Concrete slab crack injection or mudjacking decisions. Whether a slab can be lifted or needs to be replaced is a judgment call that depends on the base underneath. Get it assessed.
If you’re not sure which side of the line you’re on, call us. We’d rather tell you the fix is a $40 bag of joint sand than have you pull the wrong paver and turn a warranty repair into a full replacement.
El Monte Soil, Climate, and Permit Realities
El Monte sits on ground that behaves differently than the beach cities or the San Gabriel foothills, and that changes how driveway and paver problems play out here.
The soil. Much of El Monte is underlain by expansive clay and older alluvial deposits from the San Gabriel River system. That clay swells when wet and shrinks when dry, and a paver base sitting on it moves with it. A driveway that was perfectly flat in April can show dips by October if the base wasn’t built deep enough. We build base depths of 6 to 8 inches of compacted Class II aggregate for residential driveways in El Monte, sometimes more where the soil is particularly reactive.
The climate. El Monte’s summers are dry and hot – 95°F days are routine – and the rainy season runs December through March with the occasional atmospheric river event that drops two inches in 24 hours. That pattern is hard on hardscape. Thermal expansion in summer opens joints on concrete. Winter rain then gets into those joints, expands when it freezes on the rare night temps drop to the 30s, and pushes pavers up. This is why efflorescence and edge restraint failures show up most often in El Monte in March and April, right after the wet season.
Permits and grading. Driveway work that changes the curb cut, the slope toward the street, or the stormwater drainage path may require a permit through the City of El Monte’s building department. Interior paver replacement on a driveway that’s already there typically doesn’t. Any time a contractor tells you “we don’t need a permit” for a repair that changes drainage onto a neighboring property or into the street, get a second opinion. Grading that dumps water on a neighbor’s lot is a code issue and a liability issue.
Neighborhood quirks. We see settlement dip reported most often in the older tracts near Valley Boulevard and along the streets that slope gently up toward the foothills – those slopes concentrate runoff in ways flatter areas don’t. Driveways close to mature trees on the block have more root lifting. Driveways on the flat side streets near the Rio Hondo have more standing-water complaints.
None of this makes an El Monte driveway harder to build than anywhere else. It just means generic “install pavers on a 4-inch base and call it done” work fails here faster than in most of Los Angeles County. That’s why our Driveway & Pavers service in El Monte is scoped to the local soil and climate, not a national spec sheet.
What Repairs Actually Cost
Ballpark ranges for El Monte driveway and paver repairs. Actual prices vary with driveway size, access, and how much base has to be rebuilt. Every quote from us is upfront and line-itemed – the number you see is the number you pay.
| Repair | Typical range | Notes |
|---|---|---|
| Joint sand refill (resanding) | $150 – $400 | Standard maintenance; 1- to 2-year interval in El Monte |
| Efflorescence cleaning | $200 – $500 | One-time; recurring means moisture problem underneath |
| Handheld paver patch (5 – 20 sq ft) | $400 – $900 | Minor settlement correction, same-day repair |
| Edge restraint replacement (per linear foot) | $25 – $55 / ft | Full perimeter on a typical El Monte driveway runs $1,200 – $2,800 |
| Concrete crack sealing | $250 – $500 | Cosmetic / thermal crack; not for vertical step cracks |
| Base rebuild, partial field | $1,800 – $4,500 | When subsidence is confirmed under 100 – 200 sq ft |
| Full driveway replacement (per sq ft) | $12 – $28 / sq ft | When base failure covers the field; includes new base, pavers, restraint |
If you’re facing repairs in the $3,000-plus range, we offer 0% financing for 18 months and $1,000 off projects over $10,000, which can change which option makes sense.
Common Mistakes to Avoid
- Sealing a driveway within 90 days of installation. Traps moisture and turns temporary efflorescence into permanent staining. In El Monte’s wet springs, we recommend waiting until late summer.
- Re-sanding a field that’s already spreading. Fresh joint sand will wash out again in one wet season because the underlying edge restraint is failing. Fix the restraint first, then sand.
- Power-washing pavers at close range. A pressure washer used close to the surface blows joint sand out by the bucket and erodes the paver face. If you must use one, back it off and never aim it at the joint.
- Pulling a paver to “check” the base on a warranty-covered installation. Many installation warranties are voided by customer disturbance. Call the contractor before you lift one paver – we’ve seen this mistake cost a homeowner $4,000 in what would have been a warranty repair.
- Cutting tree roots under a driveway without an arborist. El Monte has mature street trees, and a homeowner who cuts the wrong root can end up with a dead tree and a citation.
- Using a fresh sand and cement mix to patch over a settled area. The Quikrete and Sakrete topping mixes are excellent products for small cosmetic fills, but they don’t bond to a paver field and they hide the base failure. The dip returns within a season, usually deeper.
- Assuming sealing fixes standing water. A sealer doesn’t help slope. If a low spot is pooling, the fix is drainage or re-grading – full stop.
See the difference
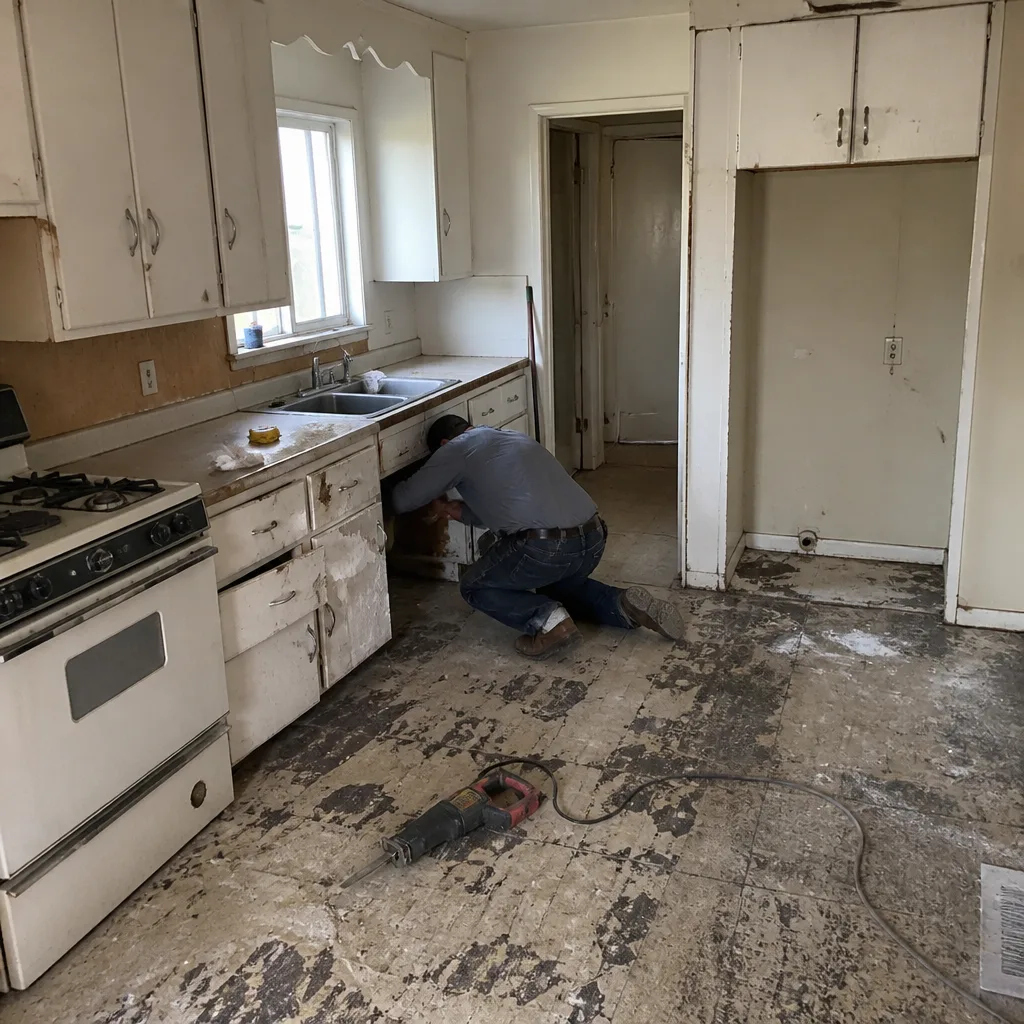 Before
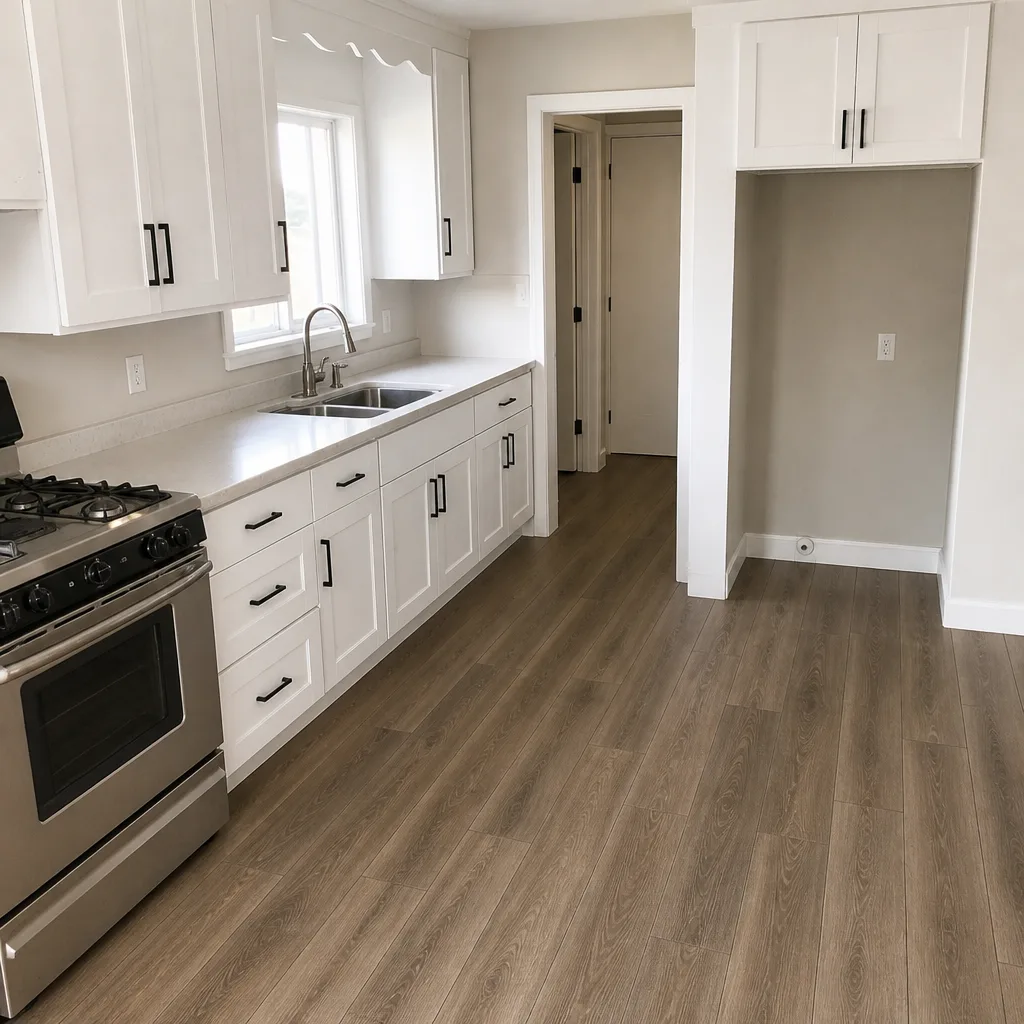 After
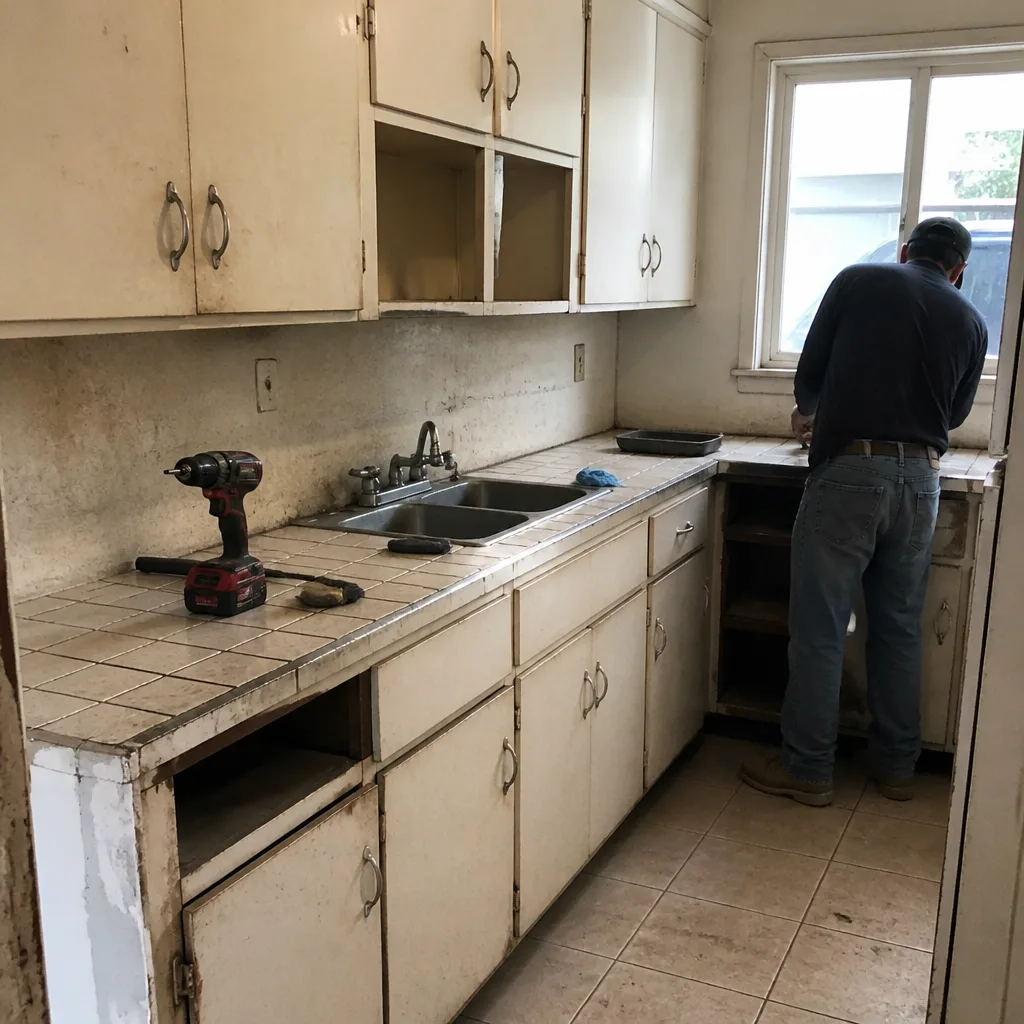 Before
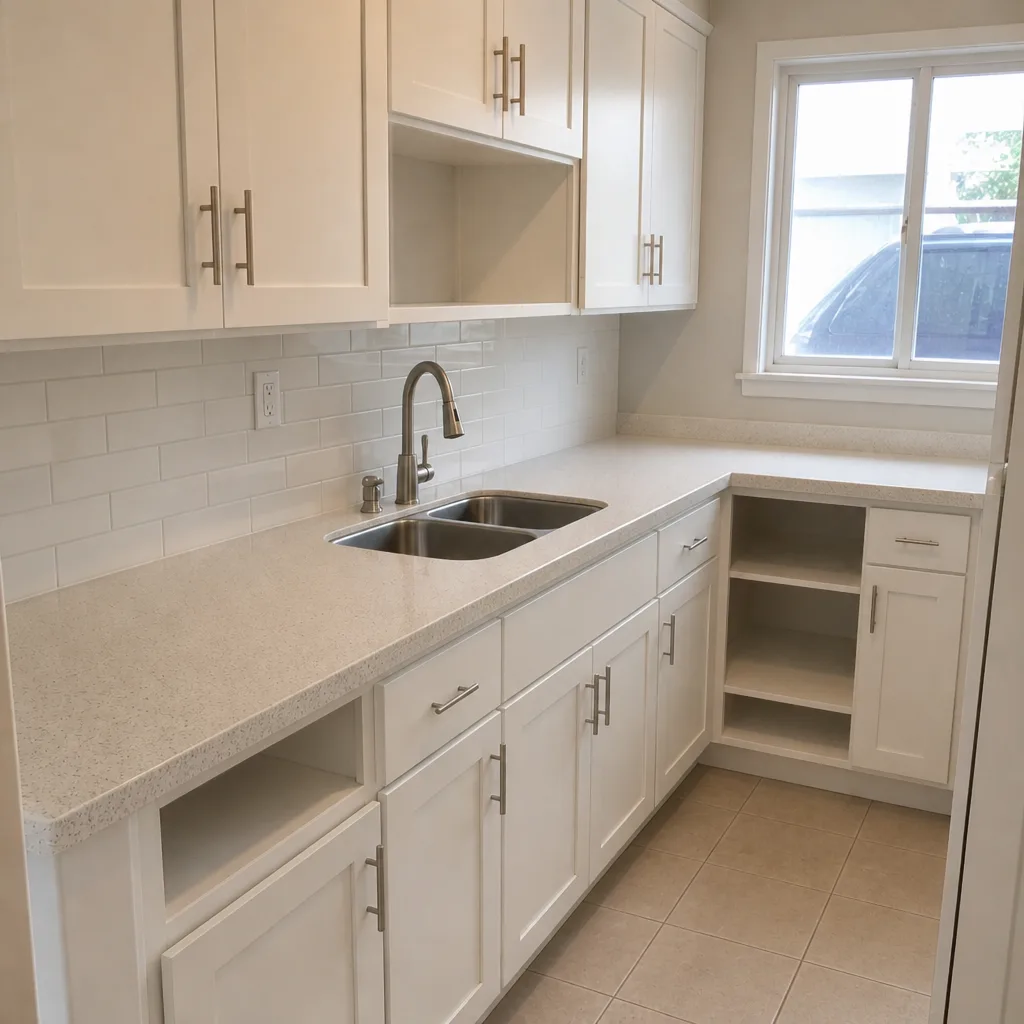 After
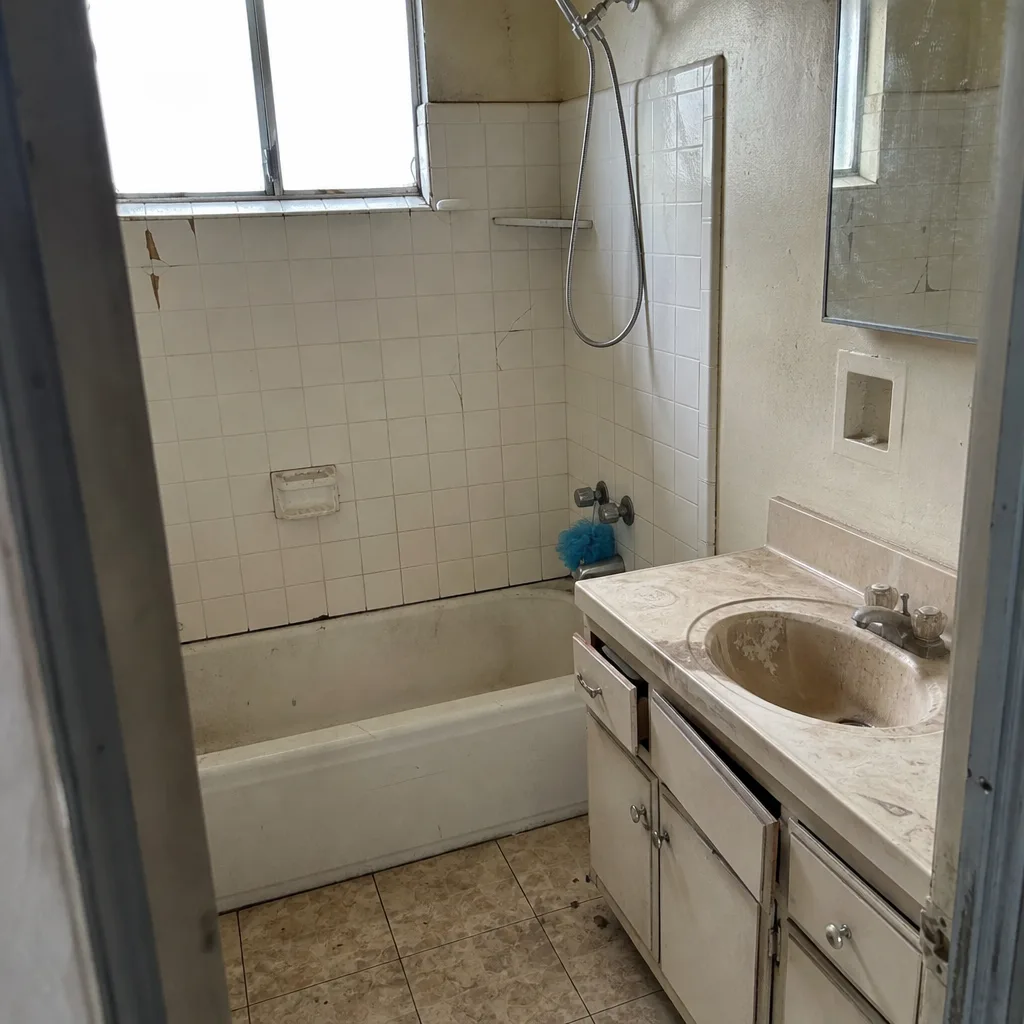 Before
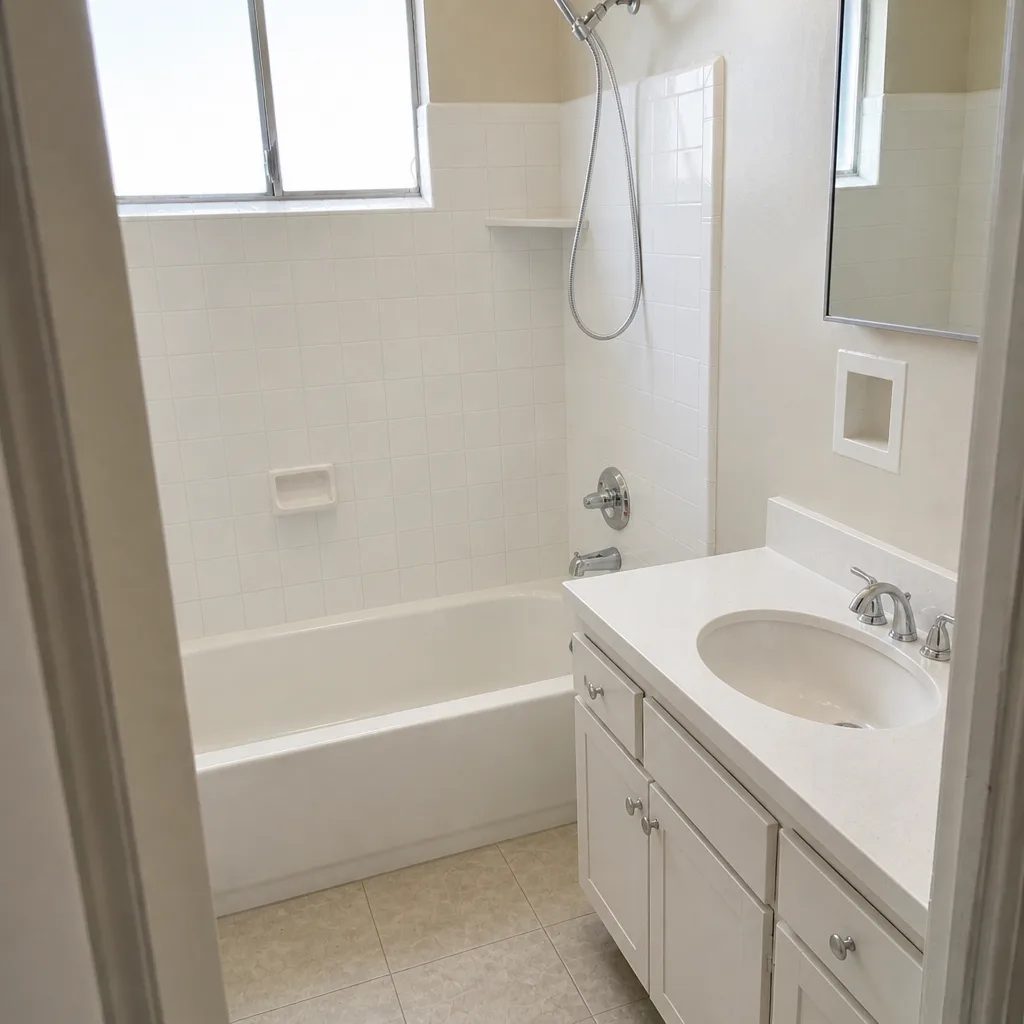 After
When to Call a Professional
Call a professional when the problem is structural. That means any vertical step in the pavement over an eighth of an inch, any crack that opened wider this year than last, any paver field that’s spreading out of pattern near an edge, any water that pools for more than a couple of hours after rain, and any paver that’s sunk more than a half-inch over a small area. Those are the situations where a cosmetic fix costs more later than a proper repair costs now. It’s also the point where pulling up a field can reveal base issues you can’t address without rebuilding – and where a live human answering a call beats a voicemail box.
Groundwork Construction Co. of El Monte offers free estimates in El Monte – call (888) 271-7872. Every estimate is a written, line-item quote with no surprises, and every repair is covered by our 730-Day Done Right Promise. If the fix isn’t necessary, we’ll tell you. If the fix is a bag of joint sand, we’ll tell you that too. Live person answers 24/7, and technicians arrive background-checked and in uniform. For broader exterior work that often gets planned alongside a driveway repair – like new fencing or an El Monte fence installation – we scope those at the same visit.
Frequently Asked Questions
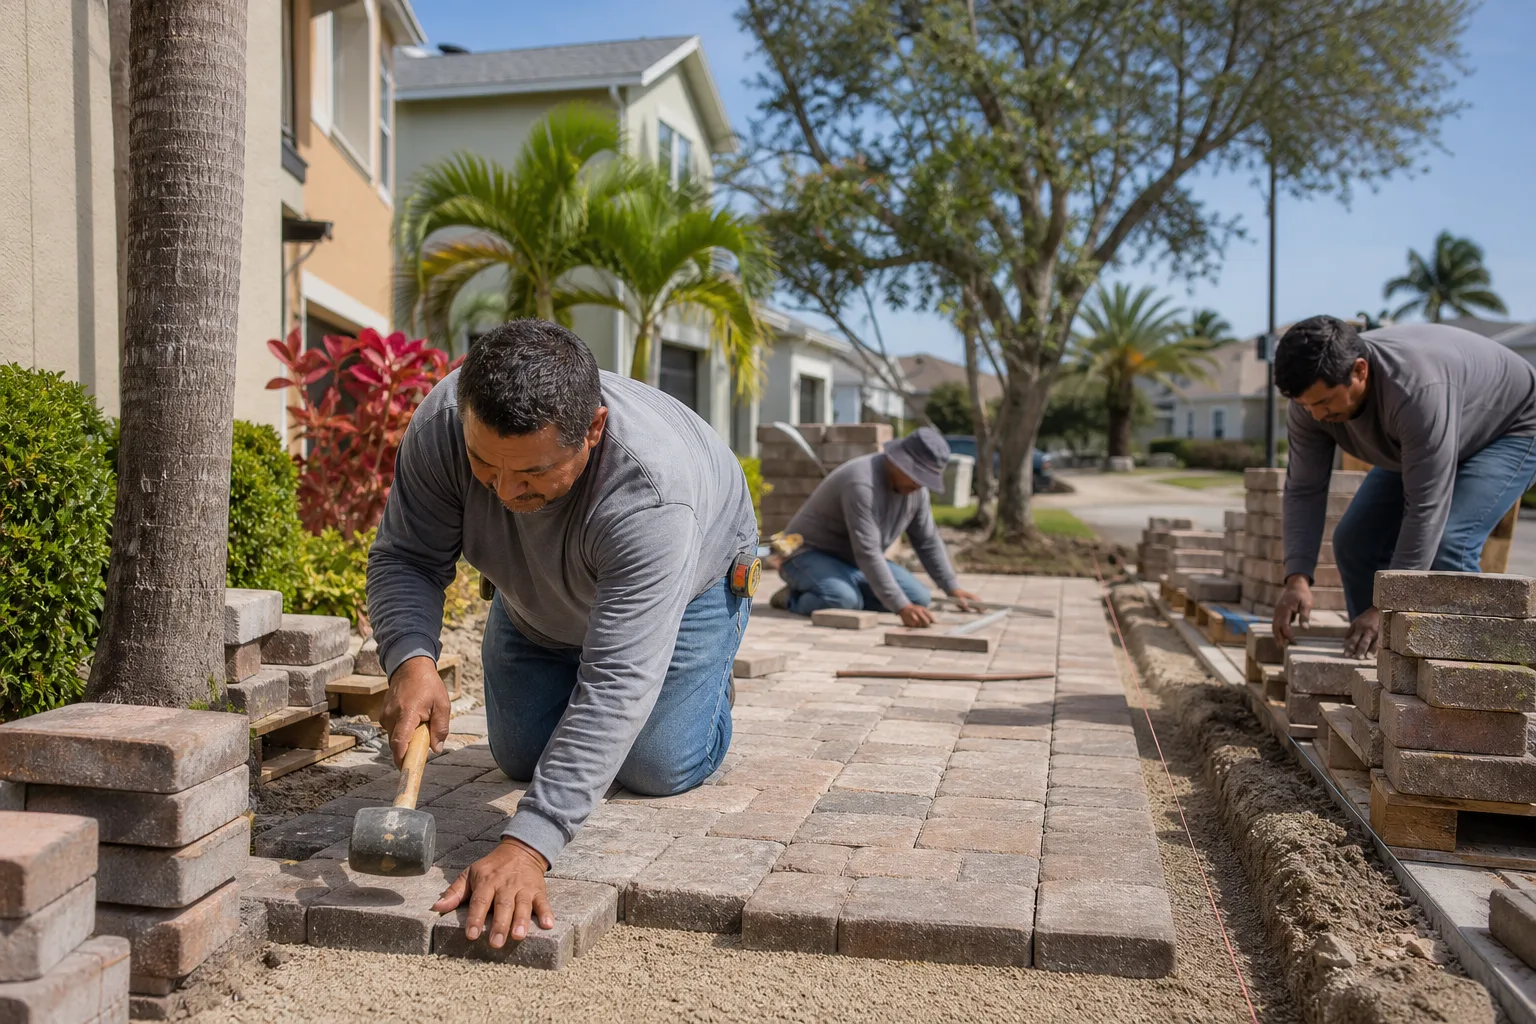
Sinking pavers are almost always a base problem, not a paver problem. In El Monte, the most common causes are expansive clay soil shifting under the base, joint sand washing out and leaving pavers unsupported, edge restraint failure that lets the field spread and lose interlock, or a slow leak from an irrigation line washing fines out from under the base. A straightedge test and 48-hour observation will tell you whether it’s minor settlement or active subsidence. Call (888) 271-7872 if the dip is deepening – that points to water moving soil, which won’t fix itself.
The pavers themselves rarely crack – the joint pattern and the pavement around them do. Hairline straight-line cracks on concrete are normal thermal expansion cracks. Irregular cracks radiating from a point mean point-load failure. Long cracks running parallel to the driveway edge signal edge restraint failure. Any crack that’s stepped vertically – one side higher than the other – is base failure and needs professional assessment. Call (888) 271-7872 for a free evaluation if you have a vertical step crack.
That’s efflorescence, a natural salt deposit that migrates to the paver surface as moisture evaporates. It’s cosmetic, not structural, and usually fades on its own. It becomes permanent if the paver was sealed before it fully dried out, which traps the salt under the sealer. A breathable penetrating sealer applied after 60-90 days of dry weather is the right approach. If it keeps coming back, moisture is entering from underneath – a drainage issue, not a paver issue. Call (888) 271-7872 for a free assessment.
Small settlement of 15 square feet or less, where pavers are intact and the edge restraint is sound, is a reasonable DIY repair – lift the pavers, re-level the sand bedding, re-compact, and reset. What you shouldn’t do is pull pavers to inspect a suspected base problem on a warranty-covered installation; that can void the warranty. Anything over a half-inch of subsidence, any edge restraint failure, or any crack pattern that’s still opening needs a professional. Groundwork Construction Co. of El Monte offers free estimates – call (888) 271-7872.
Interior paver replacement and crack sealing typically don’t require a permit. Any repair that changes the curb cut, the drainage path, or the grading toward the street may require a permit through the City of El Monte. If a contractor tells you a drainage-changing repair doesn’t need a permit, get a second opinion – grading that pushes water onto a neighbor’s lot is a code and liability issue. Call (888) 271-7872 for a free assessment of what your specific repair will require.
Coverage depends on the failure cause. Base failure from installation workmanship, base failure from an inadequate compaction spec, edge restraint failure from improper installation – all typically covered. Damage from a customer pulling pavers, damage from improper sealing, or failure from a leaking irrigation line the homeowner should have fixed – typically not covered. The rule of thumb: call the contractor before you lift anything. At Groundwork Construction Co. of El Monte, every repair is covered by our 730-Day Done Right Promise – if it’s not done right, we make it right. Call (888) 271-7872 for a free evaluation.
The Bottom Line
The pattern across almost every driveway and paver problem we see in El Monte is the same: a cosmetic symptom with a structural cause. Sunken pavers mean a base problem. Spreading pavers mean an edge restraint problem. White staining means moisture has nowhere to go. Cracks that step vertically mean the base has failed on one side and not the other. Fix the cause and the surface stays put for years. Cover the symptom and it returns within a season – usually deeper. Before you spend a dollar on a surface fix, run the straightedge test, do the 48-hour observation, and know what crack pattern you’re looking at. If it’s structural, it’s a professional call. For everything else, start with us: Groundwork Construction Co. of El Monte offers free estimates – call (888) 271-7872.
If your project is bigger than a repair – a full driveway rebuild, a fence installation in El Monte, or an El Monte home addition or ADU that has to work around existing hardscape – we scope it all with one team, one schedule, one written quote, from foundation to finish line. For everything we do, see our Groundwork Construction Co. of El Monte home.
Written by the team at Groundwork Construction Co. of El Monte.