Last updated November 17, 2026




Free written scope consultation - allowances, timeline, and change-order rules on paper before a single trade is scheduled
Fence Installation Troubleshooting: Common Problems and How to Fix Them
A leaning fence post isn’t a wind damage problem 90% of the time. It’s a footing depth problem that the wind just made visible. We’ve rebuilt hundreds of fences across El Monte, and the pattern repeats: the wood fails first along the grain, not at the joint. Homeowners who learn to read their fence this way save thousands. This guide covers the three installation errors behind nearly every problem you’ll see, plus how to diagnose your own fence in a walk-around before you call anyone.
Quick Answer
Most fence problems come from three installation errors: shallow post footings, fasteners specified wrong for the material, and drainage that sends water to the base of the fence. A leaning post can often be re-plumbed and re-packed if the footing is deep enough and the wood is still solid. Rot at the base, warped boards cycling between wet and dry, and sagging gates each have a specific fix path. Structural rot or footing failure means replacement, not repair.
Styles & brands we work with
- Kitchen remodeling
- Bathroom remodeling
- Home additions & ADU
- Roofing
- Windows & doors
- Driveway & pavers
- Fence
Table of Contents
- Leaning posts: footing diagnosis and the re-plumb decision
- Wood rot triage: surface rot vs. structural rot at the base
- Gate sag and the three adjustment points that fix most gates
- Warped boards: moisture cycling vs. base drainage
- Panel-to-post connections and fastener specification
- El Monte climate factors that shorten fence life
- Step-by-step fence diagnosis walk-around
- Common mistakes to avoid
Leaning Posts: Footing Diagnosis and the Re-Plumb Decision
A post that’s leaning in a consistent direction after a wind event usually has a shallow footing. A post leaning in the direction the wood grain runs has a moisture problem. These look similar from the sidewalk and require different fixes. In El Monte, where the Santa Ana winds funnel through the San Gabriel Valley each fall, we see the first type most often: footings set to 18 or 20 inches when the post needed 24 to 36 inches if you can’t get a deeper hole.
The test is simple. Dig 6 to 8 inches down on the exposed side of the leaning post, and press a screwdriver into the wood at the base and about 4 inches above it. If the screwdriver sinks more than a quarter of an inch, the wood is compromised and re-plumbing won’t hold.
- Expose the footing 6 to 8 inches down. Look for concrete or packed soil around the post.
- Push a screwdriver into the wood at ground level and 4 inches up. Soft wood means the post is done.
- Rock the post gently by hand. If it moves at the base, the footing has failed. If it moves at the top only, the post is still anchored.
- Check footing depth. If you can see less than 18 inches of packed or poured footing, the post was set too shallow.
- If the wood is solid and the footing is deep enough: re-plumb by excavating the loose side, driving the post back to vertical with a come-along or a support board, and re-packing with gravel in 4-inch lifts, tamped each time.
- If the wood is soft or the footing is shallow: pull and reset with a new post, deeper concrete footing, and gravel at the base for drainage.
Re-plumbing is often a two-hour fix. Resetting is four hours or more. Knowing which one you’re in before you pick up a shovel saves you from re-packing a post that will lean again the next time the wind blows through El Monte.
Wood Rot Triage: Surface Rot vs. Structural Rot at the Base
Surface rot is the gray, fuzzy stuff on the side of a board or post that can be sanded and treated. Structural rot is what happens when the water has been fed the post base for years and the wood crumbles when you poke it. They look related. They aren’t. One is cosmetic, one means the post is done.
The single hardest call in fence repair is a post that feels solid from the ground to knee height but crumbles below grade. Our technicians use a small pick or awl and test three spots on every post during a repair walk-around. If the wood passes, you treat and move on. If it fails, you reset the post. A fence under 10 years old with rot at the base almost always has a grade-and-drainage issue that will rot the replacement post too if it’s not corrected.
If your posts are treated lumber, they’ll fail at the base faster when they’re sitting in soil that stays wet after rain. El Monte gets less than 16 inches of rain a year, but what it does get falls on clay soil and pools. If your post base is in a low spot that holds water more than 24 hours after rain, treat that drainage as part of the repair.
- Surface rot: gray or green tint, softness only on the exposed face, screwdriver penetrates less than 1/4 inch. Fix: scrape, sand, treat with borate wood preservative, seal with exterior stain.
- Structural rot at base: wood crumbles at ground level, screwdriver sinks past the head, post moves when pushed. Fix: post replacement. No treatment stops wood that’s already failing.
- Rot at the top of the post: usually a missing post cap. Add a cap and treat or replace the top 12 inches of the post if the rest is sound.
- Rot at pickets: usually the sharp bottom edge wicking water. Cut pickets 1 to 2 inches above the ground, or replace with rot-resistant alternatives.
We’ve seen treated pine posts fail in as little as 7 years in El Monte when they were set in soil with no gravel collar and no drainage. The same posts in a raised bed with 4 inches of gravel at the base routinely last 15 to 20 years.
Gate Sag and the Three Adjustment Points That Fix Most Gates
Gate sag is almost never a hinge failure, and pulling out the hardware before you’ve checked the alignment points is the fastest way to make a sagging gate worse. A gate drops out of alignment for three reasons: the post has shifted, the hinge has loosened or worn, or the gate frame has racked out of square. Check those in that order.
- Post plumb: Set a 4-foot level on the gate post. If it’s out of plumb by more than 1/4 inch over 4 feet, the gate is hanging off a leaning post. Fix the post first (see the section above). Gate adjustment won’t hold on a post that’s moving.
- Hinge alignment: Swing the gate a few inches and let it go. If it settles into a sag, the top hinge is likely carrying too much load or the bottom hinge is wallowed. Tighten all hinge bolts and check that top and bottom hinges are on the same plane. Shim the top hinge if needed.
- Frame square: Measure corner to corner diagonally. If the difference is more than 1/2 inch, the gate frame has racked and needs a diagonal brace or a turnbuckle on a sag kit.
Once those three points are checked and corrected, most sagging gates swing clean. If it’s still sagging after all three, the gate was undersized for the opening or the hinges are the wrong spec for the gate weight. A gate built for a 36-inch opening but hung on a 48-inch span with light-duty hinges will sag no matter what you do to the hinges.
El Monte’s dry summer heat dries out wood gate frames and posts faster than the coastal cities. A gate built in March and hung in June can sag by August if the post dries and shrinks, which loosens the hinge bolts. Checking bolts every fall after the first cool weather is a two-minute job that prevents most of the seasonal sag we see.
Warped Boards: Moisture Cycling vs. Base Drainage
A warped board is a board that absorbed water on one face and dried on the other. That’s it. The warp direction tells you which face is wetter. If boards cup toward the sun (the concave side facing out), the outer face is drying faster than the inner face and you have a normal moisture cycle. If they cup toward the ground uniformly, you have water coming up from the base.
The wet-dry cycling problem is manageable. The drainage problem is urgent because the same water that warps the boards is rotting the base of the fence from below.
- Moisture cycling: boards cup on the sunny face only in dry months, flatten back after rain. Fix: coat both sides with exterior stain or paint so the two faces absorb at the same rate. This is a $200 to $400 job on a typical 100-foot fence.
- Base drainage: boards warp toward the soil and stay warped year-round, with rot appearing along the bottom 6 inches first. Fix: correct the grade so water runs away from the fence, add gravel at the base, and replace the sections that have already warped past recovery.
- Wrong fastener spacing: fasteners set too far apart (more than 8 inches for most boards) let the board move between them, which shows up as “warp” but is a fastener issue. Add fasteners and it stops.
- Wrong material for the sun exposure: cedar and untreated pine warp more than a vinyl or composite board in El Monte’s UV load. If your boards are untreated pine on a full-sun west-facing fence, warping is predictable.
If you can press a warped board back flat with hand pressure in wet weather and it returns to flat, it’s moisture cycling. If it stays warped in both wet and dry conditions, the board has taken on a set and needs replacement. A fence installation crew that pre-drills and back-primes both faces of every board prevents most of this before it starts.
Panel-to-Post Connections and Fastener Specification
The joints where panels meet posts are where most fences fail in the first three years. Not the wood. The fasteners. A 16-penny galvanized nail driven through a 2×4 rail into a post is under-specified for the wind load a 6-foot fence takes in the San Gabriel Valley, and the nail backs out within a few seasons.
Fastener spec is where we see the most avoidable failure. The right spec for a standard 6-foot wood fence in this region:
- Rail to post: 3-inch or 3-1/2-inch exterior structural screws (not nails) into the post.
- Picket to rail: 1-5/8-inch or 2-inch exterior screws, not nails, at every rail crossing.
- Post to footing: galvanized post base hardware set into the concrete. Not the post sunk directly in concrete, which rots at the soil line.
- Metal connectors: strap-style ties at the rail-to-post joint on gates and end posts.
Fasteners fail before wood does, and the failure mode is invisible: the rail pulls back from the post by 1/8 inch, the load transfers to the neighboring pickets, and the fence starts wobbling in the next wind event. Replacing nails with structural screws at the rail-to-post connections is a half-day job for most fences and is the single highest-value repair we do on fences under 10 years old.
Wood and vinyl fences take different fasteners. Vinyl fences rely on the panel extrusion and post insert system, and if the posts weren’t set with the right insert depth, the panel can’t hold. That’s a post problem, not a panel problem, and it’s the reason we don’t quote a vinyl repair until we’ve confirmed post install depth.
El Monte Climate Factors That Shorten Fence Life
El Monte sits in the San Gabriel Valley, which means our fences run hotter in summer than coastal cities and get more UV load than most of Los Angeles County. That matters for two reasons: wood dries and shrinks faster here, and the fall wind events that funnel through the valley put pressure on fences that have already lost fastener tension over the summer.
If you’ve noticed your fence looks fine in April and wobbly in October, that’s the pattern. Our technicians check fastener tightness on every repair walk-around during the fall, because that’s when the seasonal lag shows up. The clay soil common in El Monte homes also means water pools more than it drains in some yards, which is why gravel collars at the base matter more here than they do in sandier soils.
Sun exposure varies across the city. Fences on the south and west side of a property take the brunt of the summer afternoon sun, and those are the sections we see dry and warp first. If you’re only repairing part of a fence in El Monte, repair the sun-facing run this cycle and the shaded run next cycle rather than doing both the same year. Your budget goes further and you get to compare how each one holds up.
For homeowners replacing fence lines, the brand partners we use on roofing and other exterior projects also come into play on wind-rated fence hardware. Brand partners like CertainTeed, Owens Corning, and IKO all make products that meet wind ratings appropriate to this region, and we specify to the same standard on fences.
Step-by-Step Fence Diagnosis Walk-Around
Before you call anyone, do a 15-minute walk-around of your fence. Bring a screwdriver, a 4-foot level, and your phone to take pictures. Here’s the sequence our crews follow:
- Walk the fence line and note every post. Write down which posts lean, which have rot at the base, and which look fine. You’ll spot the pattern.
- Test each post base with the screwdriver. Push into the wood at ground level and 4 inches up. Note any that pass or fail.
- Level each suspect post. A 4-foot level on the post face tells you whether it’s out of plumb or the whole line was set off-line from the start.
- Open and close every gate. Note which sag, which stick, which rub on the ground. Photograph the alignment points at the hinges and at the latch.
- Read the boards. Cup direction, warp pattern, rot at the base. Photograph any board that’s warped past flat.
- Check the top of the fence. A missing cap on any post is a future rot problem. Note which posts need caps.
- Look at the drainage. Where does water run after rain? Does it pool at the fence base? Is the fence bottom sitting in a trench?
- Photograph the connection points. Rail to post, picket to rail. Note whether you see nails or screws.
Bring those photos and notes to any contractor call. A crew that can quote from them will be more accurate than one guessing from a 5-minute site view. If you need a full replacement rather than repair, you’ll want to have your existing notes ready for the estimate. When the fence is part of a larger exterior project, we pull fence work in with the same crew and the same 730-Day Done Right Promise we use across Driveway & Pavers in El Monte and Fence Installation in El Monte.
Common Mistakes to Avoid
- Packing a leaning post back in without fixing the footing. Re-packing works, but if the footing is shallow, the wind event that knocked it loose will do it again next fall. Verify footing depth before you pack.
- Treating structural rot as if it’s cosmetic. Borate treatment stops surface rot. It doesn’t bring back wood that’s already crumbled. Test with a screwdriver before you buy treatment.
- Adjusting gate hinges before checking the post. If the gate post is leaning, hinge adjustment is temporary. Fix the post, then adjust the hinge.
- Using nails where structural screws are required. Nails back out under load. Screws at every rail-to-post and picket-to-rail connection last decades longer.
- Replacing warped boards without addressing the drainage. The new boards will warp the same way. Fix the grade first or the next set fails the same cycle.
- Waiting until the fence is falling over in El Monte before you call for an estimate. Fence repair is cheapest when the leaning section is 1 post, not 6. Early diagnosis is cheaper than full replacement.
- Skipping post caps. They cost less than $5 each and add years to the post. If you’re doing any repair walk-around, cap every open post on the same visit.
See the difference
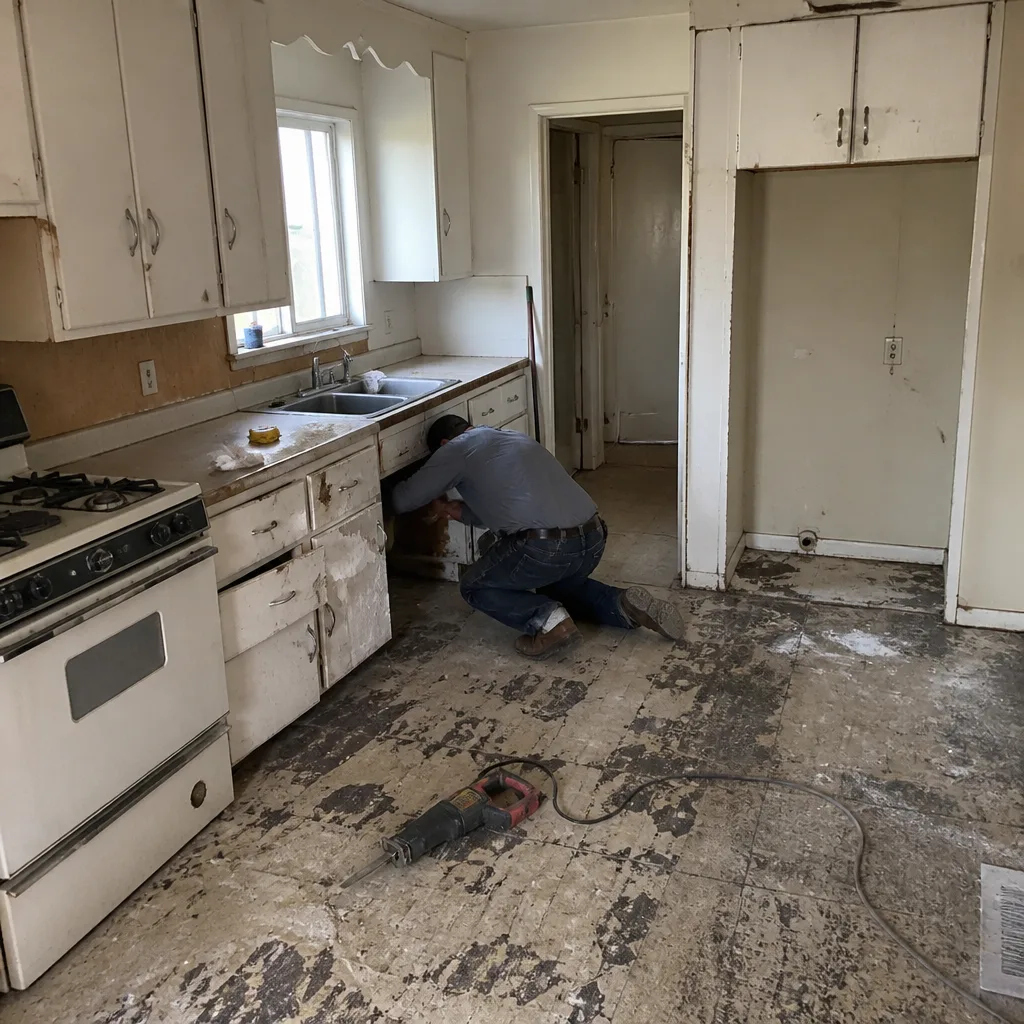 Before
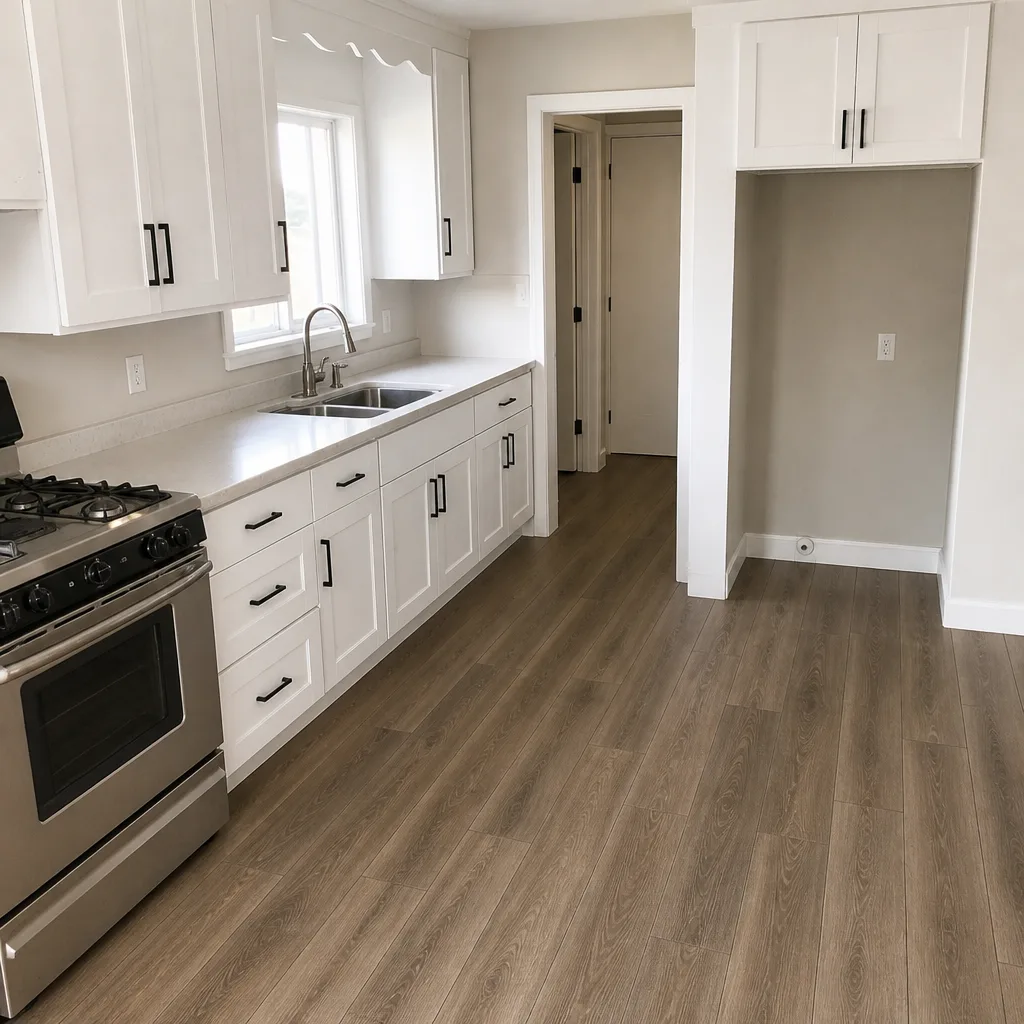 After
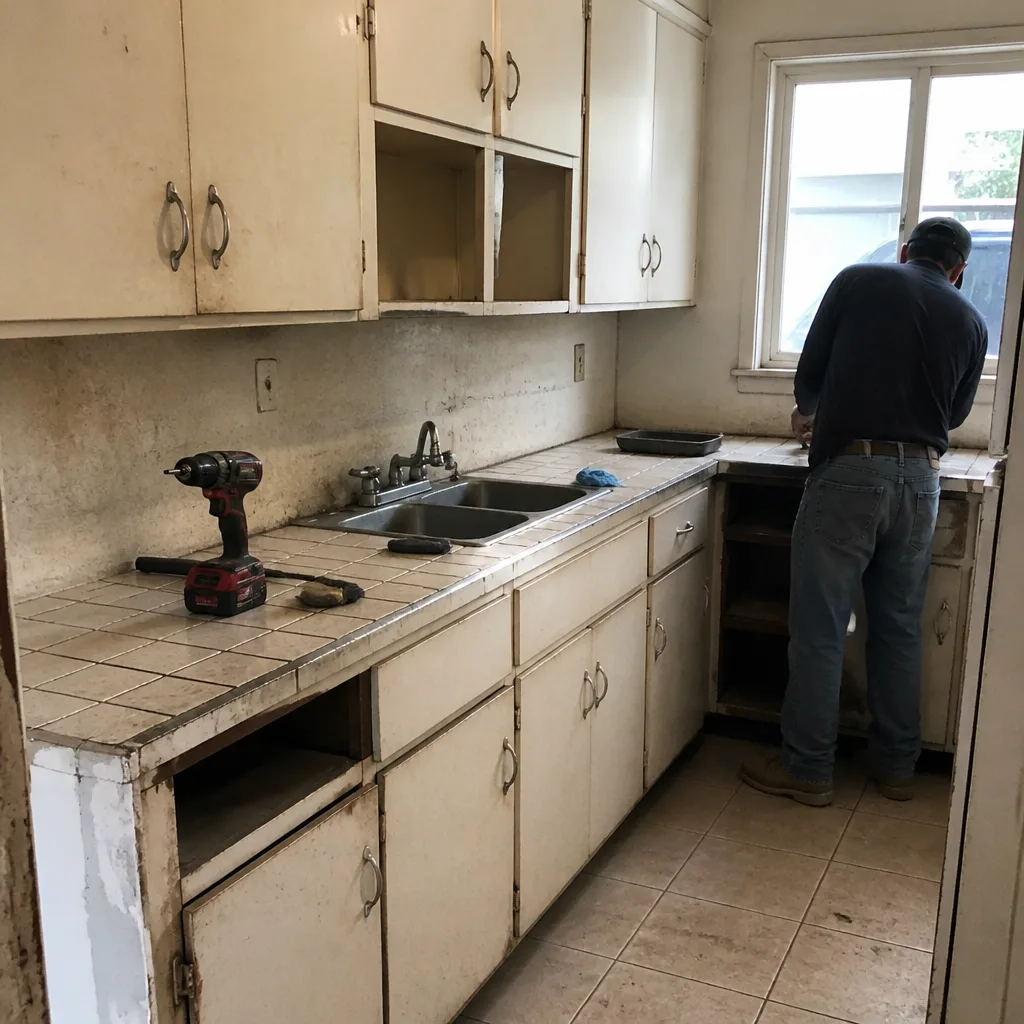 Before
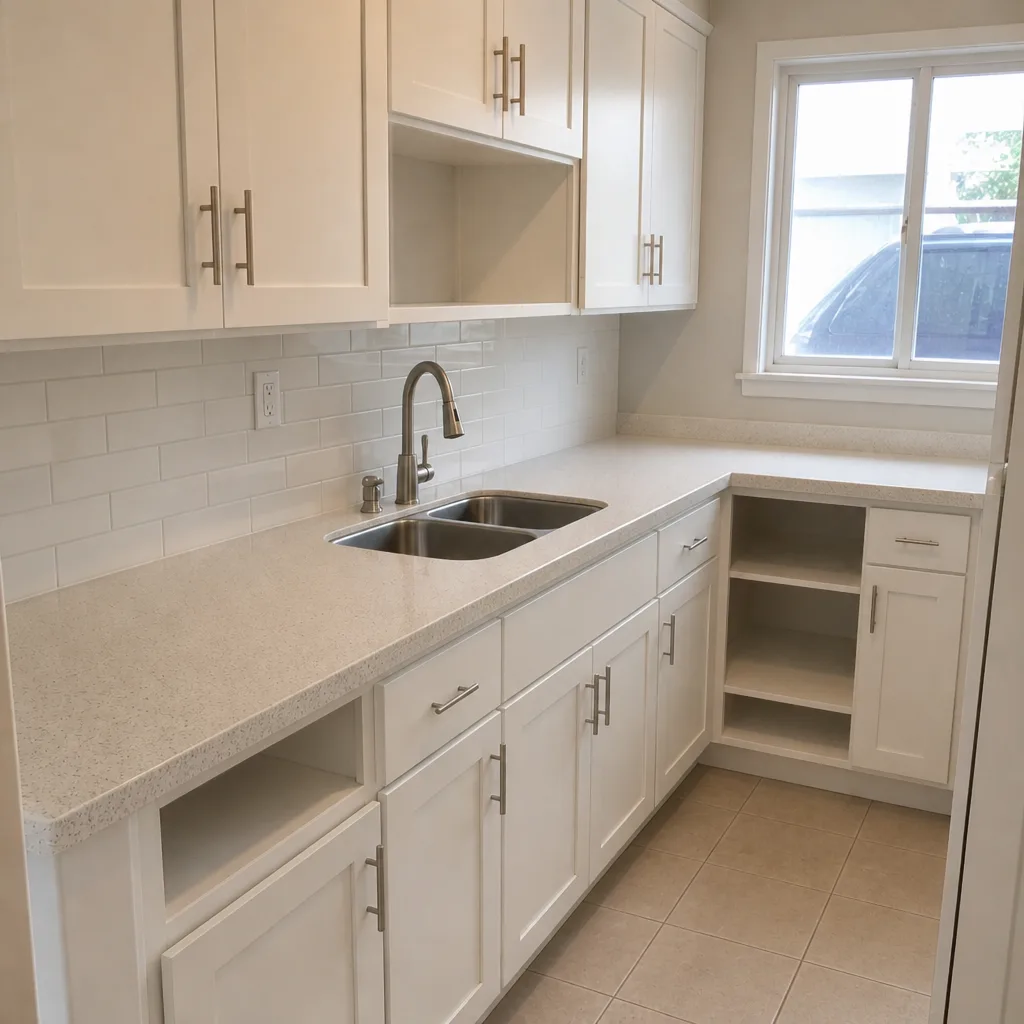 After
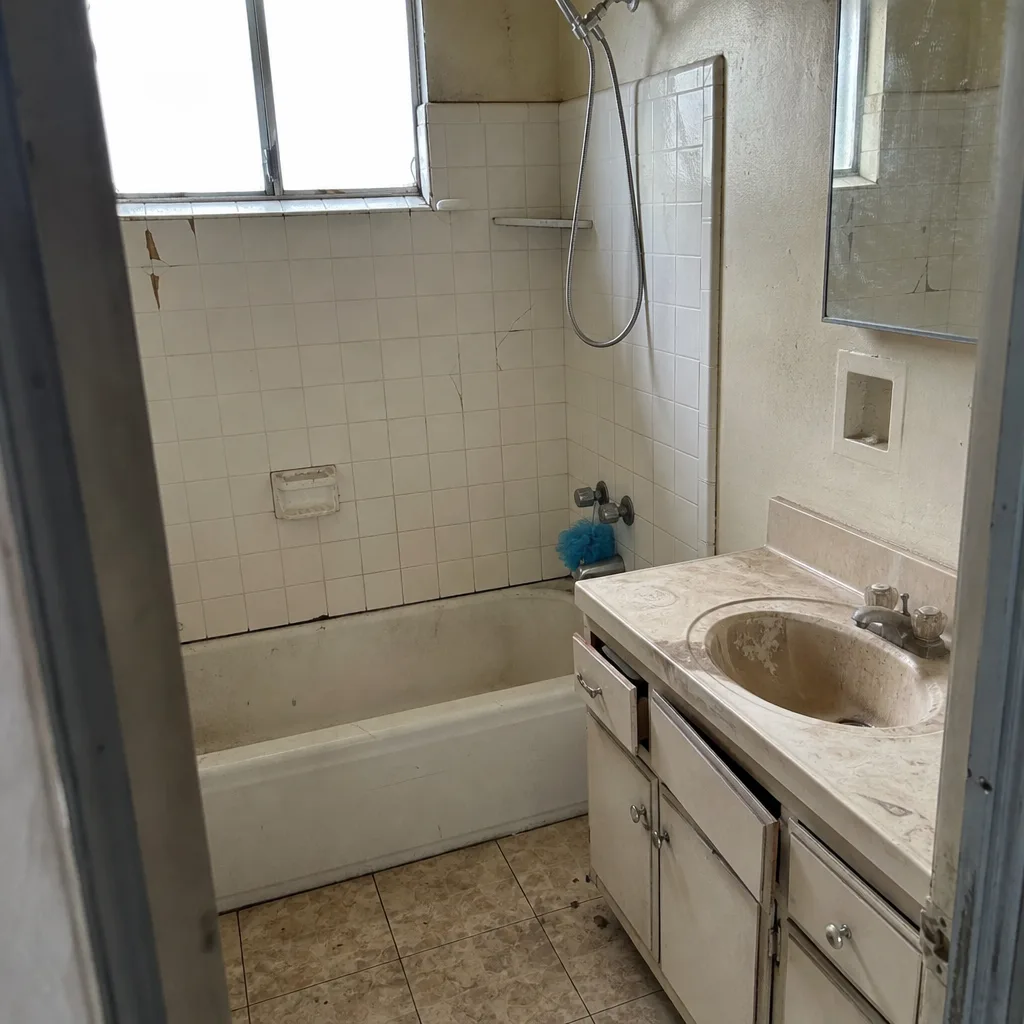 Before
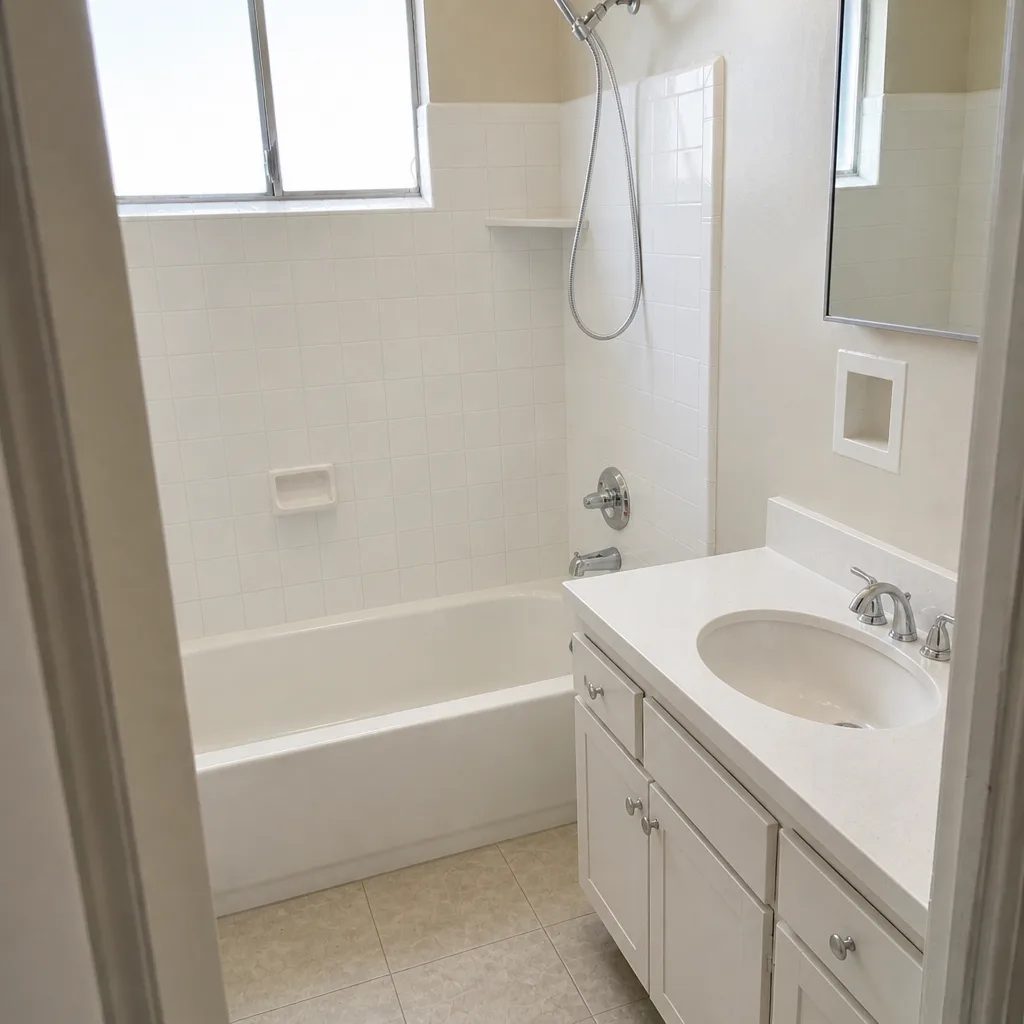 After
When to Call a Professional
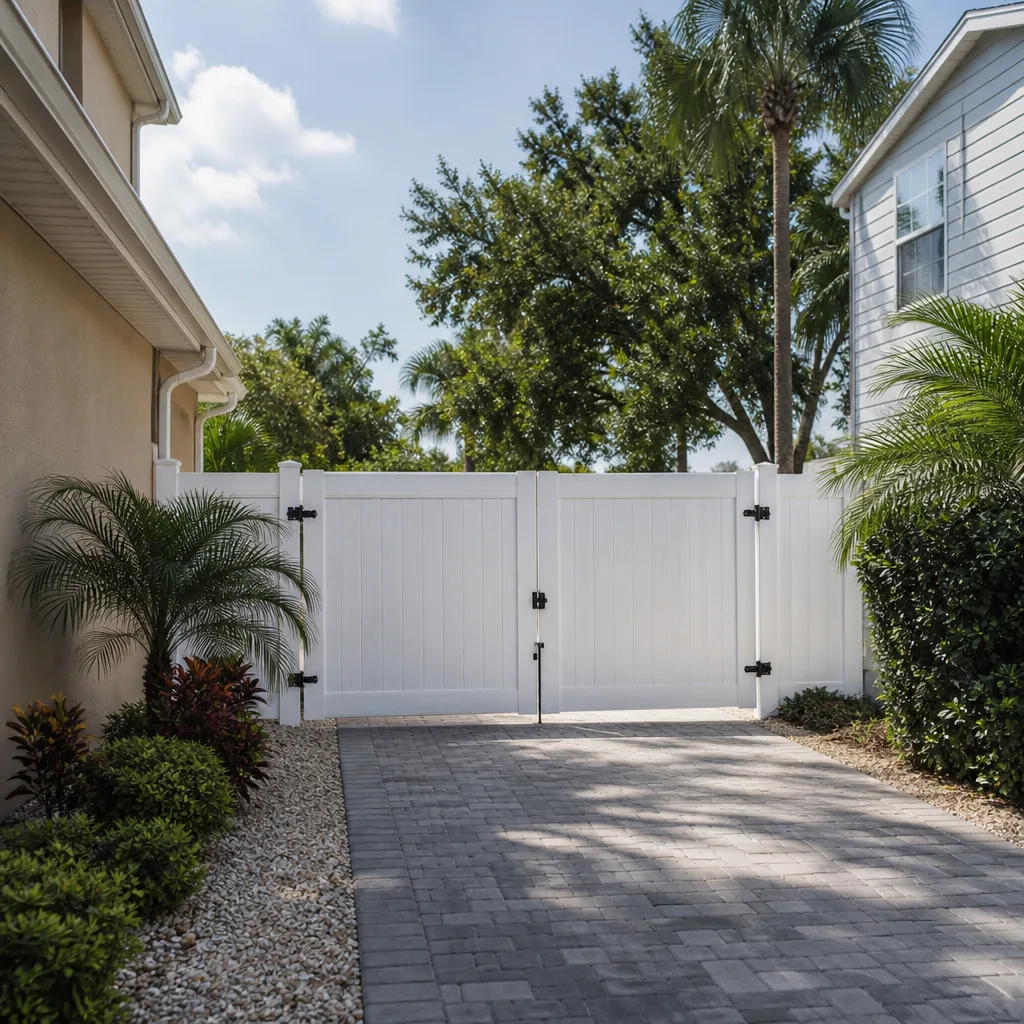
Some of this work is genuinely a homeowner job: post caps, board replacement on a small run, gate hinge tightening. Other work has real structural weight behind it. Pulling a post that’s set in concrete, resetting footings to proper depth, and rebuilding a fence line under wind load are jobs where the footing math and the fastener spec matter, and getting them wrong the first time costs more than the repair.
We’ve repaired fences in El Monte that were installed twice by previous contractors and failed twice because the footing depth was wrong both times. That’s not a repair problem. That’s a specification problem, and we don’t quote a repair until we’ve confirmed the footing. Groundwork Construction Co. of El Monte offers free estimates in El Monte – call (888) 271-7872. Our technicians have up to 12 years of experience and every job is backed by our 730-Day Done Right Promise, if it’s not done right, we make it right.
If you’re planning fence work alongside a larger home project, we handle the full scope from the same crew. That includes home additions where a fence line needs to be reset for a new structure, which you can scope with our Home Additions & ADU in El Monte team while we quote the fence repair.
Frequently Asked Questions
Fence repair in El Monte typically runs $250 to $600 for a single-post re-plumb, $150 to $400 for a gate adjustment, and $50 to $200 per section for board replacement. Full post reset with new concrete usually runs $400 to $800 per post. Call (888) 271-7872 for an exact quote – estimates are free.
Yes, if the wood is solid and the footing is deep enough. Re-plumbing and re-packing a post is often a two-hour job. If the wood fails the screwdriver test or the footing is shallower than 18 inches, the post needs replacement. Call (888) 271-7872 to have a technician assess which one you’re in.
Push a screwdriver into the wood at ground level and 4 inches up. If it sinks less than a quarter inch, it’s surface rot and treatment works. If it sinks past the head or the wood crumbles, the post is done. Call (888) 271-7872 for a free inspection if you’re not sure which you’re looking at.
Our dry El Monte summers shrink wood posts and gate frames, which loosens hinge bolts and drops the gate out of alignment. Tighten the bolts every fall after the first cool weather. If the sag returns, the hinges or the frame need adjustment or a sag kit. Call (888) 271-7872 to have it assessed.
Boards that press flat by hand in wet weather and return to flat are moisture cycling and can be treated by staining both faces. Boards that stay warped in wet and dry conditions have taken on a set and need replacement. Call (888) 271-7872 for a walk-around if you’re not sure which category your boards fall into.
If 3 or more posts fail the screwdriver test in the same run, replacement is usually cheaper than repairing them one by one. If 1 post fails and the rest are solid, repair is the right call. Call (888) 271-7872 for a free estimate that sketches both paths – repair and replace – so you can compare on paper.
The Bottom Line
Nearly every fence problem traces to footing depth, fastener spec, or base drainage. That’s the whole diagnosis. A leaning post with solid wood and deep footing gets re-plumbed. A post with rot below grade gets reset or replaced. A gate gets its post checked first, then hinges, then frame square. Warped boards get the moisture cycle or the drainage tested, and only then the board itself. The walk-around in this guide separates those cases without a contractor on site, and it saves you from paying for the wrong fix. When you’re ready to book a free estimate, call Groundwork Construction Co. of El Monte at (888) 271-7872. Learn more about our full scope from Groundwork Construction Co. of El Monte home.
Written by the team at Groundwork Construction Co. of El Monte.