Last updated November 17, 2026
Free written scope consultation - allowances, timeline, and change-order rules on paper before a single trade is scheduled
Home Additions & ADU Maintenance Schedule: What to Do and When
Here’s the counterintuitive part about a new addition: the newest square footage on your property is often the most vulnerable. Most El Monte homeowners maintain their original house and their new addition as if both were built the same year with the same materials. They weren’t. The connection joint between old and new structure, the roofline transition, and the new utility tie-ins each follow their own degradation timeline. Generic maintenance checklists miss all three. This guide lays out a real schedule built around that hybrid condition, from the 30-day check to the ten-year horizon, with the El Monte climate factors that speed up or slow down each task.
Quick Answer
New additions and ADUs need a dedicated maintenance schedule that’s separate from your main house, because new materials cure, settle, and move differently from the older structure they attach to or sit beside. The schedule runs on three tracks: a first-year settling sequence (checks at 30, 90, and 365 days), an annual weatherproofing pass focused on the old-to-new connection, and a seasonal El Monte heat-and-rain routine. Detached ADUs add their own utility and exposure tasks that attached additions don’t share.
Styles & brands we work with
- Kitchen remodeling
- Bathroom remodeling
- Home additions & ADU
- Roofing
- Windows & doors
- Driveway & pavers
- Fence
Table of Contents
- Why Your Addition Needs Its Own Schedule
- The First-Year Checklist: 30, 90, and 365 Days
- Maintaining the Old-to-New Connection
- Attached Addition vs. Detached ADU: Two Different Schedules
- What El Monte’s Heat Cycles and Dry Spells Do to New Materials
- Utility Tie-In Maintenance
- Tasks That Protect Your Warranty vs. Those That Void It
- The Year-at-a-Glance Maintenance Calendar
Why Your Addition Needs Its Own Schedule
A new addition is a marriage of two buildings that are rarely the same age, rarely the same construction method, and rarely behave the same way in weather. The new framing settles. The old framing already settled, years ago. The new stucco and drywall cure and shrink slightly in the first year. The existing house did that decades ago. Where they meet, every one of those differences gets expressed as stress. In El Monte, we regularly see the first hairline cracks show up at the ceiling line in a new addition around month four to month six, not because anything is wrong but because the new wing is still finding its finished dimension.
That’s the core problem with following a standard home maintenance checklist after an addition. A generic list tells you to clean your gutters and check your smoke detectors. It doesn’t tell you that the flashing at the roofline intersection where the addition meets the original house is the single most likely spot for a leak in year two. It doesn’t tell you that a detached ADU’s water heater and mini-split have maintenance needs completely separate from the main house systems.
Once you accept that the addition has its own timeline, the schedule becomes manageable. Below, we break it into three tracks: the first-year settling sequence, the annual connection-and-weatherproofing pass, and the seasonal tasks tied to El Monte’s specific climate. Our crews have worked on additions across El Monte and the surrounding San Gabriel Valley, and the patterns hold across nearly every build, regardless of size or finish level.
The First-Year Checklist: 30, 90, and 365 Days
The first year is when a new addition is still settling, and it’s the year when problems are easiest to fix. Catching something at the 30-day mark is almost always cheaper than catching it at year three. Here’s what needs to happen and when.
At 30 Days
- Walk the interior perimeter of the addition at the floor and ceiling lines. Note any gap or separation of caulk or paint at the joint where the addition meets the existing house. A small mark now tells you where to watch later.
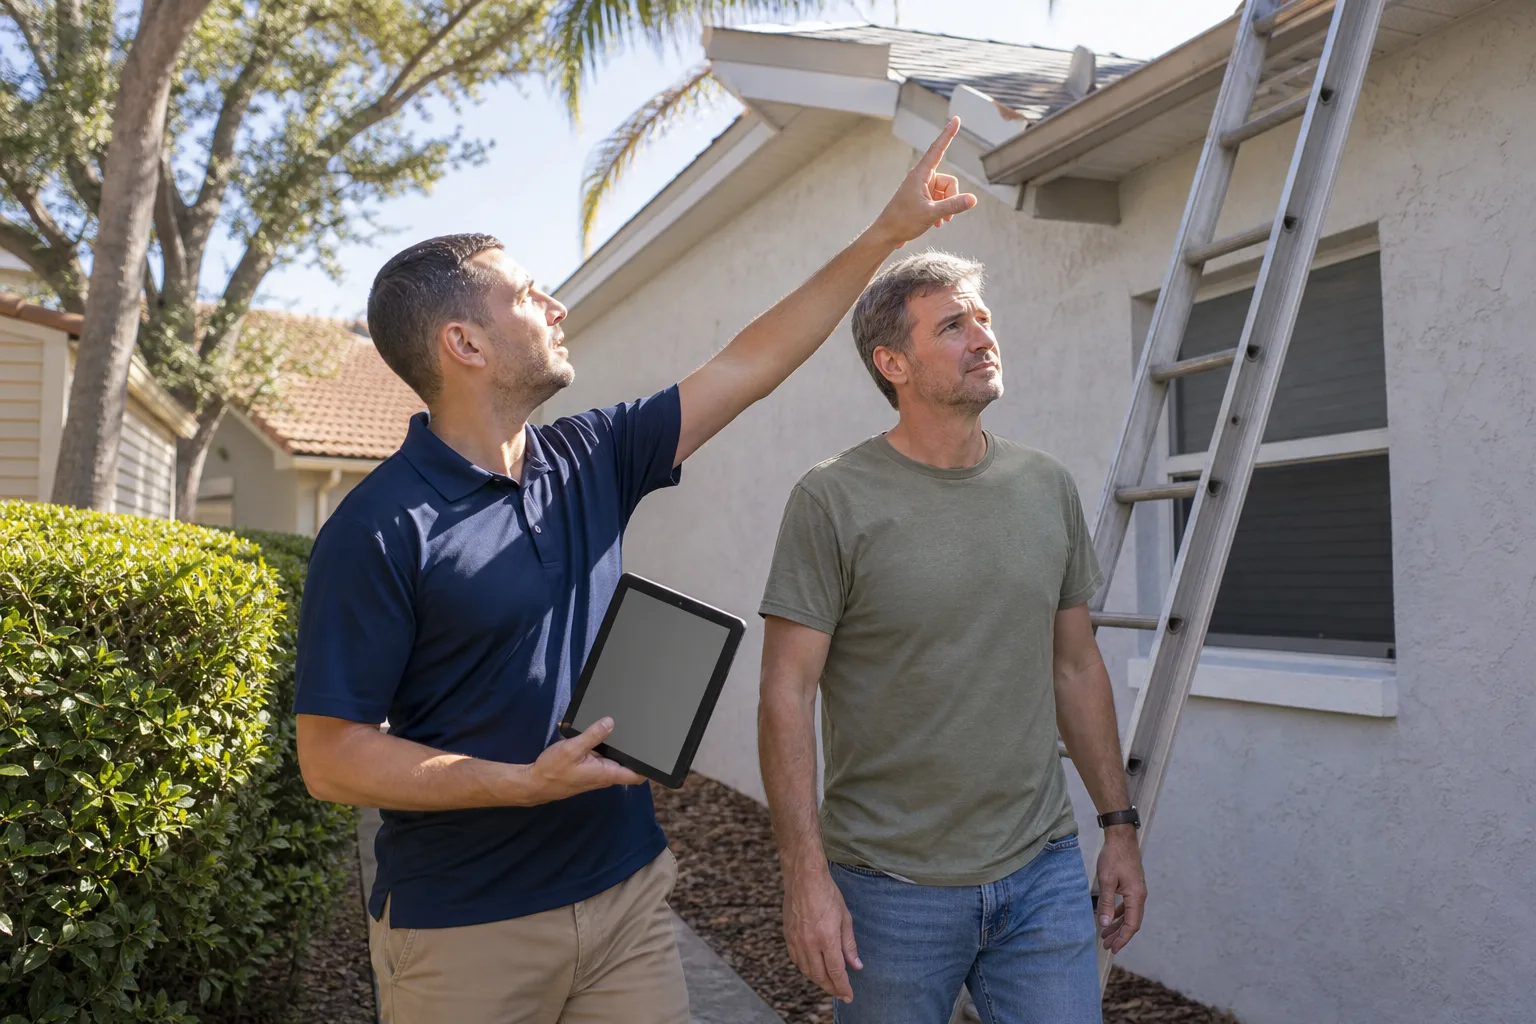
- Check the exterior at the roofline transition where the new roof ties into the existing roof. Look for lifted flashing or sealant that’s pulling away. This is visual only; don’t climb up on the roof yourself.
- Look at the baseboard-to-floor joint around the entire addition. Slight gaps opening here are normal settling. Gaps larger than a credit card width deserve a call.
- Test all exterior doors and windows at the connection wall. New framing shrink can make doors start to bind mid-first-year.
- Check the HVAC return and supply registers in the new space. The system was balanced during commissioning; confirm the airflow hasn’t shifted.
At 90 Days
- Inspect the interior drywall at ceiling and wall corners for hairline cracks. In El Monte, the temperature swing between a hot afternoon and a cool evening in March or April can trigger these faster than in cooler climates.
- Check caulk lines at all exterior penetrations: hose bibs, electrical outlets, vent terminations. Caulk joints at new construction shrink in the first few months of heat exposure.
- Look at the flooring joints at doorways where the addition connects to the existing house. Movement in that threshold zone is normal; a gap you can slide a coin into is not.
- Test your smoke and CO detectors in the new space to confirm they’re in communication with the main home system (if hardwired).
At 365 Days
- Schedule an annual review of the old-to-new connection (detailed in the next section).
- Inspect the roof covering the addition or have it inspected by a professional. Look for lifted shingles, flashing gaps, or granule loss on new shingles from GAF or CertainTeed products we typically use.
- Check the paint and caulk at the exterior of the addition. New stucco and new wood trim have undergone a full year of El Monte sun. Any chalking or peeling is worth addressing before a second dry summer.
- Review your warranty documentation. The 730-Day Done Right Promise on Groundwork projects covers workmanship for two full years, and the first-year check gives you a clean comparison point if something needs attention in year two.
- Photograph everything. Interior joints, exterior caulk lines, roofline flashing, utility tie-ins. A photo record from year one is worth its weight in gold if you ever discuss a warranty claim.
Maintaining the Old-to-New Connection
The connection joint between old house and new addition is where most maintenance failures occur in El Monte, and it’s the area warranty calls often don’t cover after year two because the failure is typically traced to sealant age and normal weathering, not workmanship. The physical reality: two structures that were never designed together move independently, and the joint between them has to flex with both. Water that gets into that joint on a heavy rain (El Monte’s occasional winter atmospheric-river events deliver a lot of water in a short window) is the single biggest threat.
What to check annually at the connection point
- Step flashing at the roofline: Where the addition roof meets the existing house wall, step flashing and counter-flashing protect the joint. Check for lifted pieces, rust, or visible gaps. This is the roof-level task that catches the most problems early.
- Wall-to-wall caulk joint: The vertical joint where the new exterior wall abuts the existing house. Caulk here typically needs replacement every 3 to 5 years. If it’s cracked or pulling away from either surface, water gets behind it on the next rain.
- Siding and stucco transition: Where new James Hardie siding on the addition meets older stucco on the main house, look for separation at the joint, cracking in the stucco, or new moisture staining.
- Foundation joint and sill plate: Where the new slab meets the existing foundation, look for weeping, cracks, or movement. Minor movement is normal; vertical offsets of a quarter inch or more deserve a pro.
- Interior ceiling and wall joints: Hairline cracks in year one are expected. Cracks that reopen after they’ve been patched, or that grow wider than the width of a dime, need a structural look.
The practical rule: the exterior connection should be re-caulked and re-sealed every three to five years, and the roofline flashing should be checked every year. A leak in that joint is not just inconvenient; it’s a security risk for the structural framing on both sides of the connection, because water will find its way to the sill plate before it shows up as an interior stain. If you ever see a water stain at the connection inside the addition, treat it as an active leak and get it looked at quickly, because the small leak you can see usually means a bigger one you can’t.
Attached Addition vs. Detached ADU: Two Different Schedules
Attached additions and detached ADUs share the first-year settling sequence, but their ongoing maintenance is fundamentally different because the exposure conditions are different. An attached addition shares three walls with the existing house, which means most of the new structure is shielded from weather. A detached ADU is exposed on all four sides and the roof, and has its own self-contained utility systems that have to be maintained separately from the main house. Many El Monte ADU owners learn this the hard way in year two when the detached unit’s mini-split filter hasn’t been cleaned since install.
Attached Addition Maintenance Priorities
- Focus 70% of your effort on the one exposed wall and the roofline connection. The three shared walls need far less attention.
- Interior HVAC shares the main house system, so annual HVAC service on the main house also covers the addition. No separate service call.
- Water and electrical are typically tied into the main house, meaning main house utility maintenance covers the addition as well.
- The addition’s foundation is independent of the main house foundation. Watch for differential settlement at the joint.
- Interior joint checks at the ceiling and floor lines are the most important interior task because those are the lines where structural movement expresses first.
Detached ADU Maintenance Priorities
- All four exterior walls need their own annual inspection. In El Monte, the south-facing wall takes the most heat damage and the west-facing wall takes the most afternoon sun exposure – both accelerate paint and stucco wear versus the main house.
- Separate HVAC system, separate water heater, separate electrical panel. Each has its own maintenance schedule that runs independently of the main house (more detail in the utility section below).
- Roof covering is a complete unit needing its own inspection. GAF and CertainTeed shingles typically perform 20 or more years in El Monte’s climate, but the first inspection should happen at month 12, not year 20.
- Exterior fencing and the perimeter hardscape are part of the ADU’s domain. If the ADU is fenced with ActiveYards vinyl, check for settling of the fence posts at the 90-day and 1-year marks. Concrete pavers from Belgard or Unilock around the ADU need their first joint-sand top-off around year one.
- Detached ADUs often rent as separate units. If yours is a rental, the maintenance schedule should also cover tenant-facing items like the smoke detectors, CO detector, appliances, and the unit’s own water shut-off.
One overlooked point: a detached ADU loses weatherproofing faster than an attached addition simply because every wall is a weather wall. In El Monte, that translates to re-caulking the windows and doors on a detached ADU every two to three years instead of every three to five as you’d do on an attached addition. It’s a small cost difference, but it’s the difference between a dry ADU at year ten and a framing repair at year twelve.
What El Monte’s Heat Cycles and Dry Spells Do to New Materials
El Monte sits in a spot where San Gabriel Valley heat meets coastal marine influence. Summer afternoons run into the 90s and even low 100s, then cool down into the 60s overnight. Winters bring occasional heavy rain, sometimes a lot of it in a short window. That combination is harder on new construction than people expect, because new materials aren’t yet weathered into the local climate the way an older house has been.
The three climate effects that matter most
- Thermal cycling in the first 18 months: Every hot day expands the new framing slightly, and every cool night contracts it. In new construction, that cycling causes the hairline cracks and joint separations that El Monte homeowners see at the 90-day and 1-year marks. They’re normal; the maintenance task is to note and monitor, not to panic-patch.
- Dry spells and soil movement: El Monte’s dry summers pull moisture out of the clay-heavy soils common in the area. That soil shrinkage around a new foundation can create small gaps between the foundation and the soil, which then take on water fast during the first winter rain. Keep the ground around new foundations watered gently during extended dry spells, or install a drip line around the perimeter.
- Winter rain concentration: When El Monte gets rain, it usually gets a lot at once. That short-window volume is exactly what stresses the flashing and caulk at the connection joint, and exactly why the roofline transition and connection joint are the highest-priority check before each rainy season.
El Monte-specific seasonal tasks
- Before summer (April-May): Check HVAC refrigerant lines, clear debris from the outdoor condenser on a detached ADU, and inspect caulk at sun-facing walls while it’s still cool enough to work comfortably.
- Before rainy season (October-November): Clear gutters, inspect the roofline flashing and connection joint, and confirm drainage from the addition and ADU directs water away from foundations.
- After a heavy rain event: Walk the connection joint inside the addition and check corners of the ADU for water intrusion. The first 48 hours after a heavy rain is when small leaks show up as stains.
- During extended dry spells: Water the foundation perimeter, check caulk for cracking, and monitor the ADU’s exterior paint for micro-cracks that turn into peeling in the next heat cycle.
Utility Tie-In Maintenance
The utility tie-ins are where a home addition feels most like the old house and where owners most often forget that they need their own schedule. Electrical, plumbing, and HVAC were connected during construction, but the connection point – the meter, the panel, the main line – is where ongoing maintenance needs to focus.
Electrical
- At 30 and 90 days, confirm all exterior outlets and switches on the new addition work under load (plug in a test device).
- Annually, verify the GFCI outlets in the addition, and in a detached ADU, test the unit’s own GFCI outlets and its panel breakers.
- If the addition increased your home’s electrical load meaningfully, a licensed electrician should review the panel at the 1-year mark. This is not a task any homeowner should do themselves. Electrical panels are genuinely dangerous to open, and a professional electrician is the only one who should.
Plumbing
- At 30 days, run every fixture in the addition and check for slow drains, low pressure, or under-sink moisture.
- At 90 days, check the supply line connections at every fixture for weeping.
- Annually, check the water shut-off valve for the addition or ADU. If the addition has its own shut-off, exercise it once a year so it doesn’t seize.
- For a detached ADU, maintain the ADU’s water heater on the same annual flush schedule as the main house, just on its own calendar. Tankless units typically need a descaling every 12 to 18 months in El Monte’s moderately hard water.
HVAC
- If the addition shares the main house system, annual service on the main house covers the addition. No separate task.
- For a detached ADU with its own mini-split or HVAC, clean or replace the filter monthly during the cooling season, and schedule professional service annually.
- Check the outdoor condenser coil and clear any debris after the first big wind event of the year.
- In El Monte’s heat cycles, keep the thermostat setting in the addition or ADU stable between day and night (within 5 degrees). Big setbacks cause the system to work harder when it recovers, and they accelerate compressor wear.
Tasks That Protect Your Warranty vs. Those That Void It
The warranty conversation is the one homeowners rarely get upfront. The 730-Day Done Right Promise on a Groundwork project covers workmanship for two full years. Within that window, some homeowner actions protect the warranty, and some void it. Here’s the plain-language breakdown.
Protects your warranty
- Documenting the 30-day, 90-day, and 365-day checks with photos and notes.
- Reporting any water intrusion, joint separation, or cracking while it’s still small.
- Continuing the maintenance tasks listed in the previous sections (seasonal caulk, flashing checks, HVAC service).
- Using licensed professionals for any repairs that touch structure, electrical, plumbing, or roofing.
- Keeping the original construction documents, permits, and inspection records in a single file.
Voids or compromises your warranty
- DIY repairs to structure, roofing, waterproofing, or electrical. Any repair to the warranty-covered systems by an unlicensed party gives a warranty provider legitimate grounds to deny a future claim on that system.
- Neglecting the connection joint and roofline. A leak at the connection that follows years of obvious (and ignored) cracking is typically treated as a maintenance failure, not a workmanship failure.
- Unpermitted modifications after the build. Adding a deck, running a new utility, or modifying the roof after the original build without a permit can void warranty on the affected system.
- Letting a detached ADU’s systems sit idle unmaintained. An ADU water heater that fails at year four because it was never flushed typically isn’t covered, while a workmanship defect in the same heater would be.
- Hiring an unlicensed contractor for repairs and then expecting the original warranty to cover the result. Once someone else has been inside a system, the original warranty on that system typically ends.
The clean rule of thumb: maintain what you’re supposed to maintain, document what you see, and call the original contractor for anything structural, weatherproofing-related, or electrical. That framework keeps the warranty intact and keeps small issues from growing into big ones.
The Year-at-a-Glance Maintenance Calendar
Here’s the whole schedule in one place. Print it, tape it inside a cabinet in the addition or ADU, and stop guessing about what’s due when.
Month 1 (30 days after completion)
- Interior perimeter walk: ceiling, floor, baseboard lines at the connection.
- Exterior visual check at roofline and connection joint.
- Test all doors, windows, and fixtures in the new space.
Month 3 (90 days)
- Interior drywall check for hairline cracks.
- Exterior caulk inspection at all penetrations.
- Flooring joint check at doorway transitions.
- Smoke and CO detector test.
Month 12 (365 days)
- Full annual connection-joint and roofline inspection.
- Roof covering inspection by a professional.
- Paint and caulk check at exterior of addition or ADU.
- Utility shutdown valve exercise.
- HVAC filter replacement; ADU HVAC service if applicable.
- Photo documentation of every system for year-one record.
Every spring (April-May)
- Pre-summer HVAC check (especially for detached ADU).
- Caulk inspection on sun-facing walls.
- Outdoor condenser coil cleaning.
Every fall (October-November)
- Pre-rain gutter clearing.
- Roofline flashing and connection joint inspection.
- Foundation drainage check.
- Water heater flush (ADU annually, main house every 1-2 years).
Every 3-5 years
- Full exterior re-caulk at the old-to-new connection joint.
- Exterior paint review – typically repaint at year 7 to 10 in El Monte climate.
- Foundation settling review with a professional.
Common Mistakes to Avoid
- Treating the addition as if it’s the same age as the main house. New materials are still curing and settling for the first 12 to 18 months. A checklist designed for a 30-year-old house doesn’t account for that.
- Ignoring the connection joint until it leaks. The caulk and flashing at the old-to-new transition typically need attention every 3 to 5 years, but most El Monte homeowners wait for a water stain before looking. By then, framing has usually been wet for at least one rainy season.
- Running a detached ADU’s systems on the main house calendar. A detached ADU has its own water heater, HVAC, and electrical panel. Each needs its own maintenance log and its own service schedule.
- Assuming a warranty claim will cover a neglected joint. Workmanship warranties cover workmanship, not maintenance failures. If the connection joint was visibly cracked for two years and never addressed, a claim on the resulting leak typically gets denied, and reasonably so.
- Doing exterior repairs on the roof or roofline yourself. Roofline flashing looks simple. It isn’t. The height, the pitch, and the consequences of a mistake on a heavy-rain day all argue for a professional on any task above the first floor.
- Overwatering the foundation in summer and then wondering why the soil pulled away. El Monte’s clay soils want gentle, consistent moisture, not a flood. A slow drip line around the perimeter is far better than a garden hose dumped once a week.
- Skipping the 90-day check because the 30-day went fine. Most settling expresses between month two and month four. The 90-day check is the one that catches the first meaningful movement.
See the difference
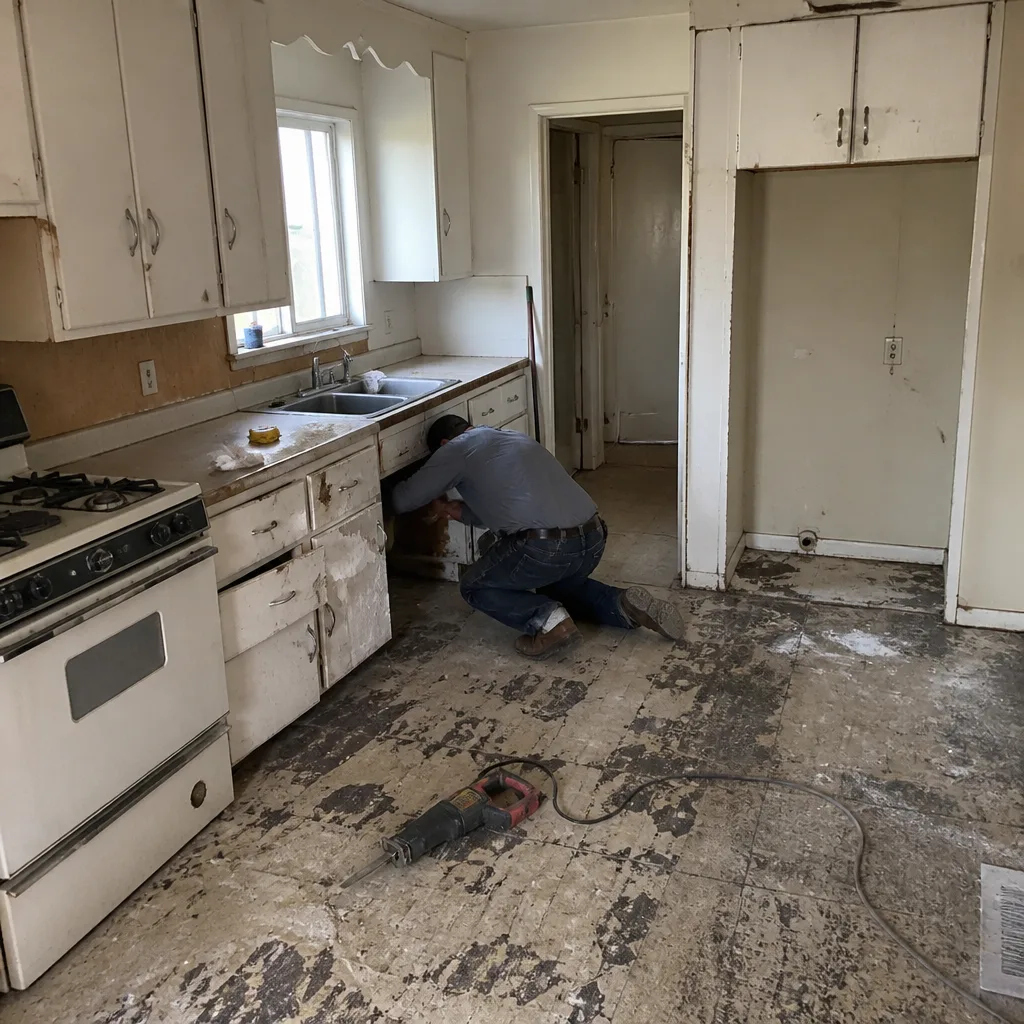 Before
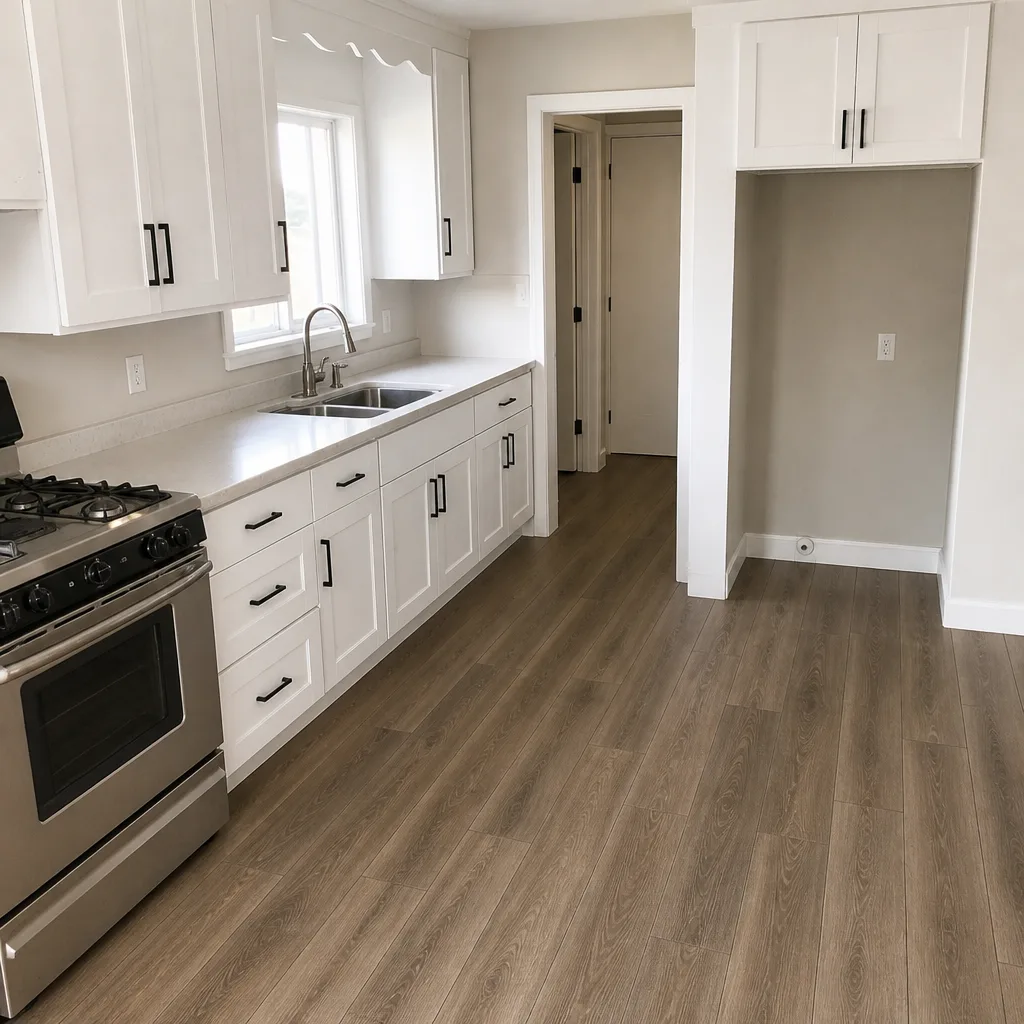 After
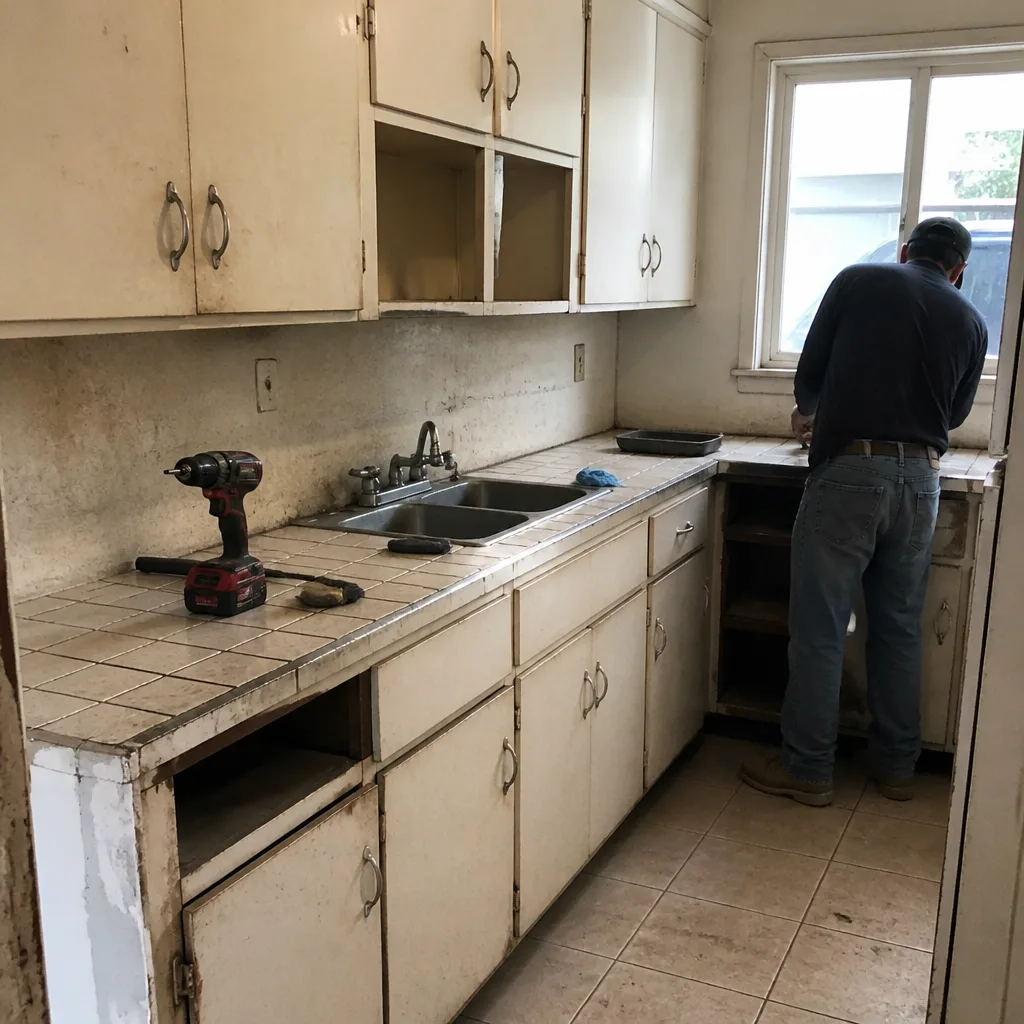 Before
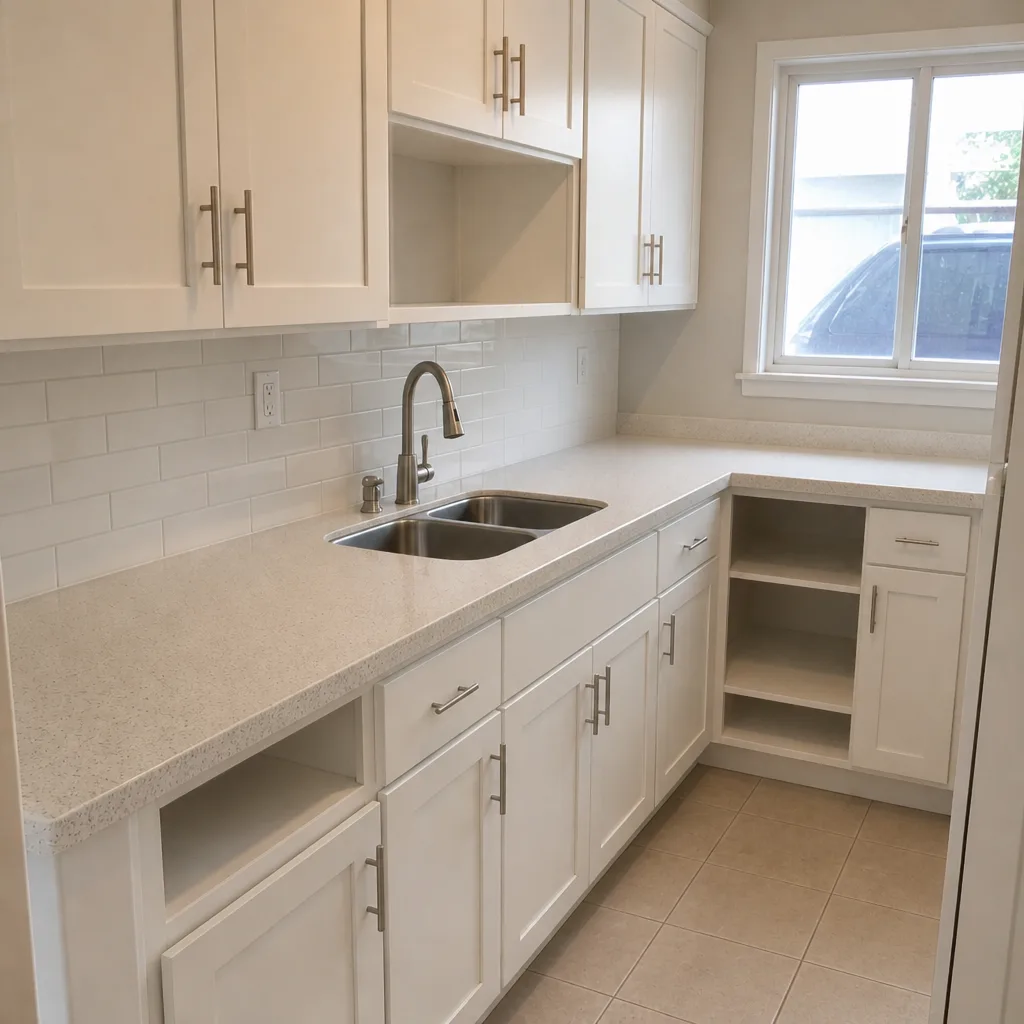 After
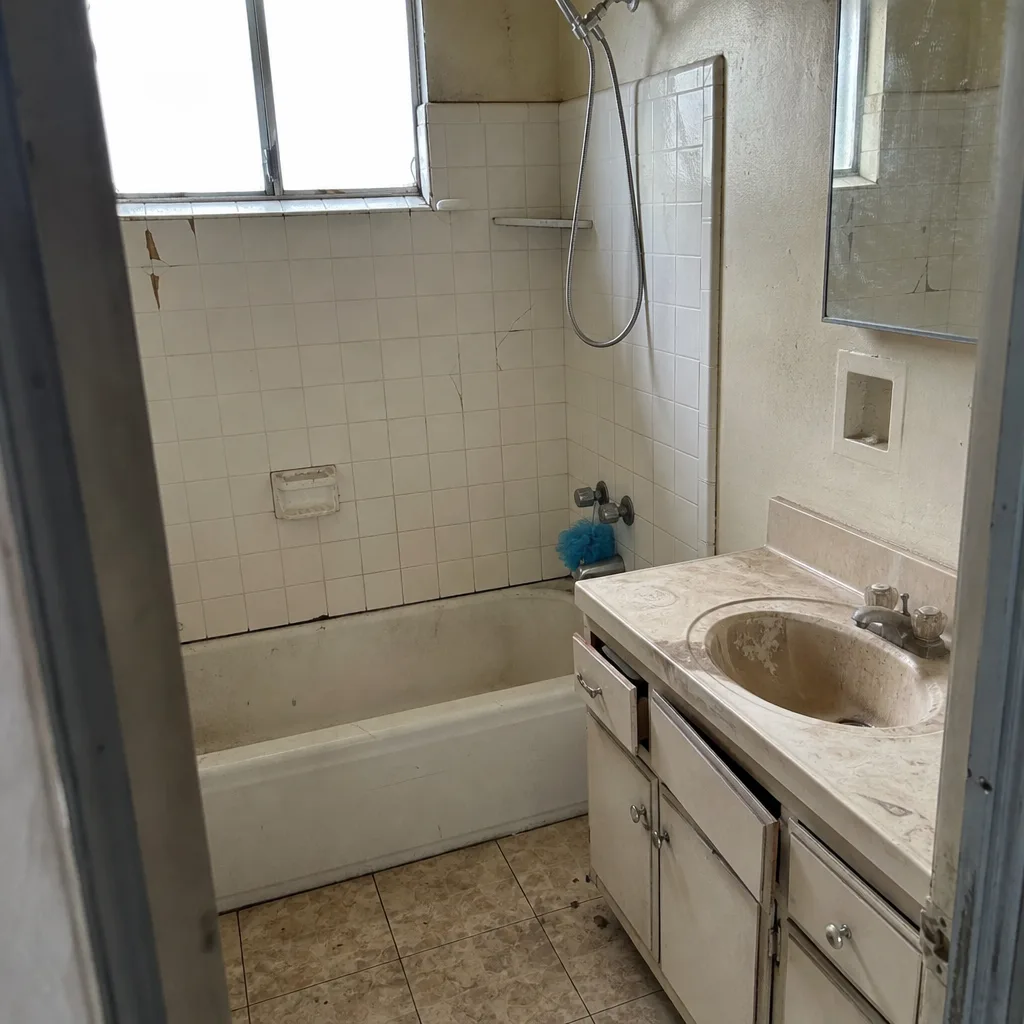 Before
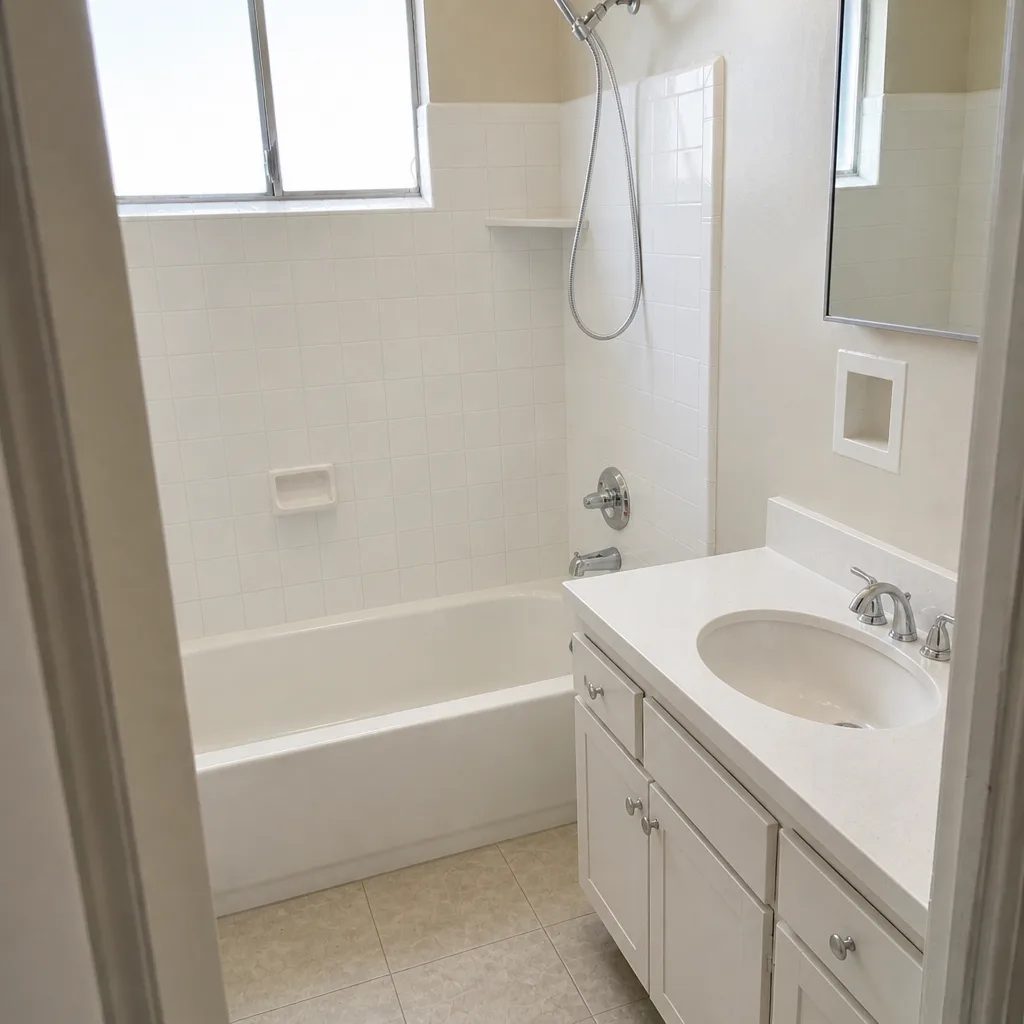 After
When to Call a Professional
Most of the schedule above is homeowner territory: visual checks, caulk inspection, filter changes, water heater flushes, photo documentation. But a few things deserve a call, and pretending otherwise is how small problems become framing repairs.
Call a professional if you see water staining at the connection joint inside the addition, if the roofline flashing appears lifted or the roof is above the first-story line, if the ADU’s electrical panel shows any sign of heat or damage, if the HVAC system for the ADU has stopped cooling effectively, or if interior cracks at the connection are widening after being patched once. Structural work, roofing and flashing above first-floor height, and electrical work all deserve licensed hands, every time. Groundwork Construction Co. of El Monte offers free estimates in El Monte for any addition or ADU concern, and you can reach a live person 24/7 at (888) 271-7872. Upfront pricing, no surprises, and the 730-Day Done Right Promise backing every project we complete.
Frequently Asked Questions
Do three first-year checks at 30, 90, and 365 days, then settle into an annual pattern with spring and fall seasonal tasks. The most important annual task is the roofline and connection-joint inspection before each rainy season. Call (888) 271-7872 for a free estimate on any repair or addition project.
The connection joint between the old house and the new addition is the most common failure point, usually showing up as a leak or caulk failure around year two to year four. In El Monte, the short-window heavy rain events stress that joint harder than steady rain would. If you see staining or cracking at the connection, call (888) 271-7872 for a free estimate.
Yes. A detached ADU is exposed on all four sides, has its own HVAC, water heater, and electrical panel, and typically needs exterior windows and doors re-caulked every two to three years instead of every three to five. Call (888) 271-7872 to talk through a specific ADU maintenance plan.
No. Routine maintenance like filter changes, caulk inspection, water heater flushes, and photo documentation protects your warranty. What voids it is DIY repairs to structure, roofing, waterproofing, or electrical, or ignoring a visible problem for years. For anything structural or above first-floor height, call (888) 271-7872 and get a free estimate from a licensed crew.
El Monte’s hot summers with cool nights cause thermal cycling that shows up as hairline cracks in the first 18 months, and dry spells pull moisture from clay-heavy soils around new foundations. The practical defense is a pre-summer caulk and HVAC check and a pre-rain roofline and connection joint inspection. Call (888) 271-7872 for a free estimate on any repair these checks turn up.
Workmanship on a Groundwork project is covered by the 730-Day Done Right Promise – two full years. Material warranties from brand partners like GAF, CertainTeed, or James Hardie run longer for the specific products they cover, and those are separate from workmanship coverage. Call (888) 271-7872 for a free estimate and a straight explanation of what’s covered and for how long.
The Bottom Line
A new addition or ADU is a hybrid structure, and it needs a hybrid maintenance schedule. Do the 30, 90, and 365-day checks in year one. Focus your ongoing effort on the connection joint and roofline transition, because that’s where failures happen first. Give a detached ADU its own maintenance log for HVAC, water heater, and electrical, since it’s a self-contained system. Time the seasonal tasks to El Monte’s heat cycles and rain pattern rather than a generic national calendar. And keep the warranty conversation straight from day one: maintain what’s yours to maintain, document what you see, and call a licensed professional for anything structural, weatherproofing-related, or electrical. That approach keeps your addition dry, your warranty honored, and your build doing what it was designed to do.
If you’re planning a new addition or ADU in El Monte, or you’ve got an existing one that needs attention, Groundwork Construction Co. of El Monte is here to help. From foundation to finish line, with a live person answering your call 24/7, background-checked and uniformed technicians on every project, and the 730-Day Done Right Promise backing the work long after the walkthrough. If you’re also thinking about related exterior work while the project is happening, our teams handle home construction projects in El Monte, fence installation in El Monte, and driveway & pavers in El Monte with the same standard. For the addition itself, see our Home Additions & ADU in El Monte page, or call (888) 271-7872 to schedule your free estimate and design consult. 0% financing for 18 months and $1,000 off projects over $10,000 are available on qualifying work.
Written by the team at Groundwork Construction Co. of El Monte.