Last updated November 17, 2026



Free written scope consultation - allowances, timeline, and change-order rules on paper before a single trade is scheduled
Driveway & Pavers Maintenance Schedule: What to Do and When
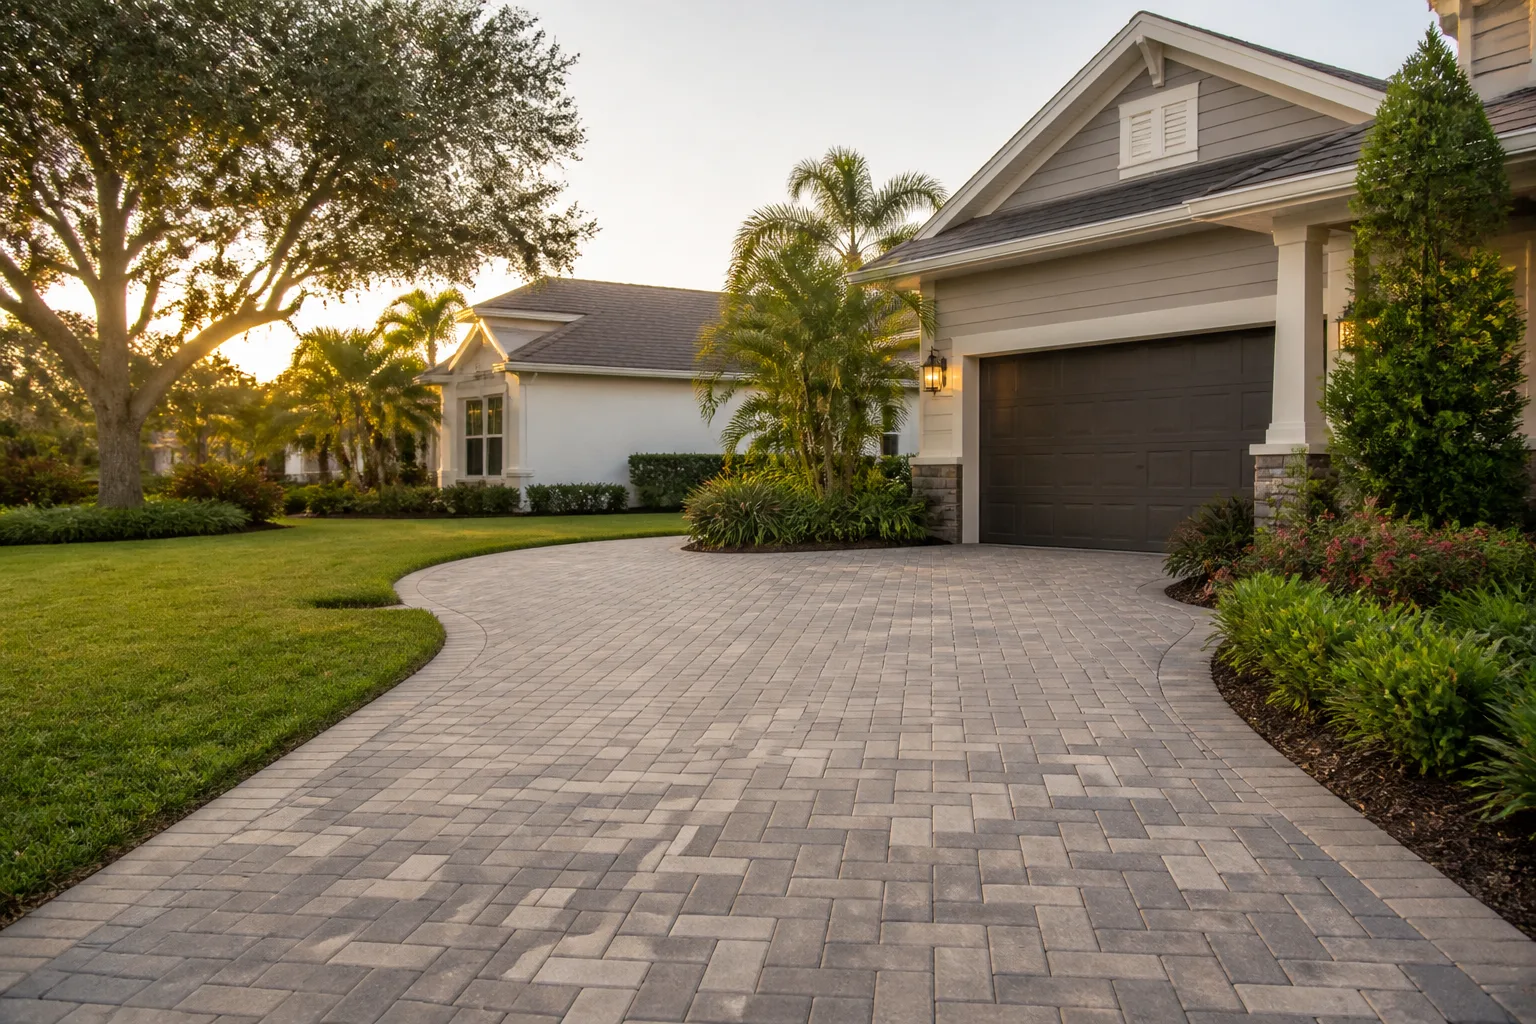
Contractors who say pavers are “basically maintenance-free” are describing their own liability exposure, not your driveway’s lifespan. A paver system installed correctly in El Monte will hold up for 25 years or more, but only if it’s kept on a task-specific schedule. The reason most driveways fail early isn’t bad pavers. It’s that no one handed the homeowner the calendar at project completion. This guide is that calendar: a month-by-month plan built around Southern California’s wet and dry season cycle, the correct re-sanding interval for polymeric joints, sealer timing that doesn’t backfire, and an inspection you can run in under 20 minutes.
Quick Answer
In El Monte, a paver driveway needs deep joint re-sanding roughly every 2 to 3 years, sealing every 3 to 5 years (not more often), a full wet-season prep by November, and a 20-minute annual inspection each spring. The single most important habit is testing your polymeric sand before the first rain, not after. Everything else is seasonal and predictable.
Styles & brands we work with
- Kitchen remodeling
- Bathroom remodeling
- Home additions & ADU
- Roofing
- Windows & doors
- Driveway & pavers
- Fence
Table of Contents
- Why a Schedule Beats “Low Maintenance”
- The Month-by-Month Paver Calendar for El Monte
- Polymeric Sand: How to Test and When to Re-Sand
- Sealer Selection and Application Timing
- The 20-Minute Annual Inspection Checklist
- Which Tasks Preserve Your Installer’s Warranty
- Common Mistakes to Avoid
- When to Call a Professional
Why a Schedule Beats “Low Maintenance”
Pavers are a system, not a surface. The blocks are the least important part. What actually determines how long a driveway lasts is the base layer, the joint sand that keeps blocks from shifting, and the edge restraint holding everything in tension. Every maintenance task on this schedule protects one of those three things.
El Monte sits in a climate that punishes shortcuts. Our summers run hot and dry enough to pull moisture out of polymeric sand, and our wet season dumps concentrated rain between roughly November and March. That’s a very different stress cycle than the four-season advice you’ll find on most contractor blog posts, which assumes snow and freeze-thaw. A driveway here will never be lifted by frost heave, but it will absolutely be undermined by water that gets under the pavers when joints lose their sand.
We’ve seen the pattern repeatedly in El Monte and the surrounding San Gabriel Valley neighborhoods. A driveway installed to a very high standard starts tracking sand into the gutter after three or four years, the homeowner doesn’t notice, the first heavy rain enters the open joints, and by the following spring a section near the street is rutting. The repairs on that job would have cost a fraction if the homeowner had re-sanded on schedule.
The practical takeaway: treat your paver driveway less like a slab you forget about and more like a deck you inspect. A slab of concrete does its own thing. A paver system stays tight only when its joints are filled. When you’re ready for a fresh install or a repair, our Driveway & Pavers in El Monte page covers base prep, edge restraint, and material options.
The Month-by-Month Paver Calendar for El Monte
Here’s the schedule we hand to homeowners at the final walkthrough. It’s built around Southern California weather, not the four-season template most maintenance guides keep copy-pasting.
- January (peak wet season): Walk the driveway after every significant rain. Look for water pooling more than 24 hours. Check that water drains toward the street and not the garage door. Clear any leaf debris from the edge channels.
- February (late wet season): Inspect joint sand for washout. Rain is the #1 cause of joint sand loss. Do a light top-off on any thin joints (see re-sanding section below).
- March (wet-to-dry transition): First of two best months for deep inspection. Do your 20-minute spring checklist while the ground is still moist but not saturated.
- April (drying season): Pull weeds sprouting between pavers and at edge restraints. Spot treat with a paver-safe herbicide or hand-pull while roots are shallow.
- May (early summer): Clean the surface fully before the hot months. A stiff broom and a garden hose is enough for regular cleaning. Save the pressure washer for once a year, not once a month.
- June (peak heat): If you planned a sealing project, this is a strong window: warm, dry, and no rain in the forecast for 48 hours. Do not seal in a heat wave over 95°F.
- July (dry season): Test polymeric sand hardness with your thumb in the joints. If it crumbles, mark it for fall re-sanding. Check edge restraint for movement or cracking.
- August (peak dry): Confirm drainage grading. Hot weather expands the soil and can raise settled pavers slightly. Note any rocking blocks.
- September (second best inspection month): Do your second full inspection. This is the ideal month to re-sand because the dry ground accepts the joint sand evenly and you’re not fighting a wet base.
- October (pre-wet-season prep): Re-sand any thin joints. Clear gutters and surface drains downstream of the driveway. Tighten the driveway before it needs to shed heavy water.
- November (rain returns): Confirm edge restraints, walk the perimeter, and clear debris. This is the practical cutoff for any remaining paver maintenance you want done before the wet season hits hard.
- December (wet season): Monitor pooling and drainage after rain. Note any new rutting or block movement and schedule follow-up for the dry window.
If you only have bandwidth for four items on this calendar, do these: the March and September inspections, the October re-sand, and the pre-wet-season drainage check. Those four alone will protect the long-term structure of the driveway.
Polymeric Sand: How to Test and When to Re-Sand
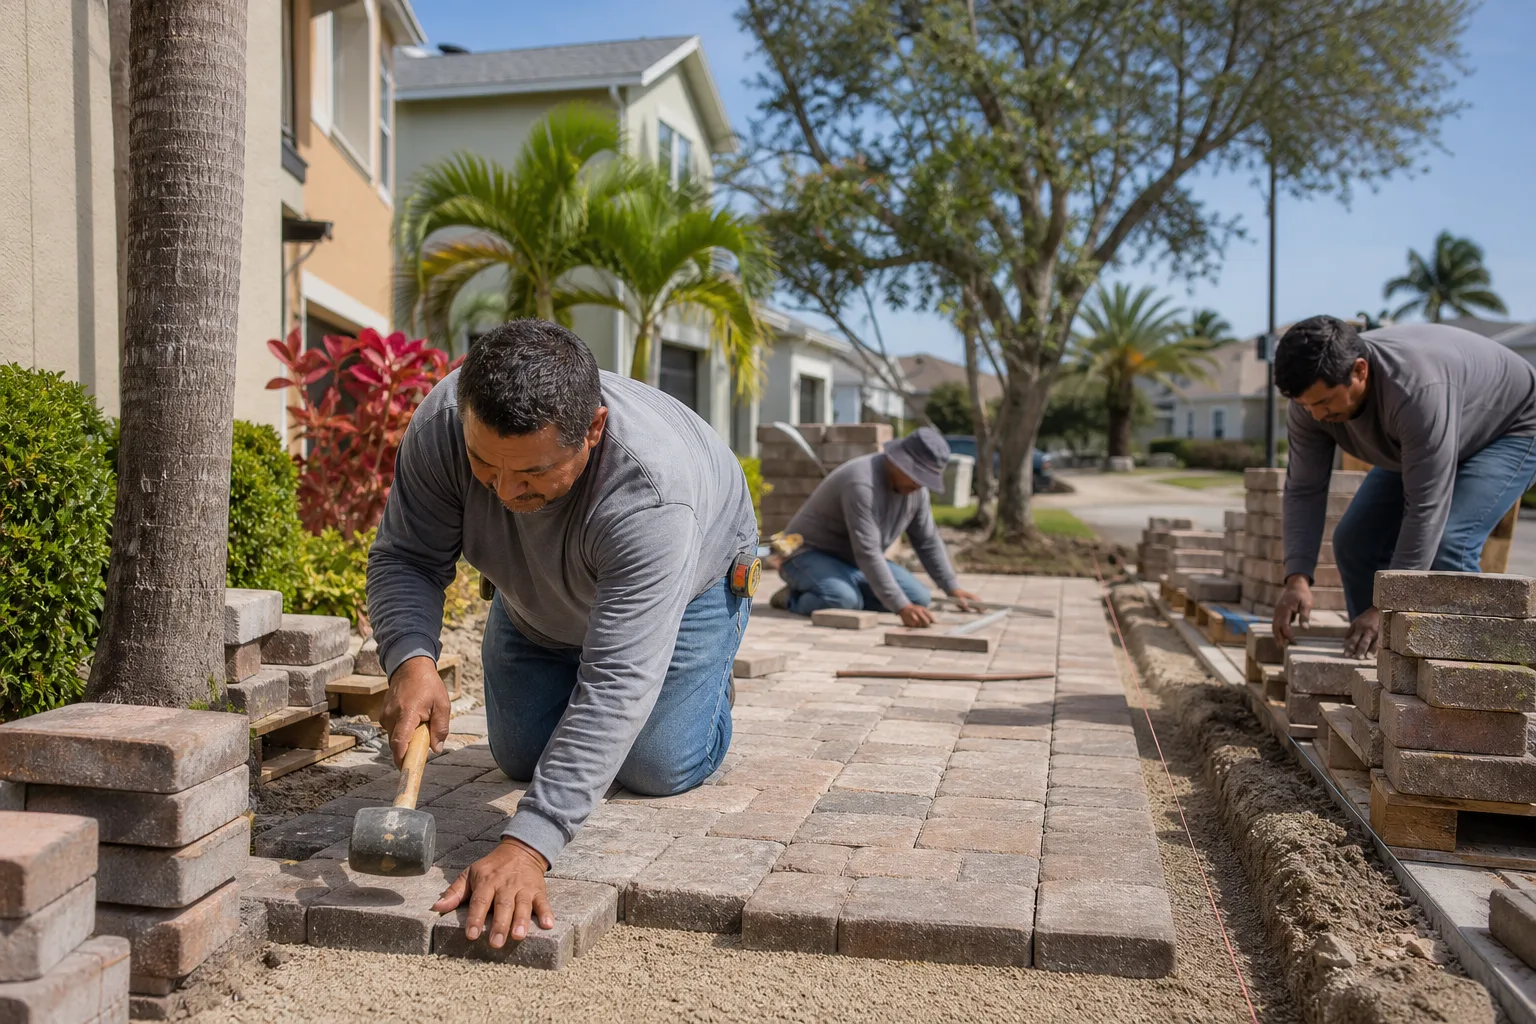
Polymeric sand is the joint filler that locks the pavers together and blocks water from getting under the surface. When it’s intact, the whole paver system behaves as one unit. When it breaks down, the driveway starts to lose blocks to shifting, and water finds the gaps.
How to test whether you need re-sanding
The most accurate test is a thumb-press. Push your thumb into a joint at the surface. If the sand feels firm and rubbery, it’s still doing its job. If your thumb presses through easily, or if the sand crumbles into loose grains, the polymer has failed and that joint needs re-sanding.
Two quicker checks that tell you the same thing:
- The broom test: Sweep the driveway. If a meaningful amount of sand shows up in the sweepings, you’re losing joints.
- The water test: Pour a cup of water on a joint. If it drains straight down instead of beading and running off, the joint has lost its seal.
Correct re-sanding interval in El Monte
For an El Monte driveway on a properly built base, plan on a full re-sand every 2 to 3 years. A well-sealed driveway on a stable base might go 4 years. A driveway with any drainage issues may need it annually. If you use a pressure washer on high pressure, expect the interval to shorten dramatically – that’s the leading cause of premature joint sand failure in homes we assess.
What a proper re-sand looks like
- Clean the surface and joints completely. Sand won’t bond if there’s dirt or old broken polymer in the joint.
- Wait for a dry window of at least 24 hours before and 24 hours after application.
- Apply the polymeric sand with a hard-bristle broom, working it into the joints.
- Compact with a vibrating plate at low amplitude to settle the sand into the joint.
- Top off any low joints, sweep clean, and activate the polymer with a light mist (not a heavy soak).
- Stay off the surface for the full cure time listed on the bag – usually 24 hours.
The single worst thing homeowners do is skip steps 1 through 4 and just sweep new sand into dirty joints. It fails within a season. If you want it done right, our team can walk through the correct approach for your specific driveway.
Sealer Selection and Application Timing
Sealing is the task that causes the most damage when it’s done wrong. Too soon, too often, or with the wrong product, and sealer does more harm than skipping it altogether.
Why sealing too soon causes damage
Fresh pavers are still releasing moisture and efflorescence (the whitish mineral bloom that surfaces in the first few months). Sealing a new driveway within the first 60 to 90 days traps that moisture in. The result is a milky haze under the sealer that never goes away without stripping. Wait a minimum of 90 days on new pavers, and ideally a full dry season, before putting down any sealer.
Why sealing too often causes damage
Sealer builds up. On a driveway that’s sealed every year, you get yellowing, a slippery surface that holds water, and eventually a peeling layer that fails in sheets. The right interval is every 3 to 5 years, not annually. You’re not protecting pavers by sealing them more often. You’re protecting the sealer, which is a different (and unnecessary) goal.
Choosing a sealer for El Monte
For a local climate with hot dry summers and concentrated rain, we recommend a penetrating sealer over a film-forming one for driveways. Penetrating sealers soak into the paver and protect from within, so they don’t create a surface film that can wear off in hot-weather traffic. Film-forming (enhancing) sealers look great on patios and walkways and can add color, but they’re less forgiving on driveways with vehicle traffic.
Timing matters as much as product. Apply in a dry window with a forecast showing 48 hours of no rain and no extreme heat. In El Monte, that lands squarely in late May through early July or in mid-to-late September. Don’t seal in winter. Don’t seal in a heat advisory. If you want a written recommendation for your specific paver type, our team can advise during a walkthrough.
The 20-Minute Annual Inspection Checklist
You can do this inspection yourself in under 20 minutes with nothing but a notebook and your phone’s flashlight. Do it twice a year (March and September), or at least once, in whichever of those months fits your schedule.
What to look for, with pass/fail criteria
- Drainage (pass/fail): After a rain, does water clear the surface within 12 hours? Pass. Any standing water after 24 hours is a fail and needs correcting before the next wet season.
- Joint sand (pass/fail): Thumb-press three random joints. If all three are firm, pass. One or more that crumbles is a fail – re-sand scheduled.
- Level surface (pass/fail): Set a 4-foot level on the driveway in three directions. No rocking on a paver means pass. Any paver that rocks underfoot or sounds hollow when tapped is a fail.
- Edge restraint (pass/fail): Walk the perimeter. Is the edge plastic or concrete curb tight and continuous? Any crack or gap is a fail.
- Efflorescence (pass/fail): Any white mineral haze on the surface? Fresh pavers under 6 months – pass. Older pavers – fail, needs cleaning.
- Movement at the garage apron (pass/fail): The transition between pavers and the garage slab is a common failure point. Visible gap larger than 1/4 inch is a fail.
- Oil and stains (informational): Note but don’t panic. Most petroleum stains lift with a poultice within a week of the spill. Older stains require a paver-safe cleaner.
Snap a photo of anything you’re not sure about and send it in. A trained eye often spots a base problem that looks cosmetic to a homeowner. This is also where the assessment we do for full driveway work overlaps – see our related guide on Fence Installation in El Monte for how we handle similar perimeter inspections.
Which Tasks Preserve Your Installer’s Warranty
A paver warranty is a document with fine print, and homeowners routinely void coverage without realizing it. The pattern we see most often in El Monte: a homeowner hires a cheaper pressure-washing crew for what looks like routine cleaning, and the warranty is void before anyone reads the terms.
Here’s what typically preserves coverage and what typically voids it.
Tasks that usually preserve the warranty
- Annual or bi-annual inspection with photos and written notes
- Correct re-sanding on the recommended interval, using the installer-approved sand
- Weed pulling and light manual cleaning (broom, garden hose, mild cleaner)
- Snow/ice – not applicable here – but adding a note: nothing seasonal you do to clear the surface voids coverage
- Reporting concerns within 30 days of noticing them
Tasks that usually void the warranty
- High-pressure washing (over 2,000 PSI) that strips joint sand and chips paver edges
- Sealer applied within the first 60 days, or more often than every 24 months
- De-icing salts or harsh chemical cleaners – these attack both sealer and pavers
- Homeowner-added sand that isn’t the installer’s specified polymeric product
- Any cutting, drilling, or modification to pavers or edge restraint
- Parking a vehicle heavier than the rated load class on the driveway
Read your own warranty document. If it doesn’t specify a re-sanding interval or a sealer restriction, ask your installer for clarification in writing. Our team provides all warranty terms in writing at the final walkthrough, backed by our 730-Day Done Right Promise – if it’s not done right, we make it right.
Common Mistakes to Avoid
- Pressure washing at full power. Residential pressure washers will strip polymeric sand out of joints and chip paver edges in one pass. If you must wash, use a surface cleaner at under 2,000 PSI and never aim directly at a joint.
- Sealing a new driveway in the first month. El Monte’s hot dry summers tempt homeowners to seal immediately for the “finished look.” You lock in efflorescence and moisture, and the haze never lifts. Wait 90 days minimum.
- Ignoring the downslope drain. Many El Monte homes slope toward the street, and a single leaf-clogged drain at the property line can back water under the driveway. Check the street-side drain at the start of wet season, before, not after, the first storm.
- Adding sand without cleaning joints. Top-dressing with new polymeric sand over dirty joints is the most common DIY failure we see. The sand won’t bond, and it looks fine for six months, then fails.
- Using salt for any winter ice. Rare here, but if a rare El Monte cold snap ices up your driveway, do not salt it. Salt attacks both the paver surface and any sealer. Use sand or nothing.
- Skipping edge restraint repairs. A cracked plastic edge restraint is a small problem until a season of rain enters it. The corner of the driveway lifts and every paver uphill of it starts to creep.
- Assuming the installer handed the schedule to the next owner. If you bought the house with a paver driveway already in place, assume no one has re-sanded it. Do an inspection in the first 60 days of ownership.
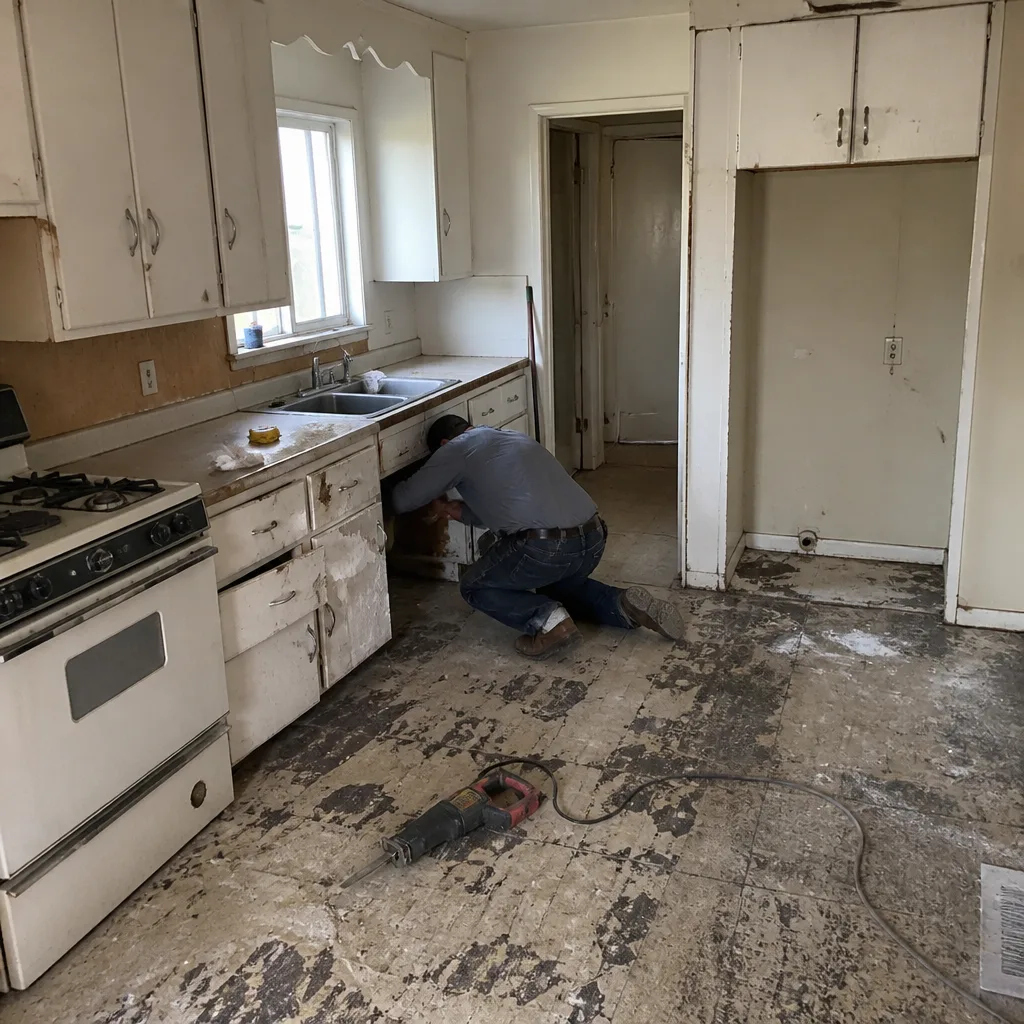
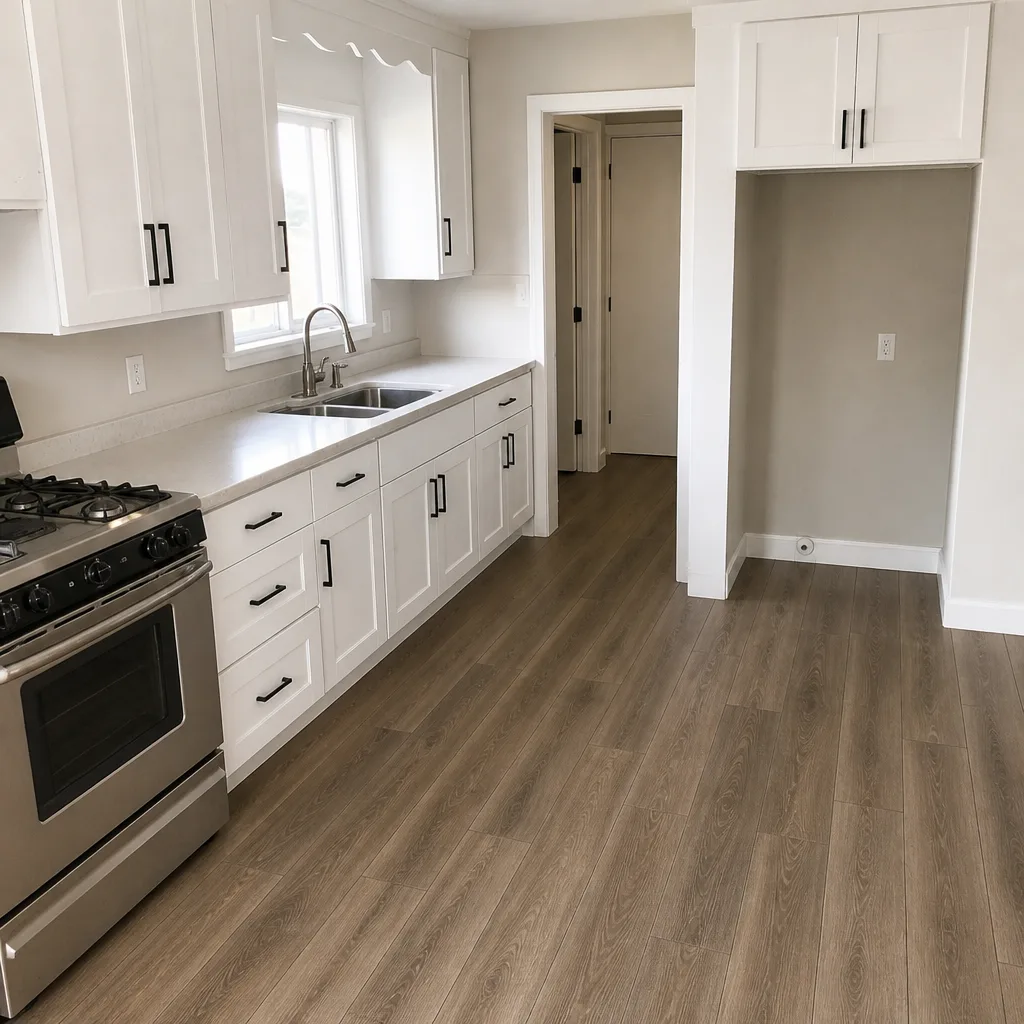
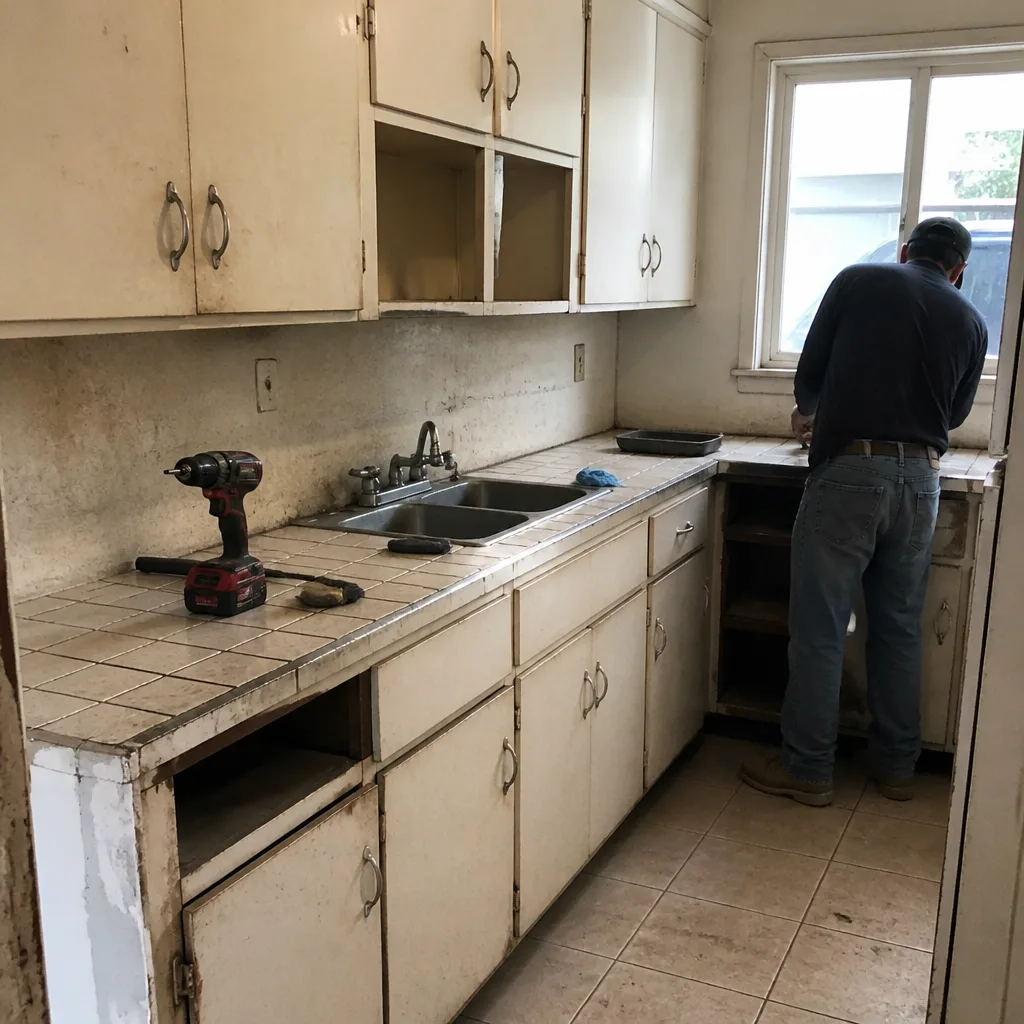
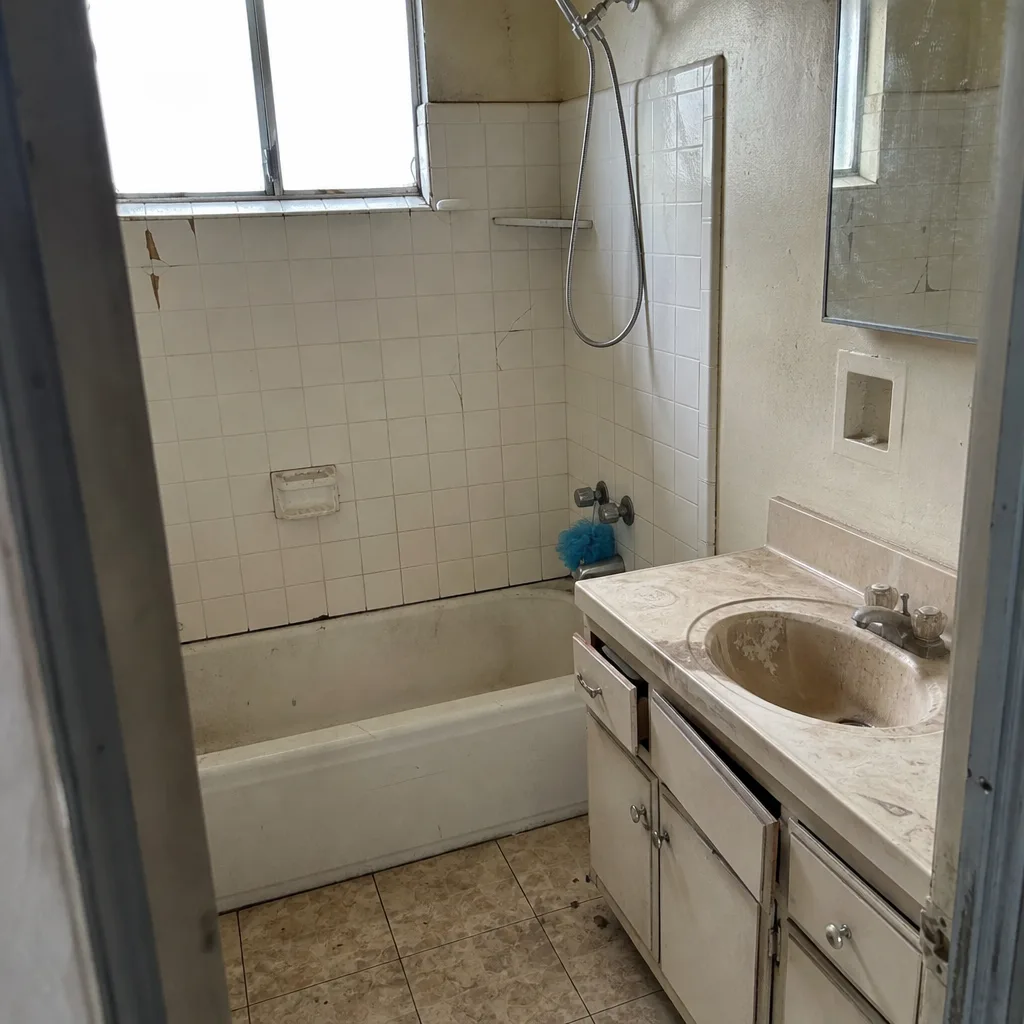
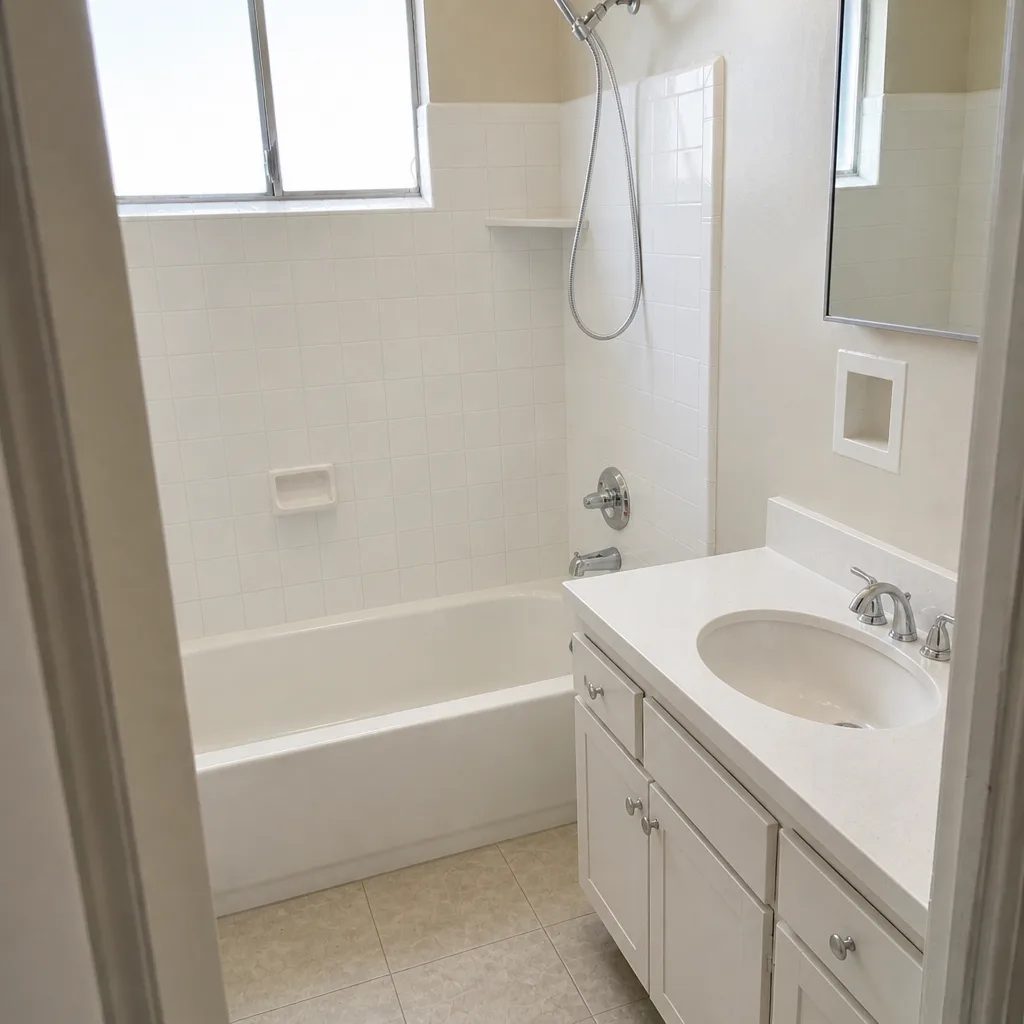
See the difference
 Before
 After
 Before
 After
 Before
 After
When to Call a Professional
Some paver work is a homeowner task and some isn’t. Re-sanding a small area near the garage door is fine to do yourself. Re-sanding a 600-square-foot driveway, adjusting a settled corner, replacing edge restraint, or addressing any driveway that’s draining toward the house is a job for the crew that installs paver systems professionally. If your inspection fails on drainage, on garage apron movement, or on edge restraint, call us rather than patch it. Those three items are structural, and a homeowner fix usually makes the next repair more expensive.
Groundwork Construction Co. of El Monte offers free estimates in El Monte – call (888) 271-7872. We’ll walk the driveway with you, test the joints, check the edge and grade, and give you a written line-item quote on what to do and what to skip.
Frequently Asked Questions
Every 2 to 3 years for a typical driveway. If the base was built well and the driveway is sealed on the correct interval, you can stretch to 4 years. High-pressure washing and heavy vehicle traffic shorten the interval.
No. Annual sealing causes buildup, yellowing, and eventual peeling. The right interval is every 3 to 5 years with a penetrating sealer. More frequent sealing adds cost and shortens the life of the paver finish rather than extending it. Call (888) 271-7872 for a free assessment of whether your driveway is due.
Late May through early July or mid-to-late September, in a dry window with 48 hours of no rain forecast and no extreme heat. In El Monte, the wet season runs roughly November through March, and sealing during that window risks the sealer not curing properly.
Yes, often. The wet season is the primary cause of joint sand loss, so a spring top-off to thin joints is normal. If more than 20% of your joints need sand, do a full re-sand rather than a top-off. Call (888) 271-7872 for a free inspection if you’re not sure which applies.
In most residential paver warranties, yes. High-pressure washing strips joint sand and chips edges, and both count as damage from neglect in most warranty documents. Use a garden hose and stiff broom for routine cleaning, or hire a paver-specific cleaning crew that uses a surface cleaner under 2,000 PSI.
Three signs indicate structural issues rather than cosmetic ones: standing water more than 24 hours after rain, a paver that rocks underfoot or sounds hollow, and visible separation at the garage apron. Any of those three means call a professional for an assessment before doing maintenance work. El Monte homeowners can call our team for a free estimate.
The Bottom Line
A paver driveway is not a low-maintenance surface. It’s a system on a schedule that most homeowners were never handed at project completion. Keep the calendar: two inspections a year (March and September), one re-sand every 2 to 3 years, one seal every 3 to 5 years, and a wet-season prep before November. Skip the pressure washer, skip the annual sealer, and don’t salt for ice. Do those things and your El Monte driveway will outlast every concrete slab on your street. Skip them and you’ll pay 5 to 10 times the maintenance cost in structural repairs within a decade.
Ready for a free estimate on new pavers, a repair, or a scheduled maintenance plan? Call Groundwork Construction Co. of El Monte at (888) 271-7872. From our Groundwork Construction Co. of El Monte home page, you can explore our full service lineup – including Home Additions & ADU in El Monte if your project goes beyond the driveway. Our technicians have up to 12 years of experience, calls are answered by a live person 24/7, and every job is backed by our 730-Day Done Right Promise.
Written by the team at Groundwork Construction Co. of El Monte.