Last updated November 17, 2026
Free written scope consultation - allowances, timeline, and change-order rules on paper before a single trade is scheduled
DIY vs Professional Driveway & Pavers: What’s Safe to Do Yourself
YouTube makes paver laying look like weekend work. What it doesn’t show is the $4,000-$8,000 redo when a homeowner-compacted base settles unevenly after the first winter rain. The real question with driveway pavers isn’t whether you have the skills to set a paver in a pattern. It’s whether you can recover financially if the base fails underneath four tons of concrete and car weight. This guide breaks down what’s genuinely safe for a skilled homeowner to handle, what isn’t, and where the money actually goes when you compare DIY against a professional install in El Monte.
Quick Answer
Layout, minor joint sand refresh, and small section repairs are safe for a careful homeowner to do themselves. Excavation, base compaction, and full driveway installation are not, because the equipment and compaction testing required to prevent settling are professional-grade and non-negotiable. Paying a professional for the base prep and full install protects your warranty, your permit, and your resale value; most homeowners who attempt a full DIY install end up paying twice.
Styles & brands we work with
- Kitchen remodeling
- Bathroom remodeling
- Home additions & ADU
- Roofing
- Windows & doors
- Driveway & pavers
- Fence
Table of Contents
- Why the Base Preparation Phase Decides Everything
- True DIY Cost vs. Professional Installed Price
- Tasks That Are Genuinely Safe to Do Yourself
- Permit Implications of DIY Driveway Work
- Manufacturer Warranty Language You Need to Read First
- How El Monte Climate Affects Paver Installation
- How Long a Professional Driveway Install Takes
Why the Base Preparation Phase Decides Everything
The base is where amateur installs break down. Every single time. A paver driveway is not a paver problem; it’s a soil compaction problem. The visible pavers are the finish work. The excavation, the aggregate, and the number of compaction passes underneath them are what determine whether your driveway looks the same in year five as it did in week one.
Here’s what proper base prep actually involves:
- Excavation to correct depth. For a residential driveway, you’re removing 8-12 inches of existing soil depending on the base thickness required for vehicular traffic. Hand digging a 400-square-foot driveway means moving roughly 12-15 cubic yards of material, and a full-size driveway can triple that.
- Proper aggregate selection and grading. Class II road base or crushed aggregate with the right fines content, layered in lifts of 2-4 inches, never dumped in one shot. Each lift needs to be graded and leveled before the next goes down.
- Plate compactor passes. A rental plate compactor at 3,000-5,000 vibrations per minute, run over each lift multiple times, is the minimum. Hand tamping or a jumping jack won’t reach the density required for a driveway that takes vehicle loads.
- Moisture control during compaction. Aggregate compacts best at the right moisture content. Too dry and it stays loose; too wet and it pumps. This is a judgment call that comes from repetition.
- Final grade and edge restraint installation. Pitch for drainage, edge restraints anchored into the base, and a final compaction pass before bedding sand goes down.
In El Monte, the ground under many older residential driveways has been in place for decades. We’ve seen soil conditions in neighborhoods off Valley Boulevard that drain differently from newer construction toward the foothills. A homeowner with a rented plate compactor and a weekend can look at a finished base and think it’s solid. A compaction test tells a different story. That’s the gap between DIY and professional, and it isn’t a skill gap. It’s an equipment-and-testing gap.
True DIY Cost vs. Professional Installed Price
The DIY math most homeowners run is materials plus a Saturday. The real comparison includes tool rental, waste factor, the disposal of excavated material, and the value of your time. Here’s what a realistic 400-square-foot paver driveway comparison looks like.
| Line Item | DIY Estimate | Professional Installed |
|---|---|---|
| Pavers (with 10% waste factor) | $1,600-$2,800 | Included |
| Base aggregate & bedding sand | $600-$1,200 | Included |
| Plate compactor rental (3-4 days) | $300-$500 | Included |
| Excavator or skid-steer rental | $500-$900 | Included |
| Dumpster / spoil removal | $400-$800 | Included |
| Edge restraints & polymeric sand | $250-$450 | Included |
| Permit | $150-$500 | Pulled by contractor |
| Labor (your weekends) | 40-80 hours | Included |
| Total | $3,800-$7,150 + your time | $6,500-$11,000 installed |
Now add the risk line. If the base fails and needs to come out, you’re looking at $4,000-$8,000 to remove the pavers, re-excavate, re-base, and reinstall. That’s not a worst-case scenario; it’s the most common outcome for a first-time DIY driveway install in a market where freeze-thaw isn’t the issue but seasonal rain and clay-heavy soils absolutely are. We’ve watched homeowners in El Monte spend the DIY total, then spend the professional total, then spend it again to fix the first attempt. The math on DIY only works if the base holds. And the base is exactly the part DIY can’t guarantee.
If you want a line-item install price you can actually compare against the DIY number, Driveway & Pavers in El Monte lays out what gets quoted and what doesn’t. Our upfront pricing means the number you see is the number you pay.
Tasks That Are Genuinely Safe to Do Yourself
Not every paver task requires a crew. Some of them are perfect for a homeowner with patience and the right tools. Here’s where we draw the line.
Safe DIY tasks
- Paver pattern layout and dry-fit. Laying out a herringbone, running bond, or basketweave pattern on a flat surface to plan your cuts and see the visual result costs nothing and commits you to nothing. Take a photo before the install crew shows up so your intention carries through.
- Joint sand refresh. Polymeric sand breaks down over time. Refilling joints every 2-3 years with fresh polymeric sand, on a dry day, with the correct sweep and mist routine, is fully within reach for a homeowner. Read the bag; follow it; done.
- Small section repair. A single paver cracked by a dropped tool or a shifting edge paver near the driveway apron can be lifted, the sand re-leveled, and a replacement set. Limit this to sections under about 20 square feet.
- Weed and moss removal. Pulling weeds from joints and sweeping off debris is routine maintenance, not installation.
- Pressure washing. Low-pressure washing to remove dirt, tire marks, and organic staining is fine on a mature paver surface. High pressure aimed directly at joints can erode the sand, so keep the nozzle moving and back off the pressure.
Not safe to DIY
- Full driveway excavation and base install
- Edge restraint installation (the base must be correct first)
- Any install where a permit is required
- Compaction of any base you intend to use as a structural surface
- Fixing “settling” after the fact, because the fix is almost always a full redo
The pattern layout task is genuinely worth doing. Sit with the design. Because once a crew shows up with materials on site and the base is prepped, changing your mind on pattern costs more than planning it right the first time. We’d rather you spend two evenings with graph paper than two weekends regretting a basketweave.
Permit Implications of DIY Driveway Work
Here’s the part most DIY guides skip entirely. Driveway work often triggers permit requirements, and unpermitted work follows the property, not the installer. That means it follows you.
In the El Monte area, driveway work that changes the footprint, alters stormwater drainage, or involves curb cuts typically requires a permit from the city’s building and public works departments. Every municipality has its own rules, and the rules are not uniform across Los Angeles County. What passes inspection in one city can get flagged in another.
Three places where unpermitted DIY driveway work costs you:
- Resale disclosure. When you sell, a buyer’s inspector or the title company examines permitted improvements. Unpermitted hardscape is either disclosed, remediated, or paid for at closing. In a mortgage environment where lenders are cautious, that can kill a deal.
- Insurance claims. If a storm-damaged driveway causes water intrusion into your garage or a trip-and-fall happens on a sunken edge, an adjuster will ask for the permit and the install documentation. No permit can mean no coverage for that portion of the claim.
- Code enforcement. Neighbors report what they see. An unpermitted driveway widening or grade change that drains onto an adjacent property is a classic complaint that leads to an inspection, a fine, and a removal order.
When we pull the permits, they get pulled before the first shovel hits the ground and inspections get scheduled and passed at each stage. That documentation is yours at the end of the job. For homeowners who care about what their property is worth on paper, this is not a detail. If you want to understand how permitted work affects the rest of your home improvement plan, our team answers those questions the same way we answer driveway questions. The Groundwork Construction Co. of El Monte home page is a good place to start.
Manufacturer Warranty Language You Need to Read First
Read the warranty language on any paver product before you buy it for a DIY install. A surprising number of paver manufacturers and hardscape systems condition the warranty on installation by a qualified or licensed professional. If you install it yourself, the warranty on the material is often void or drastically shortened.
What that looks like in practice:
- Material defect warranty. Covers cracking, spalling, or color fading from manufacturing issues. Many manufacturers limit this warranty to installs performed to spec by a qualified installer, which usually means a licensed contractor, not a homeowner.
- Installation warranty. Covers what happens when the base settles or the pavers heave. This one lives with the installer, not the manufacturer, and a homeowner installing DIY has no one to fall back on but themselves.
- Drainage and settlement exclusions. Even the best warranty excludes settlement damage caused by “improper base preparation.” That exclusion is the trap. If you installed and the base moved, the warranty doesn’t cover it.
When you work with a company that carries its own workmanship warranty on top of the material warranty, those two things stack. Our 730-Day Done Right Promise covers the labor side for two years after install; if the base settles or a section fails, we make it right. That’s meaningfully longer than the industry norm for hardscape work, and it exists specifically to cover the failure mode that DIY installs can’t.
Related guides that touch on this same warranty logic: Fence Installation in El Monte fits the same pattern, where the fence hardware is commonly fine but the post setting decides durability. And for larger structural projects, Home Additions & ADU in El Monte walks through how permitted, warrantied work stacks against unpermitted alternatives.
How El Monte Climate Affects Paver Installation
El Monte sits in the San Gabriel Valley, which means hot, dry summers followed by winter rain events that arrive fast and heavy. The ground in older residential areas tends to have clay-heavy soils that swell slightly when wet and shrink when dry. That cycle is exactly what finds a bad base.
Three things that makes El Monte-specific paver installs different from what you’d plan for in, say, coastal Orange County:
- Expansive clay soils. If the base isn’t properly compacted and separated from native soil with the right aggregate, the clay underneath moves the driveway. It shows up as edge settling, uneven joints, or water pooling in the center. Schedule the install to include a proper separation layer under the base.
- Concentrated winter rainfall. El Monte gets most of its rain in a handful of storms between December and March. Drainage has to be designed for that pattern, not a gentle year-round drip. If the driveway pitches toward the home, water intrusion into the garage becomes a spring problem that started as an autumn install decision. A proper install includes visible drainage grading at the driveway apron and often a channel drain at the low point.
- Summer heat and UV. Pavers in a sun-exposed driveway hit high surface temperatures in July and August. Polymeric sand that was under-applied or installed wet fails faster under that cycle. The correct product and application matter here more than they would in a cooler market.
We’ve seen El Monte installs fail in the November-to-February window far more often than in July. That timeline tells you exactly what the problem is. The base and the drainage, not the pavers. Every time.
How Long a Professional Driveway Install Takes
A 400-square-foot residential paver driveway typically takes a professional crew 3-5 working days from demo to final sand. A larger driveway in the 800-1,200 square foot range runs 5-8 working days. The days break down predictably:
- Day 1: Demo, excavation, spoil removal, base grading
- Day 2: Aggregate lifts and compaction passes, edge restraints set
- Day 3: Bedding sand, paver installation begins
- Day 4-5: Paver installation, cuts, edge details
- Final day: Polymeric sand, cleanup, compaction pass over the finished surface
Weather adds time. Rain in the forecast delays base work; the base can’t be properly compacted when wet. That’s true for us and for you. The advantage of a professional schedule is that the crew knows how to sequence around weather and can be on site the day conditions allow, rather than waiting for your next free weekend three weeks out.
Groundwork Construction Co. of El Monte offers scheduled installs with a written start date, a written completion estimate, and no change orders for scope we quoted. The number you see is the number you pay. If we hit a genuine issue, we discuss it before doing the work, not after. That’s the level of transparency that keeps the project moving.
Common Mistakes to Avoid
- Under-excavating because “the old base is probably fine.” Existing soil under an old driveway hasn’t been compacted to modern standards and may include organic material that will decompose and settle. If the base isn’t re-evaluated properly, you’re building on sand. Literally.
- Using the wrong aggregate. The cheapest base material at the yard is not the same as the correct Class II road base for vehicular traffic. Base aggregate that lacks proper fines content will not compact to density, and the driveway will move.
- Skipping the waste factor. A 10% waste factor on pavers is standard because cuts at edges, corners, and drainage features always consume more than the plan says. Homeowners who order exact square footage almost always come up short and lose days to a reorder.
- Compacting with the wrong equipment. Hand tampers and jumping jacks do not reach structural density for a vehicular base. A rental plate compactor at minimum, run in multiple passes per lift, is the floor. Anything less is a known failure path.
- Ignoring drainage grading. In El Monte, an improperly graded driveway will move water toward the garage or toward the neighbor’s property, which becomes a code enforcement issue and an insurance problem. Pitch is not optional.
- Skipping the permit because “it’s just a driveway.” Unpermitted hardscape follows the property through resale, and it will surface during a claim. The permit cost is small relative to the exposure.
- Not reading the warranty before installing. If the paver warranty requires professional installation and you install DIY, you’ve bought the pavers and the risk. Read the language first, then decide.
See the difference
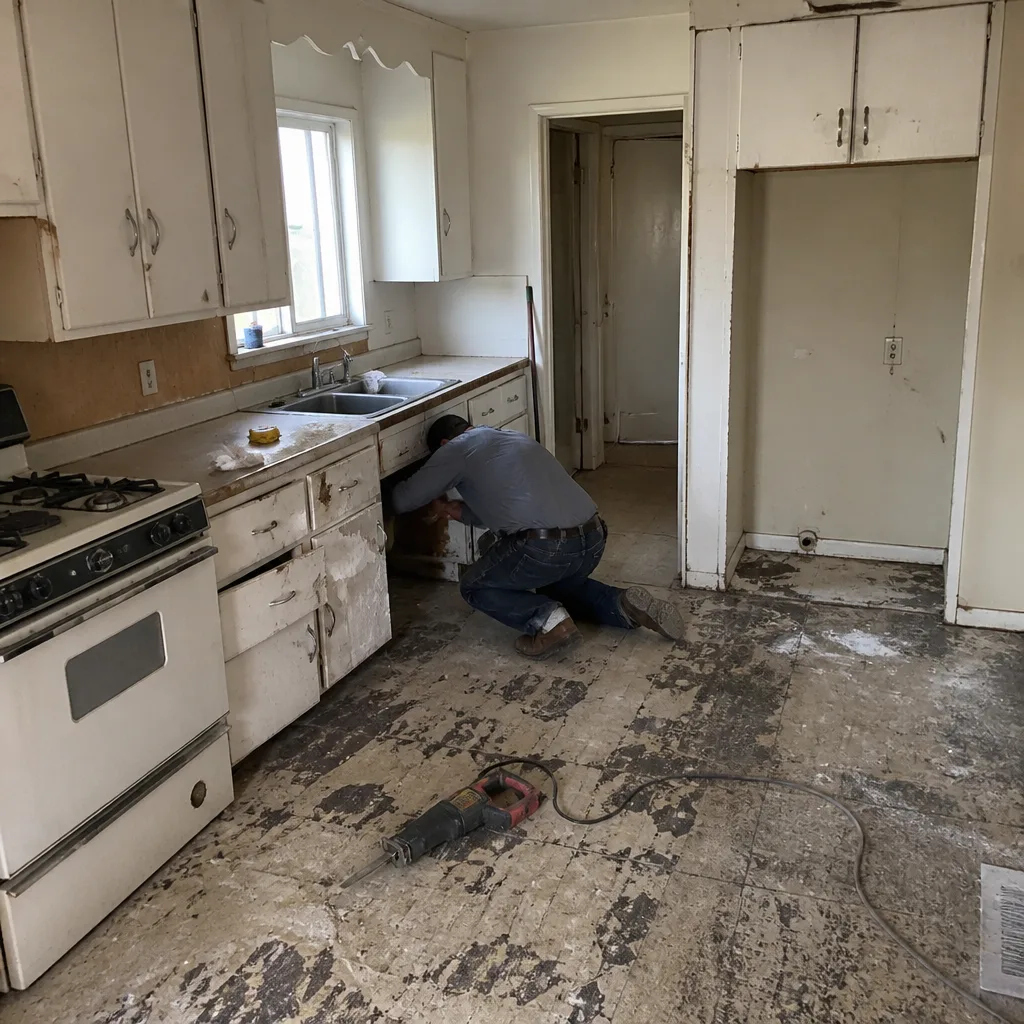 Before
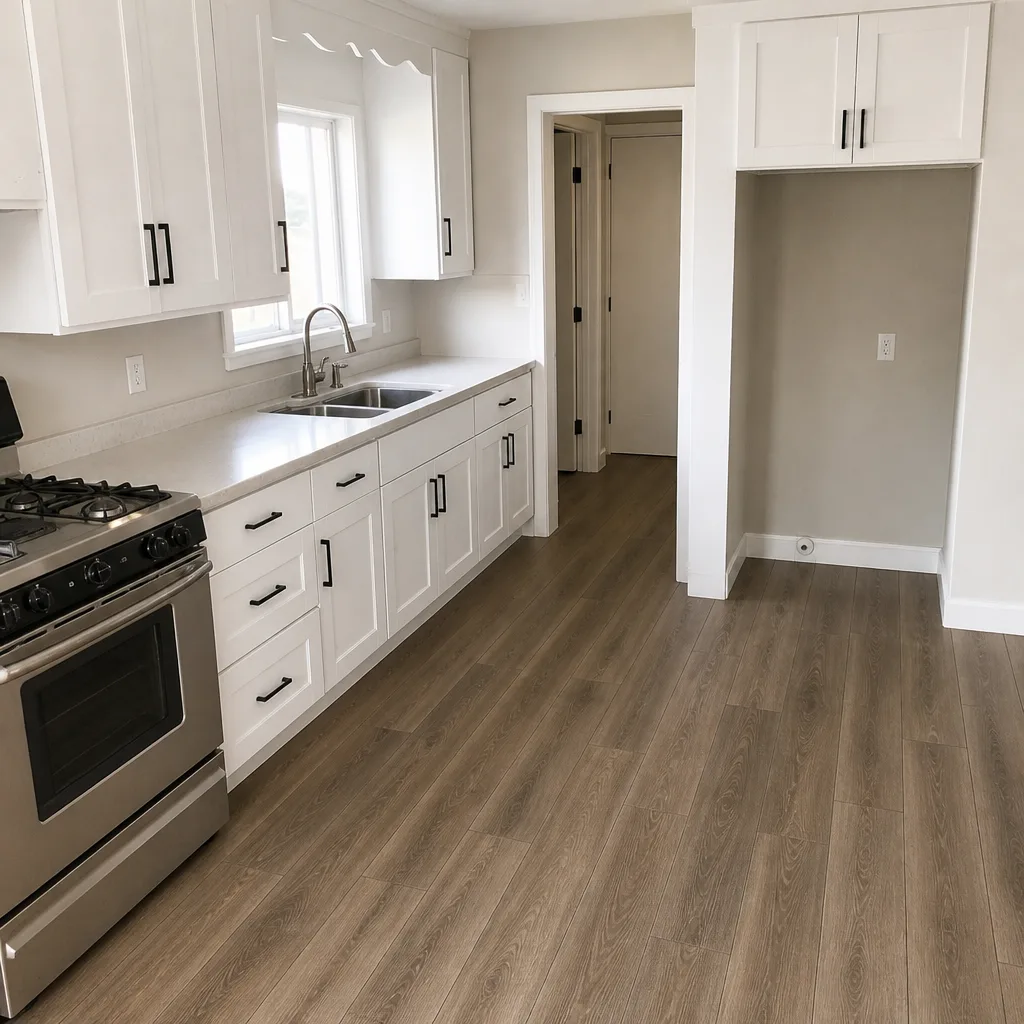 After
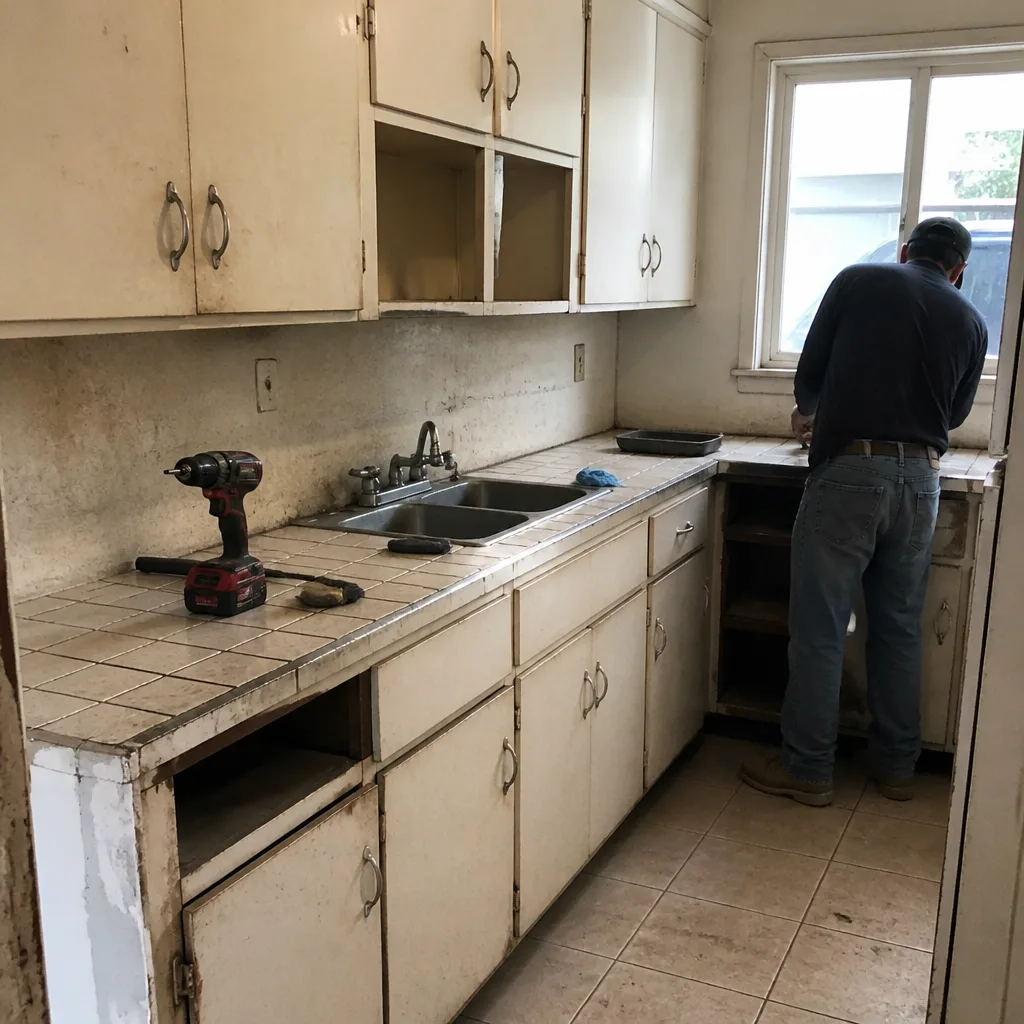 Before
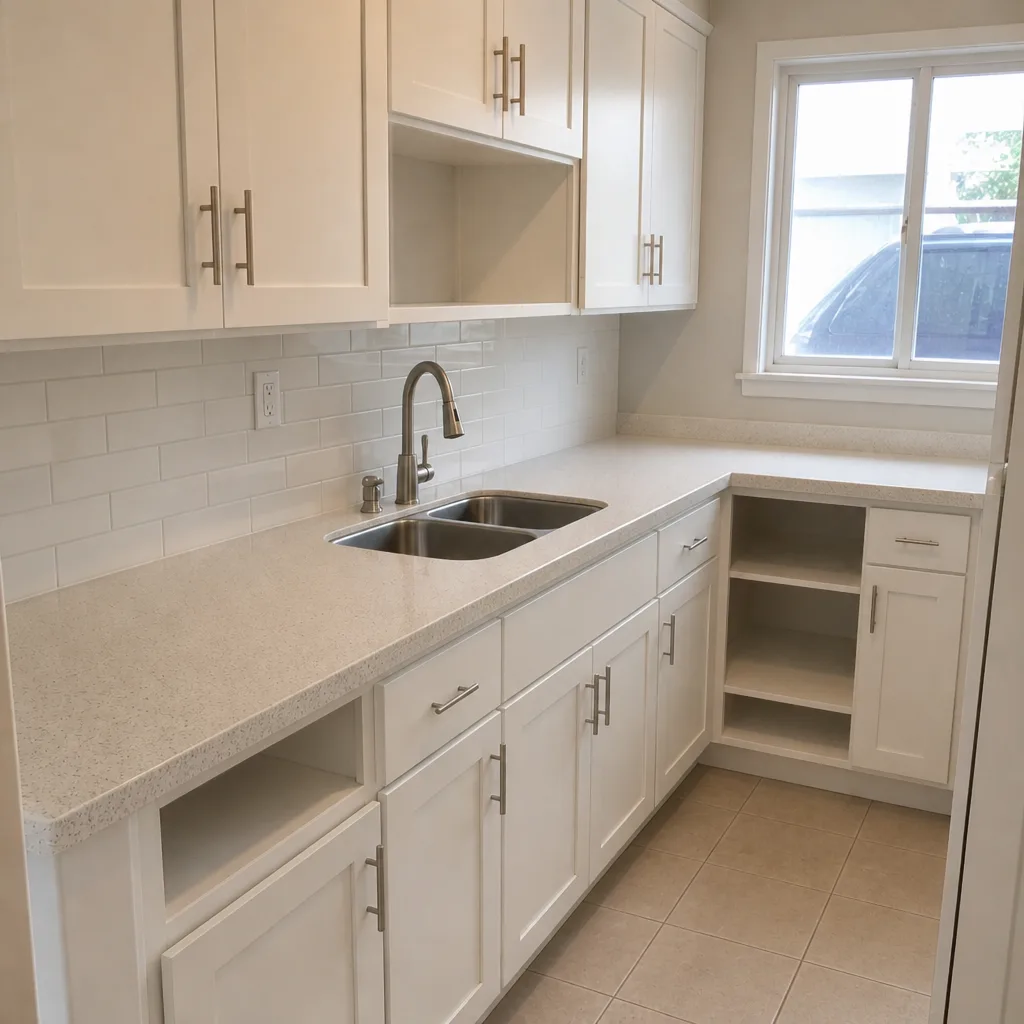 After
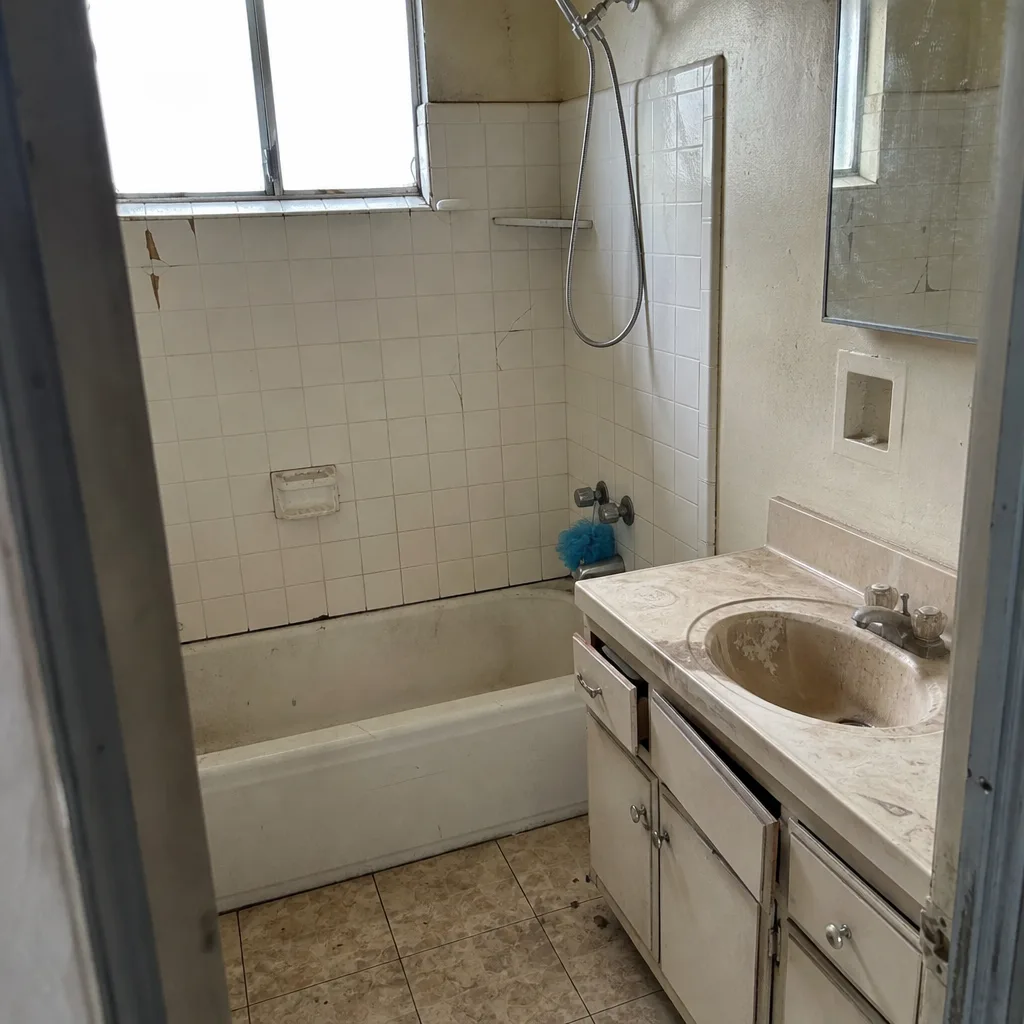 Before
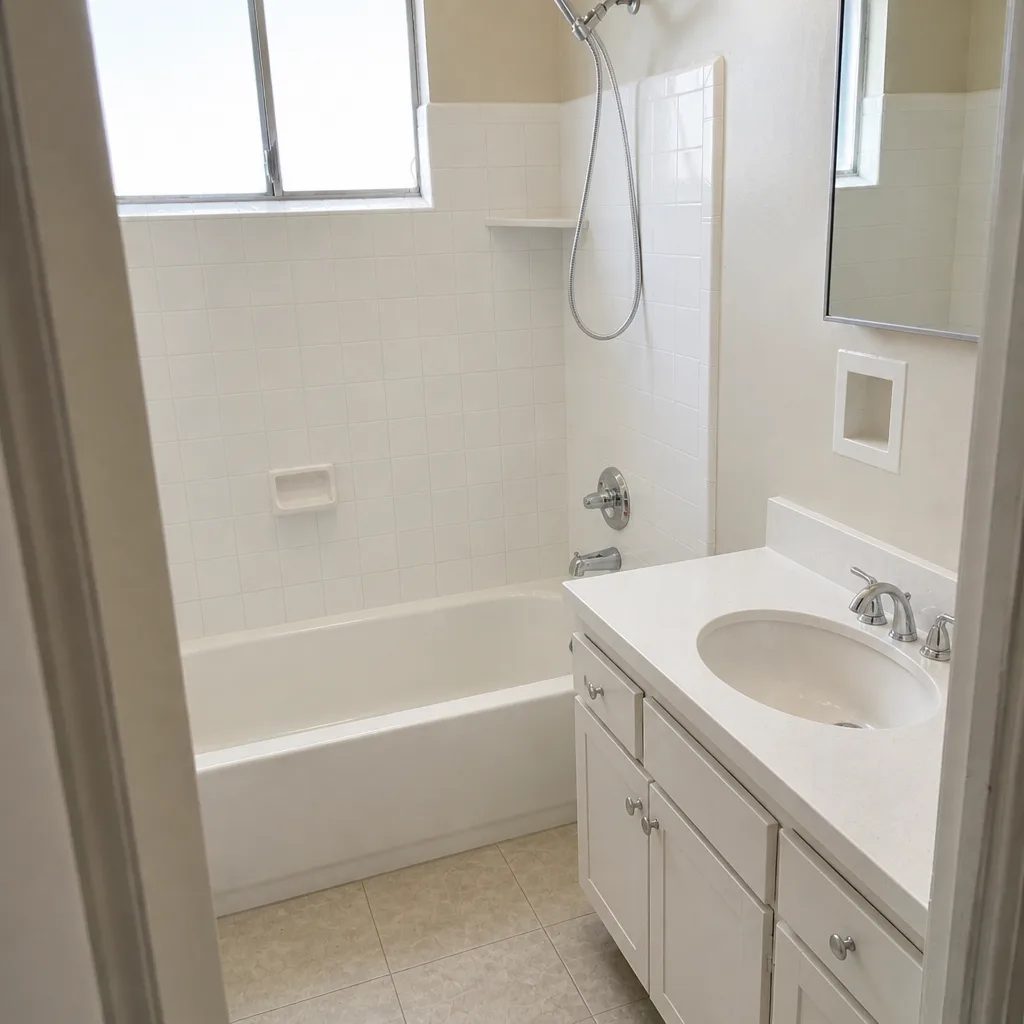 After
When to Call a Professional
Call a professional the moment any of these apply: the driveway is more than 100 square feet, the existing base is more than 10 years old, water has ever pooled in the driveway, there’s any change to the driveway footprint or drainage, or the word “permit” appears in the plan. In El Monte, a driveway fails the DIY-safe test in almost every case because the base condition under most homes pre-dates modern compaction standards. Realistically, the only reliable DIY scenarios are pattern layout, joint sand refresh, and small section repair.
The rest of the work, and the warranty, the permit, and the resale documentation that go with it, is worth placing with a contractor who carries a written workmanship guarantee and answers the phone. Groundwork Construction Co. of El Monte offers free estimates in El Monte and serves homeowners throughout the San Gabriel Valley. Call (888) 271-7872 for your free estimate and design consult. Live person, 24/7.
Frequently Asked Questions
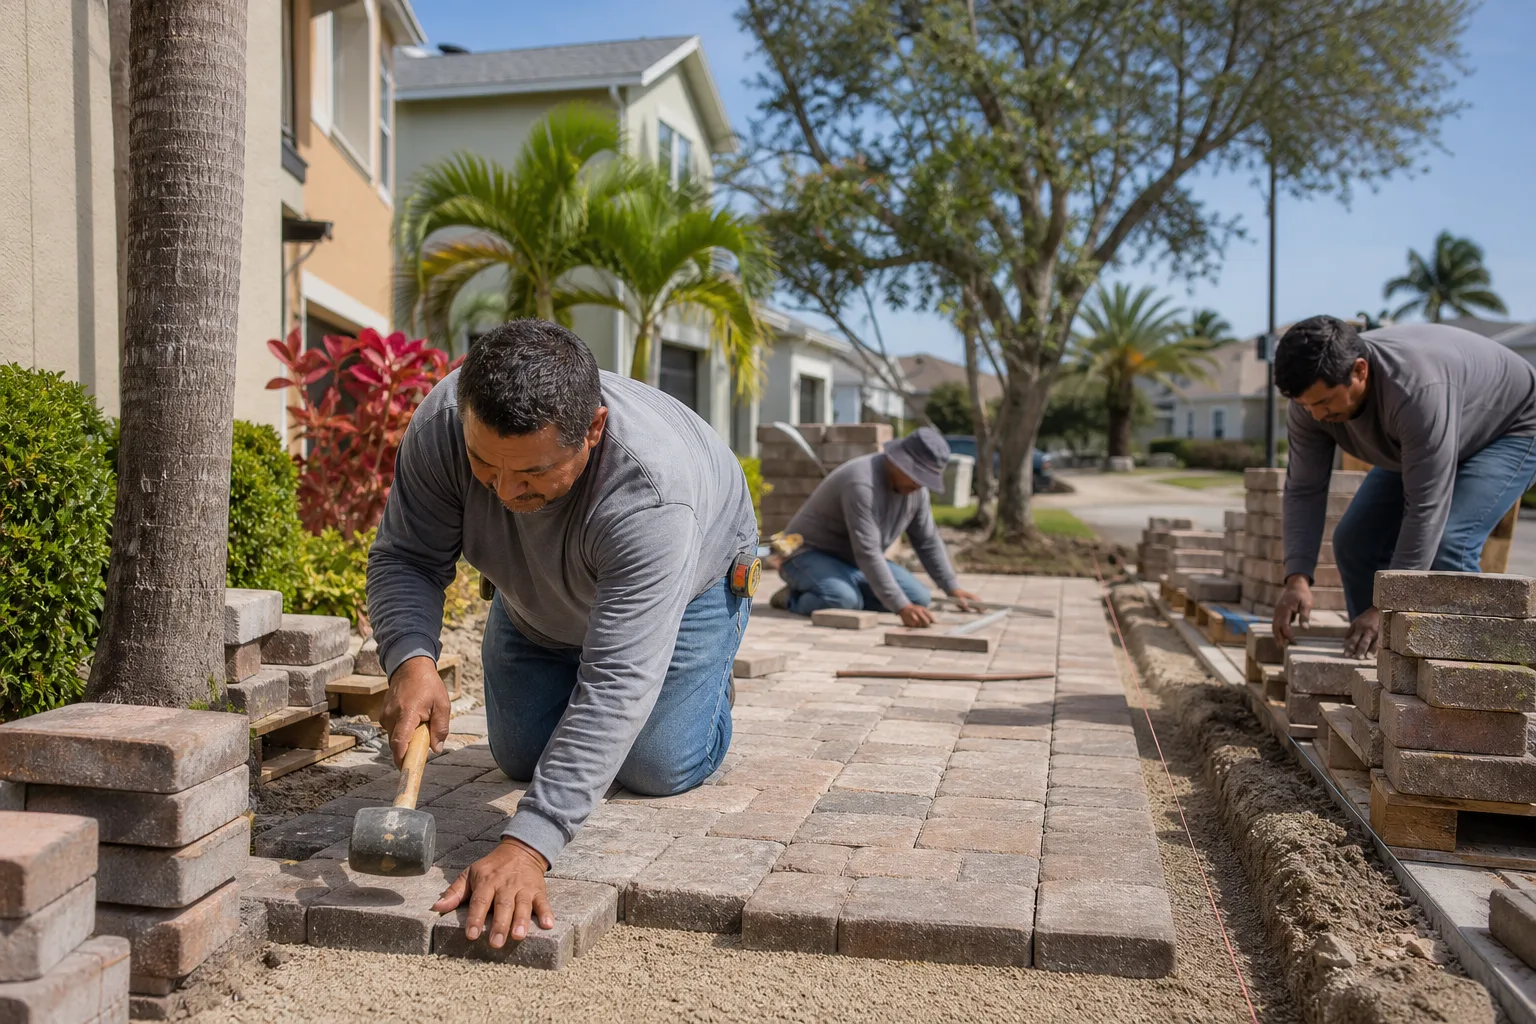
You can lay pavers yourself, but you cannot reliably prepare the base without professional compaction equipment and testing, and that’s where DIY installs fail. Small section repairs and joint sand refresh are safe DIY tasks; full driveway installs are not, because the base failure risk means the true cost of DIY is the DIY cost plus the redo cost. Call (888) 271-7872 for a free estimate if you want to compare the real numbers.
A residential paver driveway in El Monte typically runs $6,500-$11,000 installed for a 400-square-foot driveway, depending on material choice, base condition, and drainage requirements. Larger driveways scale accordingly. The DIY equivalent runs $3,800-$7,150 before the value of your time, and carries the risk of a $4,000-$8,000 redo if the base fails. Call (888) 271-7872 for an exact quote on your driveway; estimates are free.
Often yes, particularly if the project changes the driveway footprint, alters stormwater drainage, or involves a curb cut. Permit rules vary by city and project scope, and unpermitted work follows the property through resale and can affect insurance claims. We pull the permits and pass inspections as part of installation work. Call (888) 271-7872 to talk through your project.
No. We provide written line-item quotes with upfront pricing, and the number you see is the number you pay. If we discover a genuine issue that changes scope, we discuss it before doing the work, in writing, so you’re never surprised at the end. Call (888) 271-7872 for your free estimate.
Because the first wet season is when base compaction failures show up as visible settlement, uneven joints, or water pooling. In El Monte, the concentrated winter rain between December and March finds any weak spot in the base within a single season. The failure is almost never the pavers; it’s the preparation underneath them. Professional base prep and compaction testing exist specifically to prevent that outcome. Call (888) 271-7872 for a free evaluation.
Often no. Many paver manufacturers condition their material warranty on professional installation, and almost all of them exclude settlement damage from improper base preparation. If you install DIY and the base settles, you carry the cost of the repair without a warranty to fall back on. Our 730-Day Done Right Promise covers the labor side of the install for two years; if it’s not done right, we make it right. Call (888) 271-7872 to learn what’s covered on your project.
The Bottom Line
Some driveway paver tasks are safe to do yourself: pattern layout, joint sand refresh, small section repairs, pressure washing. The full install is not, and not because homeowners lack skill. Because the base preparation phase requires compaction equipment and testing that a homeowner can’t realistically do, and because the failure mode when the base moves is a $4,000-$8,000 tear-out. Add the permit risk, the warranty void, and the resale documentation, and DIY only pays off when the base holds. In El Monte, with clay-heavy soils and concentrated winter rain, it usually doesn’t. Call (888) 271-7872 for a free estimate and design consult on your driveway. Our technicians have up to 12 years of experience, calls are answered by a live person 24/7, and standing promotions like $1,000 off projects over $10,000 and 0% financing for 18 months make the professional route easier than most homeowners expect.
Written by the team at Groundwork Construction Co. of El Monte.