Last updated November 17, 2026






Free written scope consultation - allowances, timeline, and change-order rules on paper before a single trade is scheduled
Bathroom Remodeling Troubleshooting: Common Problems and How to Fix Them
A shower that leaks into the subfloor rarely announces itself with a visible drip. It shows up six months later as a soft spot in the hallway floor, a musty smell that won’t leave, or a single tile that suddenly feels loose underfoot. By the time those symptoms surface, the water damage repair often costs more than the original remodel did. That’s the hard truth about bathroom work: the three phases where most failures start – waterproofing, tile setting, and rough plumbing – are all buried behind finished surfaces. You can’t see them fail. You can only recognize the pattern when the symptoms finally show. This guide walks through how to diagnose each failure by its signature, how to assess ventilation and plumbing problems that surface after the fact, and how to document an issue in a way that actually gets a contractor to respond. We’re writing from El Monte, where older housing stock and our particular climate create a few local wrinkles worth knowing.
Quick Answer
Most bathroom remodel problems come from one of three hidden failure phases: a shower pan that wasn’t waterproofed correctly, tiles set over a substrate that moves or wasn’t prepped, or rough plumbing that was fitted wrong before the walls closed up. Fixing them means identifying which phase failed – because a shower pan leak, a grout failure, and a supply line drip all look similar but carry wildly different repair scopes and costs. Re-grouting solves a maintenance problem; a pan failure means tearing out to the substrate and rebuilding the waterproofing layer.
Styles & brands we work with
- Kitchen remodeling
- Bathroom remodeling
- Home additions & ADU
- Roofing
- Windows & doors
- Driveway & pavers
- Fence
Table of Contents
- How to Diagnose the Three Hidden Failures: Pan Leak vs. Grout Failure vs. Supply Line Drip
- Tile and Grout Troubleshooting: Cracking, Hollow Spots, and When Re-Grouting Is Enough
- Ventilation Failures: The Overlooked Cause of Bathroom Mold and Peeling Paint
- Plumbing Problems That Surface After a Remodel
- Waterproofing Failures: Why the Shower Pan Is Where Most Remodels Die
- How to Document and Report a Remodel Problem to Your Contractor
- When a Problem Crosses From Warranty Repair Into Contractor Liability
- El Monte-Specific Issues: Older Homes, Slab Foundations, and Our Climate
How to Diagnose the Three Hidden Failures: Pan Leak vs. Grout Failure vs. Supply Line Drip
This is the section that saves homeowners the most money, because the three problems below share nearly identical symptoms – water where it shouldn’t be – but the repair scope ranges from a $150 re-grout to a $4,000 tear-out. Getting the diagnosis right before you call anyone puts you in a stronger position. Here’s how to tell them apart.
Shower pan leak
A pan leak means the waterproof membrane beneath the tile has failed, or was never installed correctly. The tell: water shows up outside the shower footprint – on the adjacent floor, in the ceiling below, or as a persistent musty smell in the room next door. The leak is usually worse when the shower runs for a long time, and it doesn’t stop when you stop using the shower head (residual water in the pan keeps finding its way out). A pan leak almost always requires tear-out to the substrate. There’s no surface fix.
Grout failure
Grout is porous and cracks over time, especially at joints where two planes meet (corners, floor-to-wall transitions). A grout failure lets water seep behind the tile, but the water stays local. The tells: crumbly or missing grout lines, dark discoloration along seams, efflorescence (white mineral crust) at the base of the shower. If the shower is otherwise sound and only the grout has deteriorated, re-grouting and re-caulking with a silicone sealant at the joints fixes it. This is maintenance, not a remodel failure.
Supply line drip
A supply line drip comes from the pressurized line feeding the fixture, not from the drain side. The tell: moisture concentrated near the valve, wall behind the fixture, or under the sink – not in the shower floor. You may hear a faint hiss, see a small rust stain, or notice the water bill tick up. Supply line drips are often the cheapest fix (replace the line or fitting) but the most urgent, because pressurized water does damage fast.
Three questions narrow it down fast:
- Where is the water? Outside the shower footprint points to the pan; at the seams points to grout; at the fixture wall points to a supply line.
- Does it appear only when the shower is running? A pan leak often does. A supply line drip is constant. Grout failure shows up as slow discoloration, not a puddle.
- Is there a smell or soft floor? Musty smell plus soft subfloor outside the bathroom almost always means a pan leak that’s been running a while.
In our experience, the mistake homeowners make is treating every water symptom as a grout problem – re-caulking the corners and waiting. That works for actual grout failures. It does nothing for a pan leak, and it lets the subfloor damage spread. If you’re in El Monte and the shower is over a slab, the water has nowhere to go but sideways into adjacent flooring, which is why we see hallway soft spots so often.
Tile and Grout Troubleshooting: Cracking, Hollow Spots, and When Re-Grouting Is Enough
Tile failures look cosmetic and often aren’t. The dividing line is whether the tile is bonded to a stable substrate or whether the substrate itself is moving. You can test this without tearing anything out.
What causes cracking
- Substrate movement: The floor or wall behind the tile flexes, and the tile – which is rigid – cracks along the stress line. Cracks that follow a straight line (often along a joist, a seam, or a corner) usually mean substrate movement.
- Missing or incorrect underlayment: Tile set directly over plywood without a proper backer board or uncoupling membrane will crack as the wood expands and contracts with humidity.
- Improper thinset coverage: If the installer didn’t get full coverage under the tile (the “spot-bonding” shortcut), the tile is supported at the corners only and cracks underfoot traffic.
- Grout shrinkage: Grout that was mixed too wet or cured too fast shrinks and cracks, usually hairline cracks that don’t mean the tile is loose.
The hollow-spot test
Tap each tile with the plastic handle of a screwdriver or a coin. A solid “thud” means the tile is bonded. A hollow “tink” means there’s a void under the tile – a sign of poor thinset coverage or a delaminating substrate. A few hollow tiles in an older floor are common and often stable. A cluster of them, especially near a wet area or a crack, tells you the installation is failing.
Re-grout vs. tear-out: the decision rule
If the tiles are solid (no hollow sound), the grout is the only failure, and the cracks are hairline shrinkage cracks, re-grouting fixes it. Scrape out the old grout to two-thirds the tile depth, re-grout with a quality cementitious or epoxy grout, and caulk the change-of-plane joints with flexible silicone. That’s a maintenance job.
If tiles are hollow and cracked, if the cracks run in a line, or if the failure is in a shower pan or wet area, re-grouting is throwing money at a symptom. The substrate has to be corrected, which means tear-out. We’ve seen El Monte homeowners re-grout a failing shower three times over two years before accepting that the pan was the problem the whole time.
Ventilation Failures: The Overlooked Cause of Bathroom Mold and Peeling Paint
This is the most-skipped diagnosis in bathroom troubleshooting, and it’s the cause of a huge share of post-remodel mold and paint problems. A bathroom exhaust fan that’s undersized, poorly ducted, or terminated into the attic instead of outdoors will let moisture build up on every surface – and freshly painted walls and new grout are the first to show it.
How to assess whether your fan is properly sized
The rule of thumb for sizing is one CFM (cubic feet per minute) per square foot of bathroom floor, with a minimum of 50 CFM for any bathroom. A 5-by-8-foot bathroom (40 square feet) needs at least 50 CFM; an 8-by-10 (80 square feet) needs 80 CFM. Most builder-grade fans installed in older El Monte homes are 50 CFM or less, and many are rated for far less than they deliver once dust builds up on the blades.
Two ducting failures we see constantly
- Ducted into the attic instead of outdoors. The fan runs, you hear it, but it’s dumping warm moist air into the attic, where it condenses on the roof deck. This is a mold and rot problem in the attic and does nothing for the bathroom. It’s common in old housing stock, and it’s a code violation in most jurisdictions.
- Excessively long or kinked duct runs. A flex duct that snakes 20 feet through the attic and elbows three times delivers a fraction of the fan’s rated CFM. Duct runs should be short, straight, insulated, and terminate at a proper roof or wall cap.
Tests you can run yourself
- Hold a piece of toilet paper against the fan grille while it runs. If the fan can’t hold it, it’s not moving enough air.
- Look in the attic (or have someone look) to confirm the duct terminates outdoors through a vent cap, not just into the attic space.
- Check the fan’s rated CFM on the label, then compare it to your bathroom’s square footage.
- Look for mold at the ceiling corners, paint peeling at the top of walls, or rust on metal fixtures – the classic signs of chronic moisture.
An undersized or mis-ducted fan in an El Monte bathroom isn’t just a comfort issue. In our climate, where the marine layer keeps humidity elevated for much of the year, a bathroom that doesn’t vent properly will grow mold on the ceiling and window trim within a season. A fan upgrade and proper ducting to the exterior is one of the cheapest fixes with the highest payoff.
Plumbing Problems That Surface After a Remodel
Plumbing issues that show up weeks or months after a remodel are usually rough-in mistakes, not fixture defects. The fixture is fine. The problem is what’s behind the wall or under the floor. Here’s how to tell.
Slow drains
A drain that runs slower than it should after a remodel can mean a partial clog from construction debris (thinset, grout, drywall dust that got into the drain during the job), a rough-in that’s slightly out of level (an improperly sloped drain line won’t carry water fast enough), or a venting problem. If the slow drain is a new fixture and the rest of the house drains normally, suspect the fixture’s trap or the new line’s venting before you call a plumber for a clog.
Pressure drops
A pressure drop at a new fixture – or across the whole bathroom – usually points to a supply line that was sized too small, a shutoff valve left partially closed, or a clogged aerator. Check the aerator first (unscrew it, rinse it), then check that the shutoff valves are fully open. If pressure is still low, the rough-in is the likely culprit, and that’s a contractor conversation, not a plumber one.
Running toilets and phantom flushes
A toilet that runs intermittently or “ghost flushes” is usually a flapper or fill valve problem – a cheap, easy fix. But if the toilet was replaced during the remodel and runs from day one, the more likely issue is improper installation: a wax ring that isn’t seating, a fill valve set wrong, or a rough-in dimension that’s slightly off. That’s on the installer, not the fixture. Document it early, before the flapper gets replaced three times and everyone assumes the toilet is defective.
Quick diagnostic order
- Check the simplest cause first: aerators, shutoff valves, flappers, fill valves.
- If the symptom is isolated to one new fixture and appeared after the remodel, suspect the rough-in.
- Photograph and note the date the symptom started relative to the remodel completion date.
- Call the contractor before you call a plumber – if it’s rough-in related, the plumber you call will bill you for a fix the contractor is responsible for.
Waterproofing Failures: Why the Shower Pan Is Where Most Remodels Die
Every failed waterproofing job we’ve cracked open in El Monte had one of two root causes: a missing or compromised waterproof membrane, or a shower pan whose pre-slope was never built to direct water to the drain. Both are invisible from the finished surface, and both fail slowly. The damage you see is always the tail end of a process that started at the beginning of the remodel.
What proper waterproofing actually requires
A code-compliant tiled shower is a layered system. At minimum: a sloped substrate (so water that gets behind the tile drains to the drain), a waterproof membrane (either a liquid-applied coating or a sheet membrane), and the drainage assembly at the bottom of the pan. A pre-slope under the membrane is required in most installations – and its absence is the single most common hidden defect we find.
Signs the waterproofing failed
- Water staining or soft spots on ceilings below the bathroom.
- Persistent musty smell that doesn’t clear with cleaning.
- Efflorescence at the base of the shower.
- Tile delaminating from the wall in or near the shower.
- Grout that regrows mold within days of cleaning.
How a pro diagnoses it (not a DIY step)
Diagnosis involves isolating the shower drain from the pan and testing the membrane with a controlled water test, or pulling back a small area of tile at a strategic location to inspect the substrate. Neither step is a homeowner DIY job – an incorrect test can cause additional water damage, and a careless inspection can breach a working membrane. This is the point where a call to a professional is worth more than the inspection costs.
If you’re considering a full bathroom rebuild rather than a repair, this is also where a broader remodel conversation starts to make sense. The Groundwork Construction Co. of El Monte home page lays out the full scope if you want to see what a rebuild entails.
How to Document and Report a Remodel Problem to Your Contractor
Contractors respond to documented, specific, timed reports. They deprioritize vague complaints, because “the shower is leaking” could mean anything. Here’s the process that consistently gets results.
- Photograph in place, before you touch anything. Take wide shots showing where the problem is, then close-ups. Include a coin or ruler in the close-up for scale. If there’s water, photograph it while wet – not after you’ve wiped it up.
- Date every photo. Most phones timestamp automatically; if yours doesn’t, rename the file with the date. When a problem appeared and how long it’s been happening drives the whole conversation.
- Log the symptoms with dates and times. “Water appears on hallway floor every time the shower runs for more than 10 minutes, starting on March 4.” That’s a documentable, testable claim. “The shower leaks” is not.
- Isolate the variable. If possible without causing damage, note when the problem is worse and when it doesn’t occur. Does it happen when the tub is used but not the shower? When the sink runs but not the shower? This information short-circuits the diagnostic process.
- Report in writing. Email or a messaging thread, not a phone call alone. Written notice starts a recorded timeline, and contractors know a documented timeline is evidence.
- State the ask clearly. “Please come inspect, confirm the source, and tell me whether this is covered under the workmanship warranty.” A specific ask gets a specific response.
- Keep your contract and warranty documents with the report. Have the original scope, the warranty terms, and the completion date at hand. You’ll need them.
We’ve seen El Monte homeowners lose real leverage by waiting months to report, then reporting verbally. The contractor’s records show nothing, and the timeline gets fuzzy. A photographed, dated, written report on day one of the symptom puts the ball squarely in the contractor’s court – which is where it belongs.
When a Problem Crosses From Warranty Repair Into Contractor Liability
This is the part nobody explains clearly, and it matters. A “warranty repair” is a workmanship defect the contractor fixes. A “contractor liability” issue is a defect that caused consequential damage – and the line between them depends on what the defect did beyond failing.
The distinction, in plain terms
- Warranty repair: The shower pan leaks because the waterproofing was installed wrong. The contractor rebuilds the pan. This is covered under the workmanship warranty.
- Contractor liability territory: The shower pan leaked for six months before it was reported, and now the subfloor is rotted, the adjacent drywall is moldy, and the flooring outside the bathroom has to be replaced. The question of who pays for the consequential damage depends on whether the defect was reported promptly, what the contract says, and how the contractor responded.
What strengthens your position
- Prompt reporting in writing. The single biggest factor. The sooner the defect is reported, the clearer it is that the contractor had the opportunity to fix it before damage spread.
- A written workmanship warranty with clear terms. Get the warranty scope in writing and understand what it covers and for how long.
- A contractor who documents their response. A professional contractor will inspect, diagnose, and put their findings in writing. That record protects both parties.
- Permits and inspections. If the remodel was permitted and inspected, there’s a paper trail that confirms the work was done to code – or reveals which inspections were never called. That matters for both sides.
This is where the warranty on your remodel makes all the difference. Our Home Additions & ADU in El Monte work is covered by the same standard we apply to bathrooms – the 730-Day Done Right Promise, which means if a workmanship problem surfaces within that window, we make it right. That’s not a promise every contractor in El Monte makes, and it’s worth asking about before you sign anything. A two-year warranty on the workmanship of a bathroom remodel is meaningfully longer than the one-year industry norm, and it shifts the risk off you for the period when hidden failures most often surface.
El Monte-Specific Issues: Older Homes, Slab Foundations, and Our Climate
El Monte’s housing stock ranges from mid-century builds in the flatlands to homes that were added onto and remodeled piecemeal over decades. That history shows up in bathroom troubleshooting in a few specific ways.
Slab foundations and invisible leaks
Many El Monte homes sit on slabs, which means a shower pan leak or supply line drip has nowhere to drain downward – the water spreads laterally into adjacent flooring, baseboards, and drywall. In our experience, El Monte homeowners often discover pan leaks via a hallway soft spot rather than a ceiling stain, because there’s no ceiling below the bathroom to stain. If you live over slab and the floor outside your bathroom feels soft, don’t wait for a visible leak. Investigate.
Add-on remodels stacked on add-on remodels
A lot of El Monte bathrooms have been remodeled two or three times. That’s usually fine, but it means the substrate is a layer cake of original construction, old underlayment, and newer tile. When a tile cracks, the diagnosis is harder because the failure could be any one of three substrate layers. A hollow-spot test that clusters failures in one area of a much-remodeled bathroom usually points to the oldest layer.
The marine layer and ventilation
El Monte sits in the San Gabriel Valley, and the marine layer pushes humidity inland most of the year. That means a bathroom fan that would be “adequate” in a dry climate can be borderline in ours – moisture lingers on surfaces longer, and mold establishes faster. If you’re remodeling a bathroom in El Monte and the fan isn’t being upgraded to something that actually ducts outdoors, that’s a conversation worth having before the drywall goes back up. Our Fence Installation in El Monte crews see the same outdoor humidity effect on wood fencing year-round; indoors it just happens behind tile.
Permits and inspection records
El Monte requires permits for most bath remodels that move plumbing or electrical, and inspections have to be called at the rough-in stage – before tile goes on. A surprising share of problem remodels we get called to fix had no permit pulled at all, which means no rough plumbing inspection, which means the rough-in problems described earlier were never caught by anyone. When you’re planning a remodel, ask for the permit and for the inspection record.
Common Mistakes to Avoid
- Treating every water symptom as a grout problem. Re-caulking the corners is the right fix for a grout failure and the wrong fix for a pan leak. Catching the difference early prevents $1,000s in subfloor damage.
- Re-grouting a shower whose tiles are already hollow. The hollow sound means the substrate is failing – the grout is the symptom, not the problem. Re-grouting over a moving substrate just buys you a few months.
- Venting the exhaust fan into the attic. It runs, you hear it, and it does nothing useful. It also rots the roof deck. If the fan duct doesn’t exit through a roof or wall cap, it’s failing.
- Assuming a running toilet is always the flapper. If the toilet was new in the remodel and has run from day one, suspect the install. Replace the flapper and it’ll run again in a month.
- Reporting problems verbally. A verbal report leaves no record. When the timeline gets disputed six months later – and in El Monte it does – the homeowner with a dated email thread wins the conversation.
- Waiting to see if the problem “settles in.” In a wet-area remodel, the problem doesn’t settle. It grows. The math is simple: every month of waiting means more area to repair.
- Not asking for the warranty terms in writing before signing. A workmanship warranty that lives only in the sales pitch isn’t a warranty. Get the term length, the scope, and the repair process in writing.
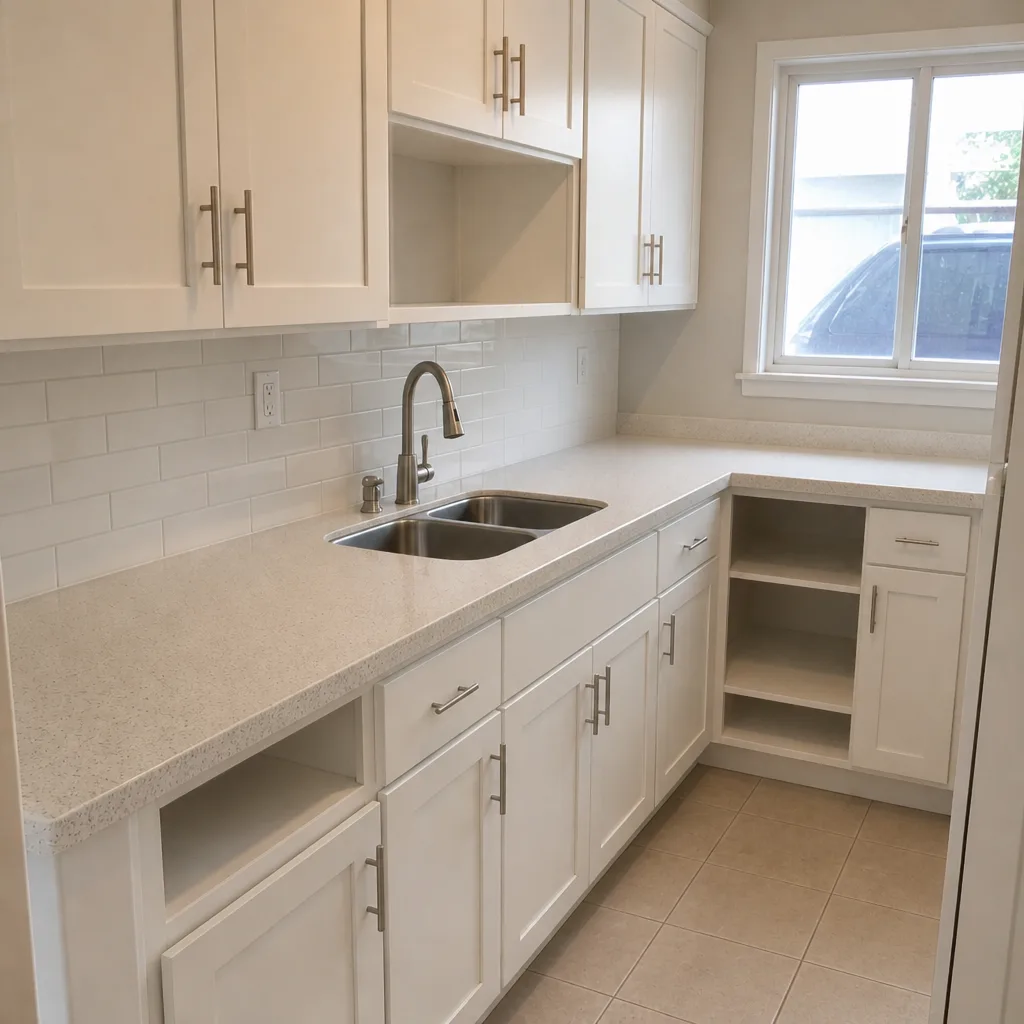
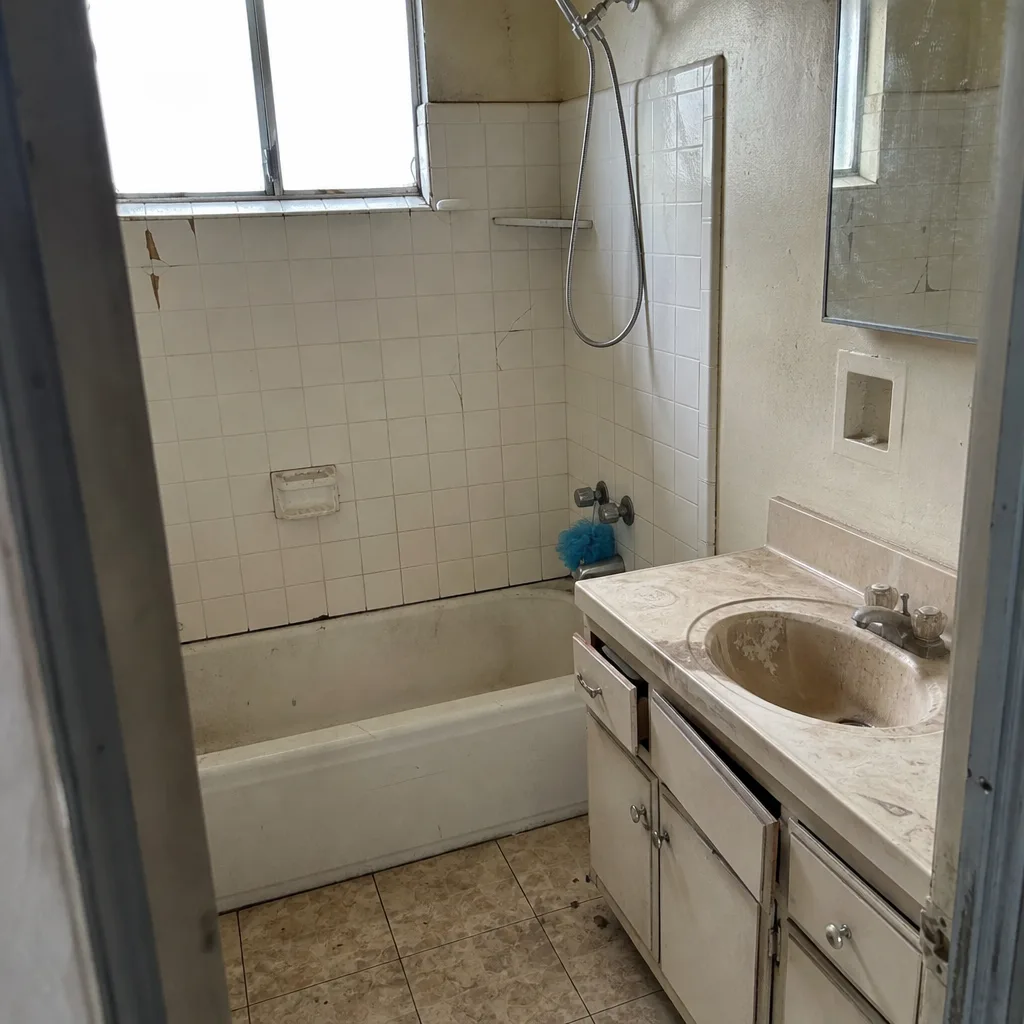
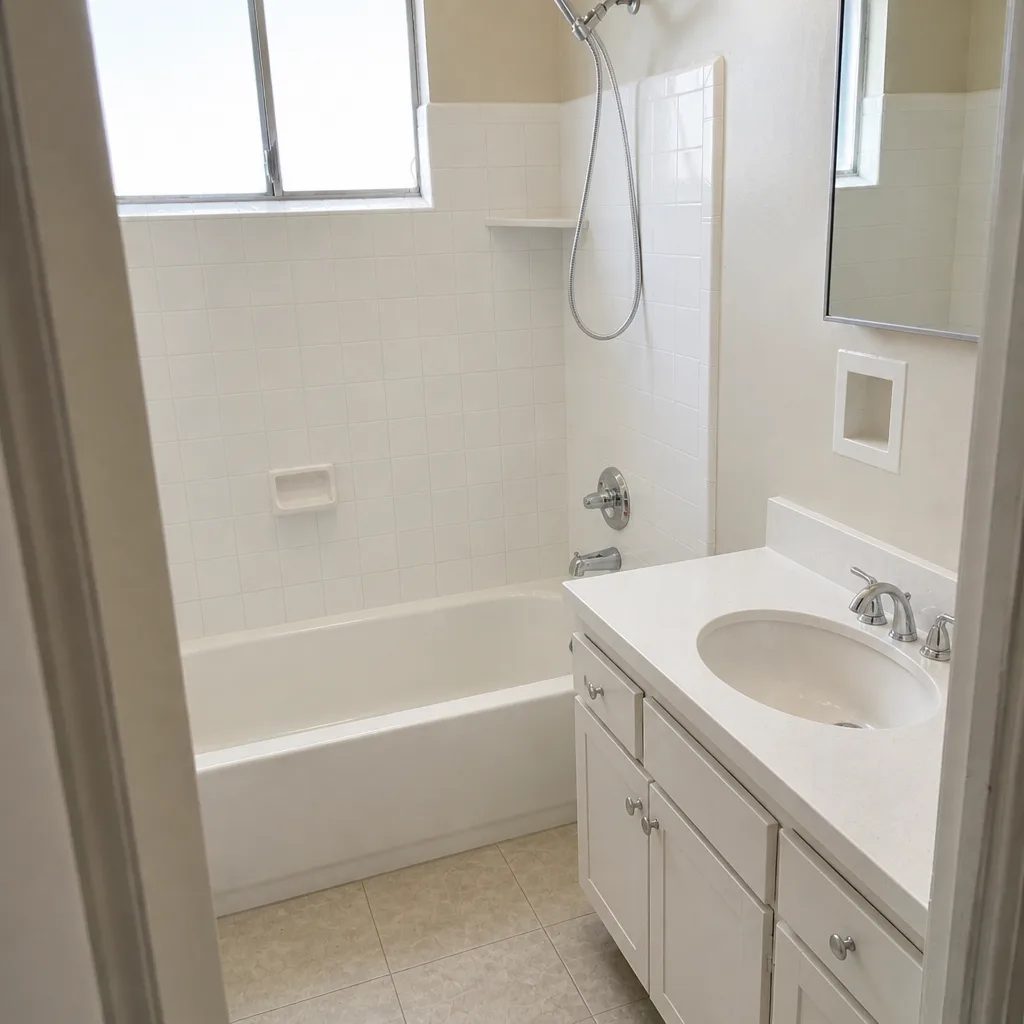
See the difference
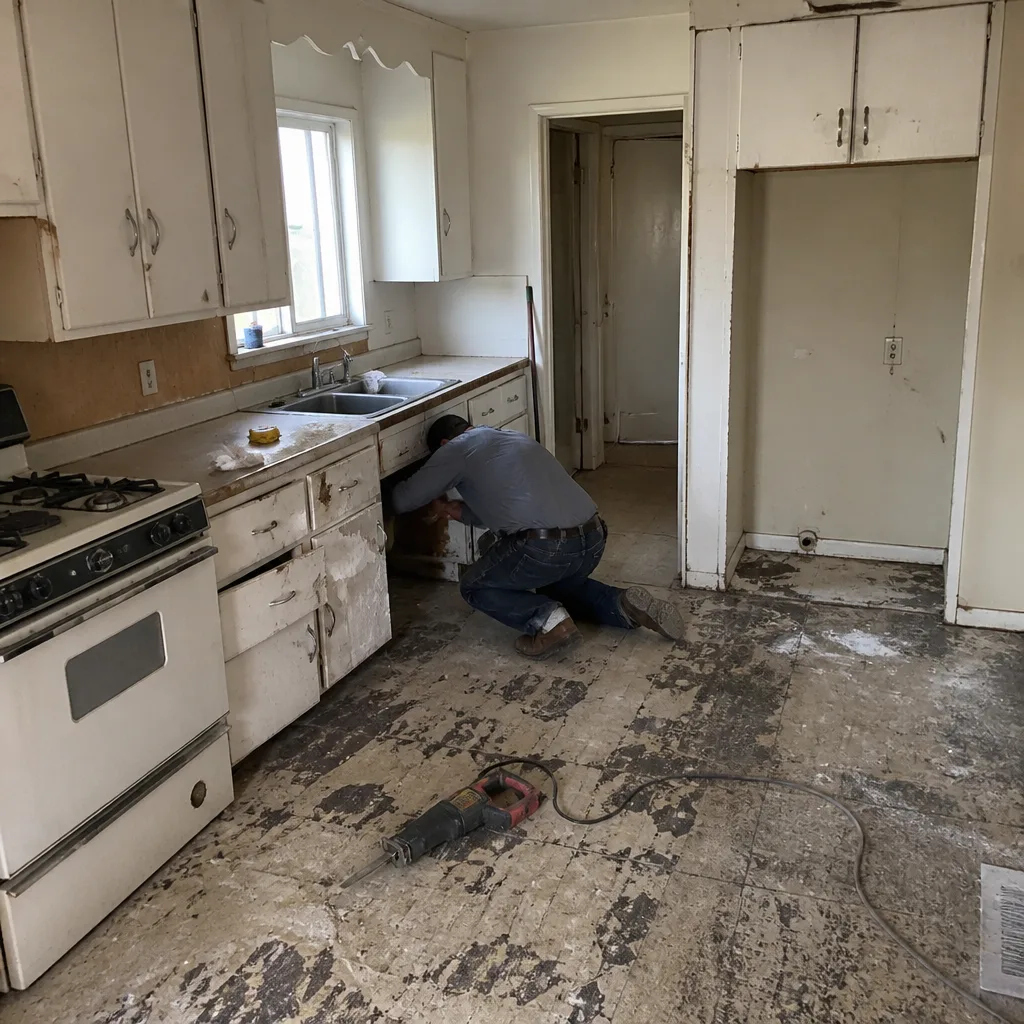 Before
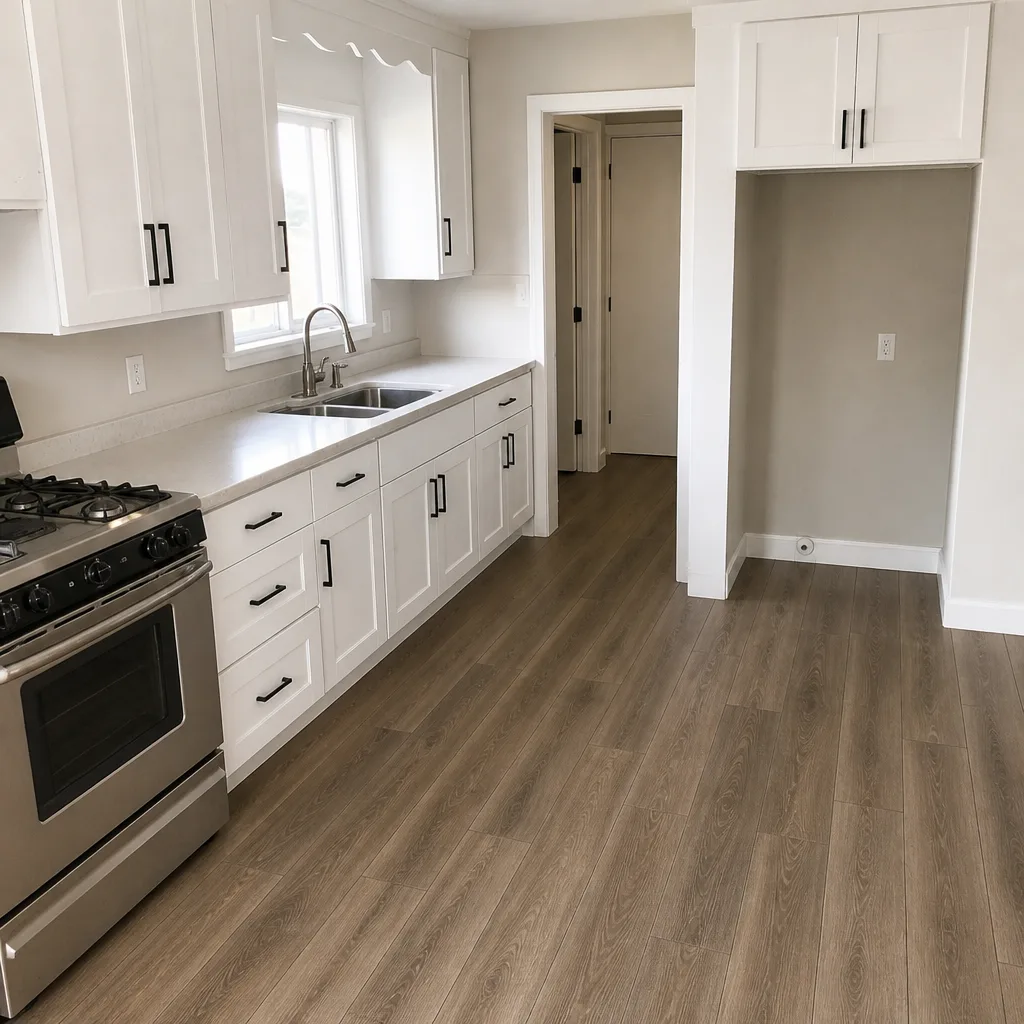 After
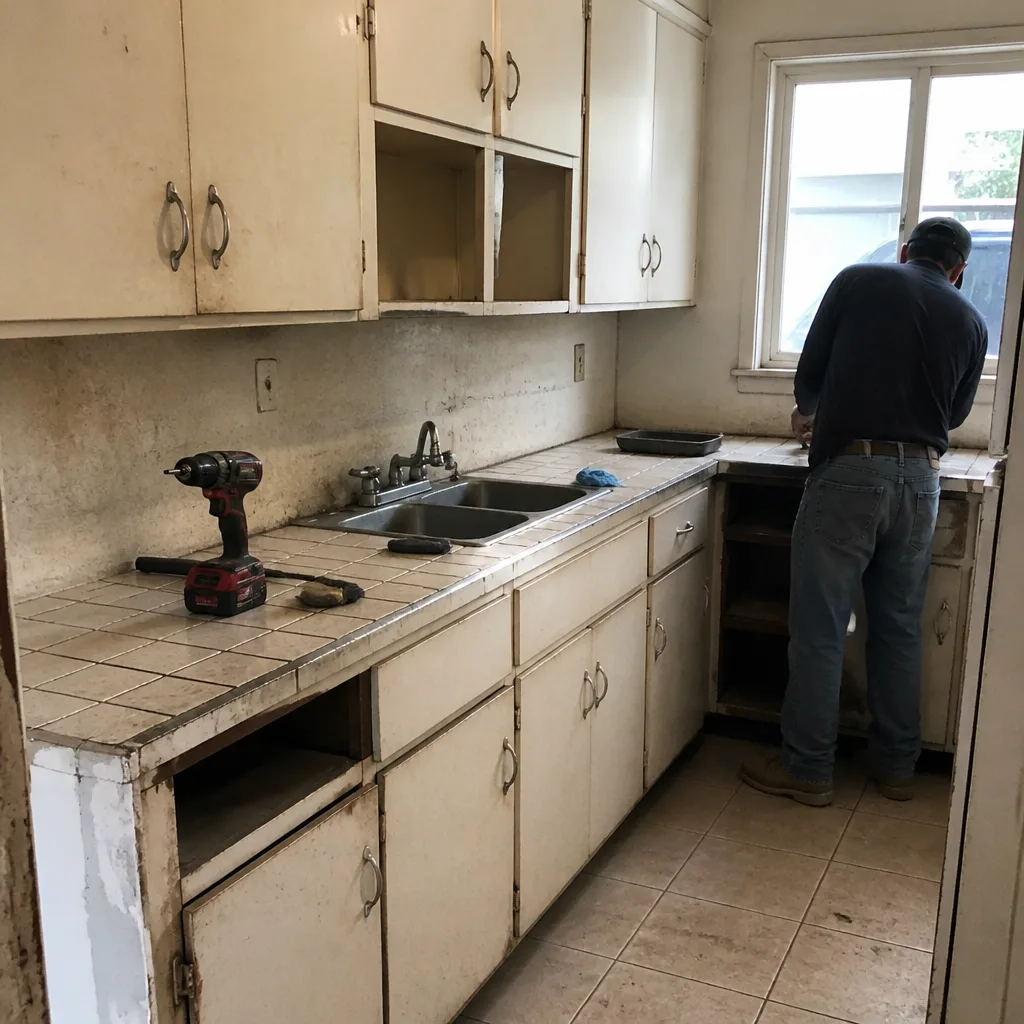 Before
 After
 Before
 After
When to Call a Professional
Some bathroom troubleshooting is a homeowner job – checking the fan, testing a hollow tile, replacing a flapper. Others aren’t, and this is where we’re blunt about it. Call a professional when you see water outside the shower footprint, when the floor outside the bathroom feels soft, when a hollow-tile cluster runs along a crack line, when a new fixture has low pressure from day one, when the attic above the bathroom shows moisture or mold, or when the only fix you can find involves cutting into tile, drywall, or the shower pan. Those are all situations where the cost of a wrong diagnosis is much higher than the cost of an inspection. Groundwork Construction Co. of El Monte offers free estimates in El Monte – call (888) 271-7872. Our technicians have up to 12 years of experience, they’re background-checked and arrive in uniform, and every project we do is covered by the 730-Day Done Right Promise. We pull permits, we pass inspections, and we put the price in writing so there are no change orders after the fact.
If your bathroom issue is part of a broader remodel plan, the same team handles Driveway & Pavers in El Monte and the rest of the exterior work through the same upfront pricing structure. It’s one contractor, one warranty, from foundation to finish line.
Frequently Asked Questions
If water appears outside the shower footprint, if the floor outside the bathroom feels soft or sounds hollow underfoot, or if a musty smell lingers in the adjacent room, it’s most likely the pan. Grout failure keeps the moisture local to the shower and shows up as discoloration and crumbling along the seams. A pan leak means the waterproof membrane under the tile has failed or was never installed correctly, and it requires tear-out to the substrate to fix. Call (888) 271-7872 for a free estimate – we’ll diagnose it and give you a written scope before any work starts.
Because the fan is likely undersized or the duct isn’t terminating outdoors. A fan needs at least one CFM per square foot of bathroom floor and a minimum of 50 CFM; older builder-grade fans in El Monte often don’t meet that after dust builds up. Also, a fan ducted into the attic instead of through a roof or wall cap does nothing to remove moisture from the bathroom and can rot the roof deck. Check the duct termination first, then the fan’s rated CFM. If either fails, an upgrade and proper ducting solve it.
Yes, most likely. Straight-line cracks in freshly installed tile almost always mean the substrate is moving or the tile wasn’t fully bonded – both are installation issues, not tile defects. Take photos with a scale reference, note the date the first crack appeared, and report it in writing. Don’t re-grout over it; that treats the symptom. If the crack is accompanied by hollow-sounding tiles near it, the substrate needs to be corrected, which is warranty work on a recent remodel.
Check three things before calling anyone: unscrew and rinse the aerator, confirm the shutoff valves under the sink are fully open, and check whether the pressure is low across the whole bathroom or just that fixture. If it’s one fixture and appeared after the remodel, the rough-in is the probable cause – a supply line sized too small or a fitting installed wrong. Report it to the contractor before you call a plumber, because rough-in issues are the contractor’s responsibility, not the plumber’s. Call (888) 271-7872 for a free estimate if you need the underlying plumbing checked.
No, not usually. Once the waterproof membrane has failed, the only reliable fix is to remove tile and substrate down to the membrane, correct the membrane (or install one if it was missing), and rebuild. Surface-applied sealers and coatings can buy time but don’t restore the waterproofing. Any contractor offering a “no-tear-out” fix for a failed membrane is selling you a short-term patch. Get a written scope that specifies how the membrane will be corrected, and confirm the permit is pulled before work starts.
A one-year workmanship warranty has been the industry norm, and a two-year warranty is meaningfully longer than most. Ask any contractor you’re considering for the warranty term in writing, the scope of what it covers, and the process for filing a claim. At Groundwork Construction Co. of El Monte, we back every project with the 730-Day Done Right Promise – if it’s not done right, we make it right. Call (888) 271-7872 for a free estimate and we’ll walk you through what the warranty covers before you commit.
The Bottom Line
Bathroom remodel failures trace back to waterproofing, tile setting, or rough plumbing – three phases you can’t see once the job is finished, which is why pattern recognition and early detection are the only real defense. Learn the signatures: pan leaks show up outside the shower, grout failures stay local, supply line drips concentrate at the fixture wall. Test for hollow tiles before you re-grout. Confirm your fan ducts outdoors and moves enough air. And report any problem in writing, with dated photos, the same week you notice it. Do those things and you’ll catch most failures while the repair is still small. Skipping them is how a $300 fix becomes a $4,000 one. Groundwork Construction Co. of El Monte is here when you need boots on the ground – free estimates, permits pulled, upfront pricing, and the 730-Day Done Right Promise backing every job. Call (888) 271-7872 to schedule your free estimate.
Written by the team at Groundwork Construction Co. of El Monte.